Winslet’s Sewing Guide – A complete walkthrough
Once you’ve downloaded your favorite pattern from Winslet’s Patterns, you’ll find it accompanied by a comprehensive sewing guide. This detailed post aims to explain how to use the sewing guide provided with a pattern downloaded from Winslet’s.
The sewing guide from Winslet’s includes more than just sewing instructions; it also offers a comprehensive overview of the sewing process, from pattern flats to the final look. Let’s get started!
Choosing the Right Sewing Guide for Your Project
When you purchase a sewing pattern from Winslet’s, you’ll notice that you may have the option to download one or two sewing guides, depending on the size range of the pattern. If the pattern falls within the size range of US 02–18 | UK 06–22 | EU 36–50, you’re all set with just one sewing guide, which comes with your purchase. However, if the pattern covers a larger size range, such as US 02–32 | UK 06–36 | EU 36–64, you’ll need to download one of the two available sewing guides.
- US 02–18 Standard Size Range Sewing Guide
If your size falls between US 02–18 | UK 06–22 | EU 36–50, download the US 02–18 Standard Size Range Sewing Guide. This guide includes clear instructions to help you take accurate measurements and create a flawless fit for your project. - US 18–32 Extended Size Range Sewing Guide
If your size falls between US 18–32 | UK 22–36 | EU 50–64, download the US 18–32 Extended Size Range Sewing Guide. This version is designed with the same level of detail and precision to ensure perfect measurements and inclusivity for this broader size range.
You can also check out this video which provides an overview of Winslet’s Sewing Guide:
An Overview of Winslet’s Sewing Guide
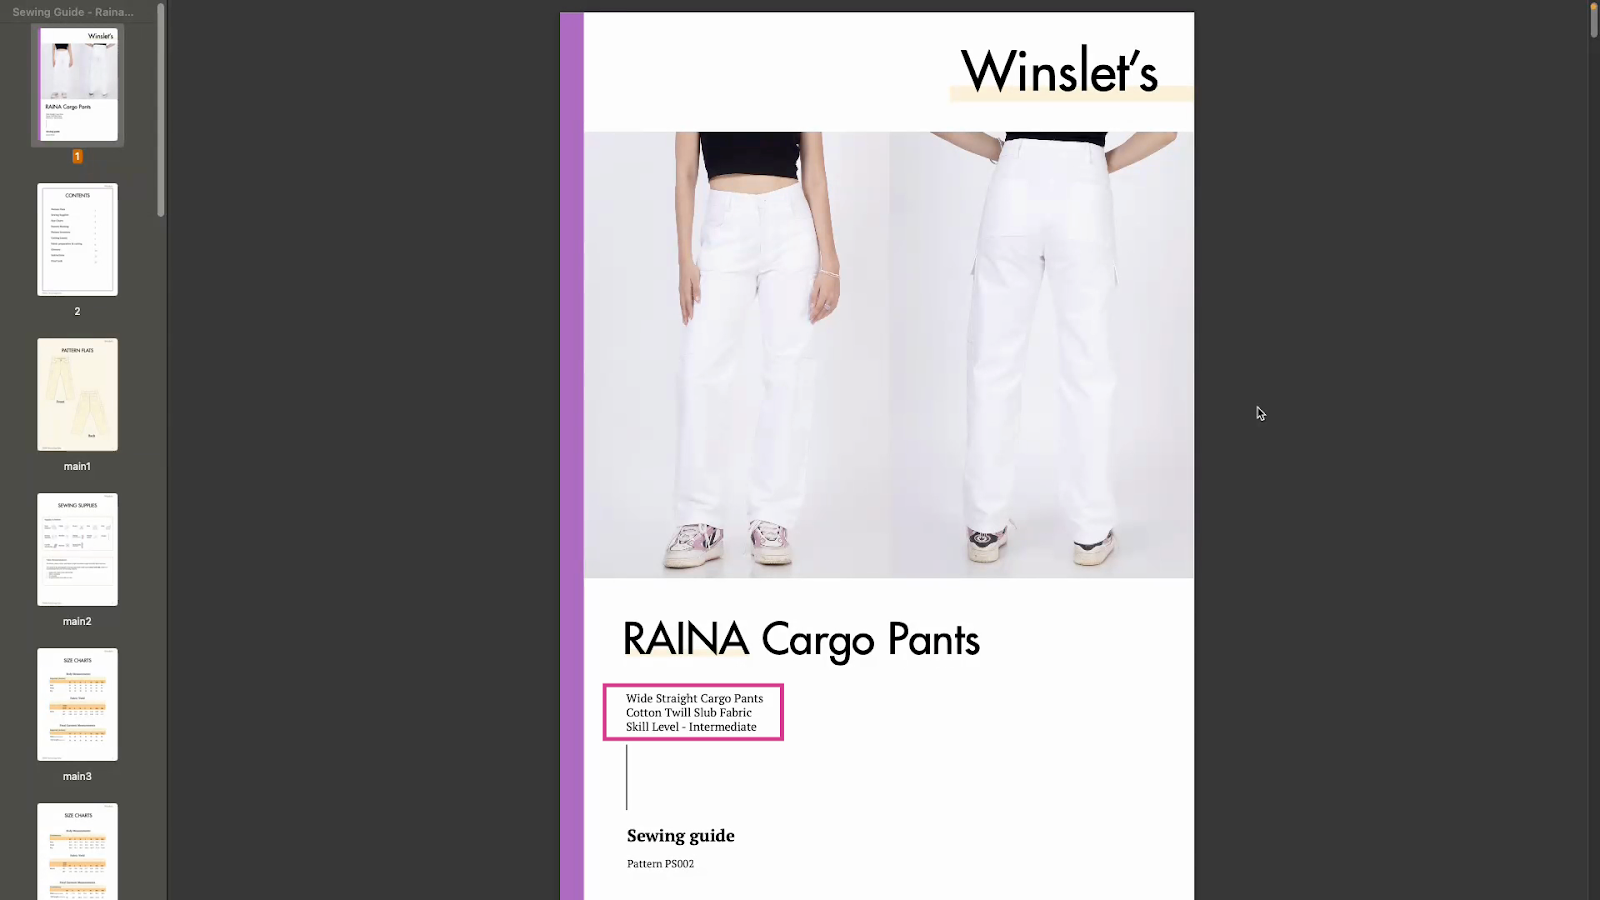
Step 1: The ‘Introductory’ page of the sewing guide provides the respective pattern’s name along with a quick overview of the recommended fabric and skill level required for sewing that particular pattern. For example, if you’ve downloaded the Raina Cargo Pants Sewing Pattern, the front page of the sewing guide will look like this:
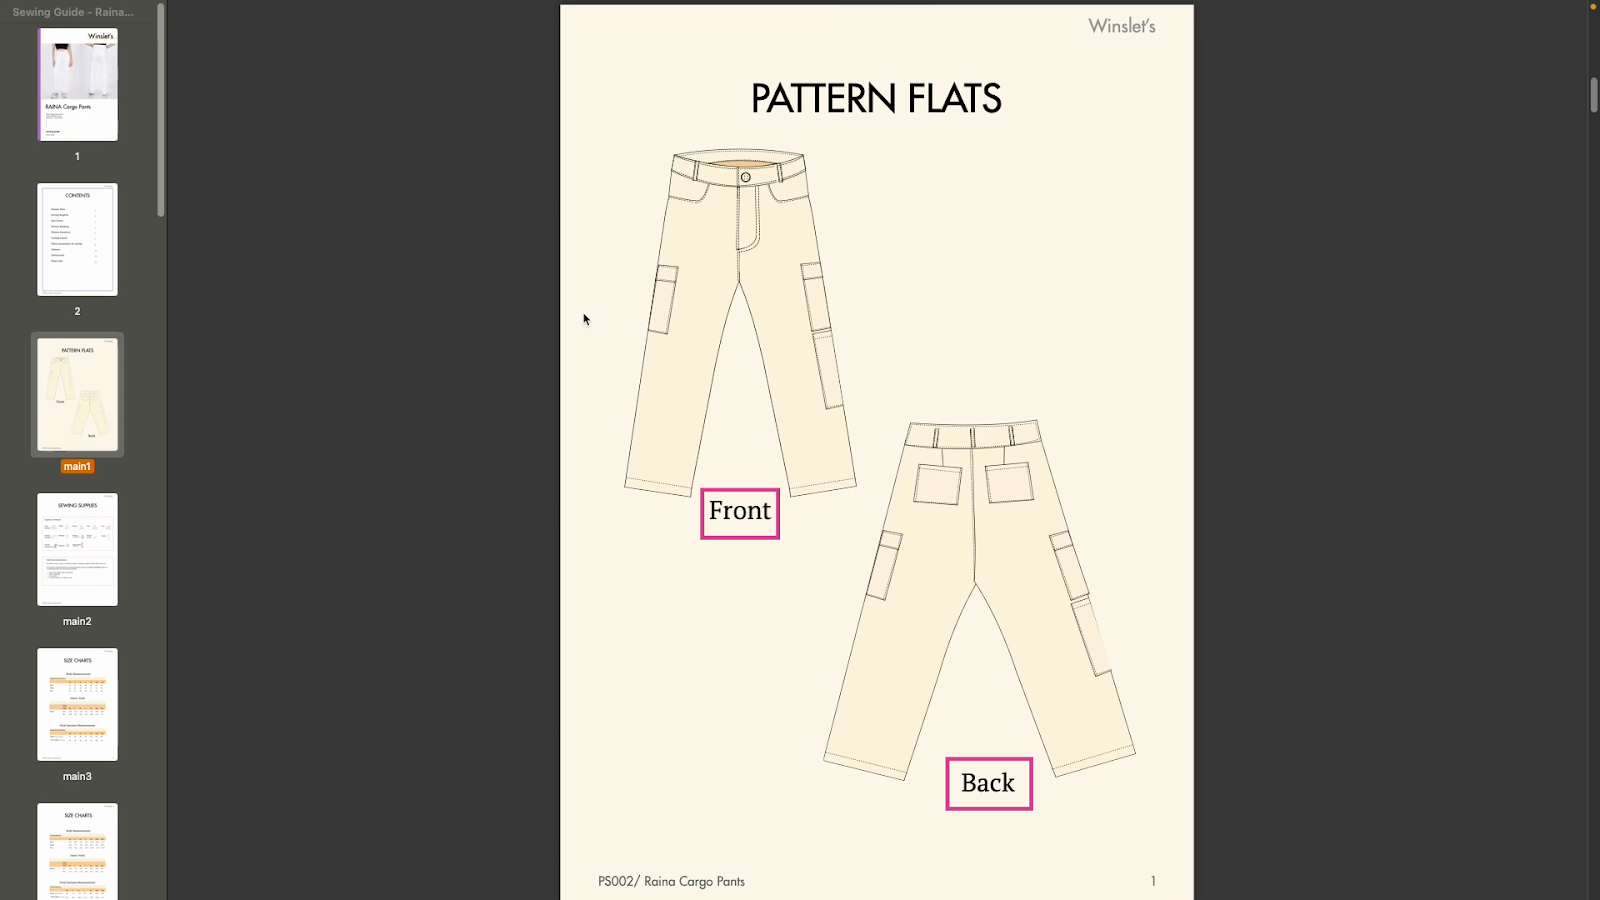
Step 2: Refer to the ‘Pattern Flats’ page while sewing the garment. It includes the front and back schematic of the garment.
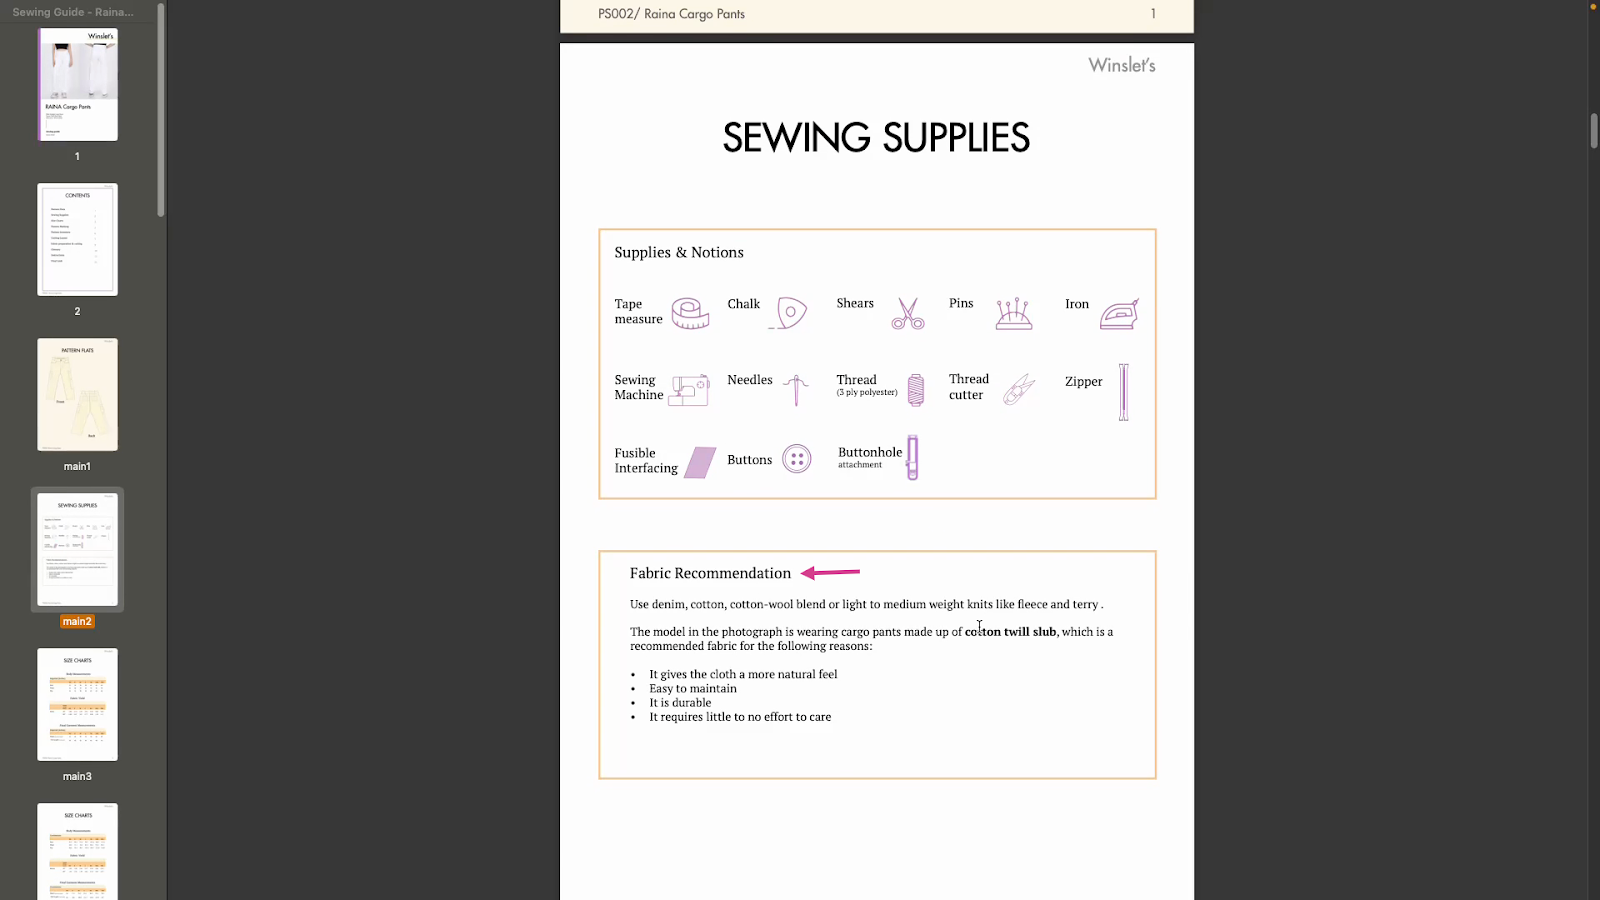
Step 3: Check the list of sewing supplies needed for the project by visiting the ‘Sewing Supplies’ page. It includes everything from a sewing machine to shears, thread, zipper, buttonhole facing, and more.
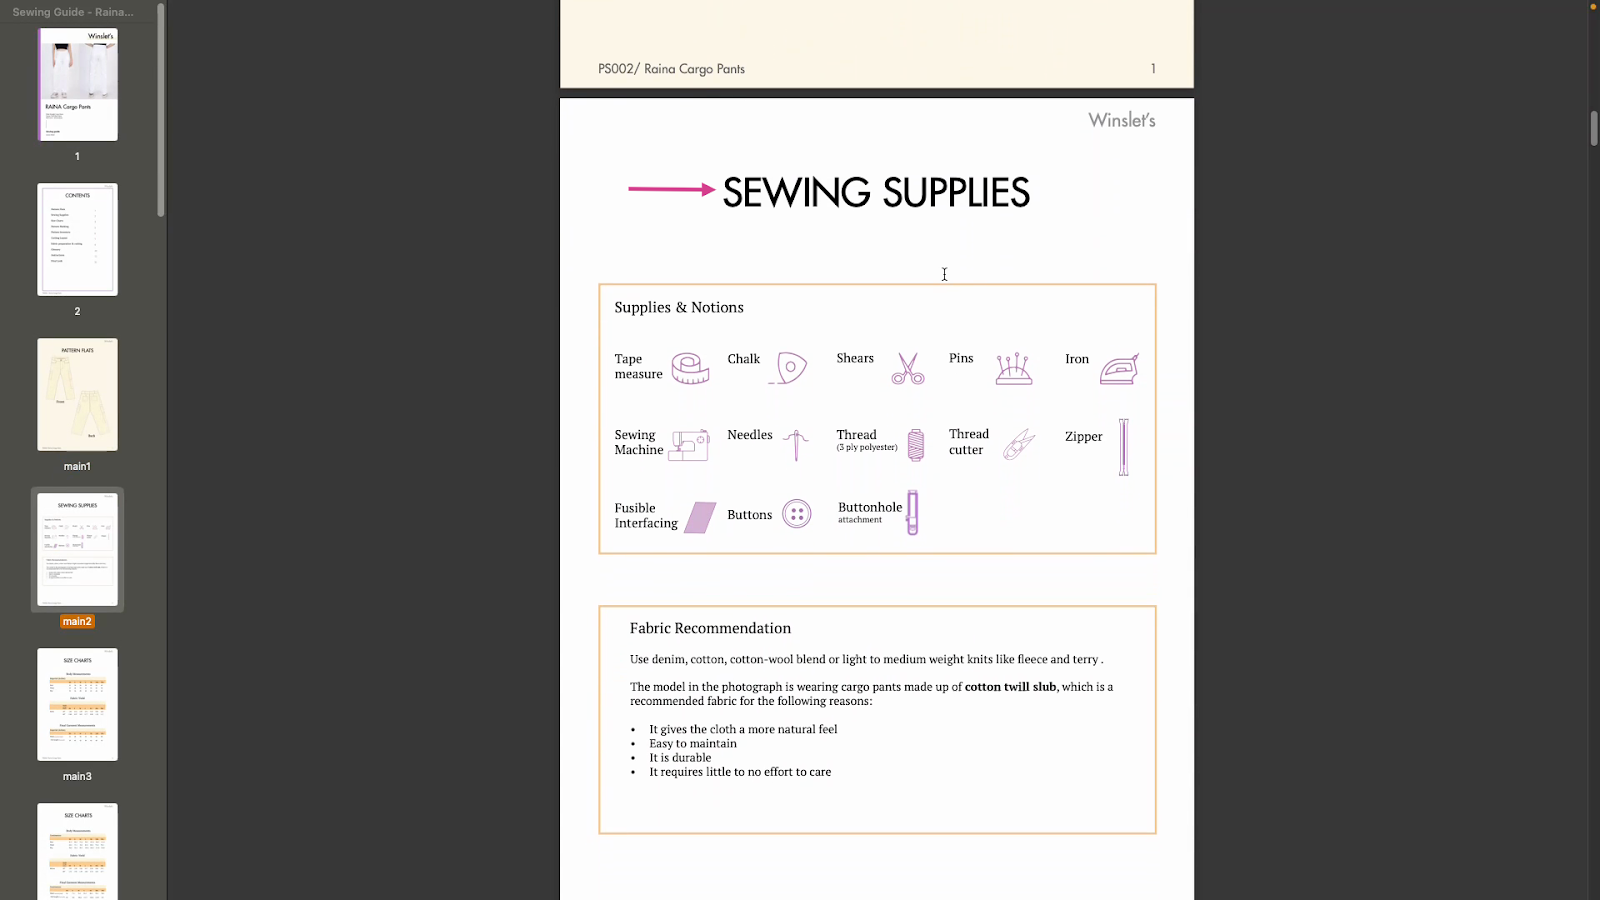
Step 4: Next, review the ‘Fabric Recommendations.’ These include the fabric used in the project and other suitable options.
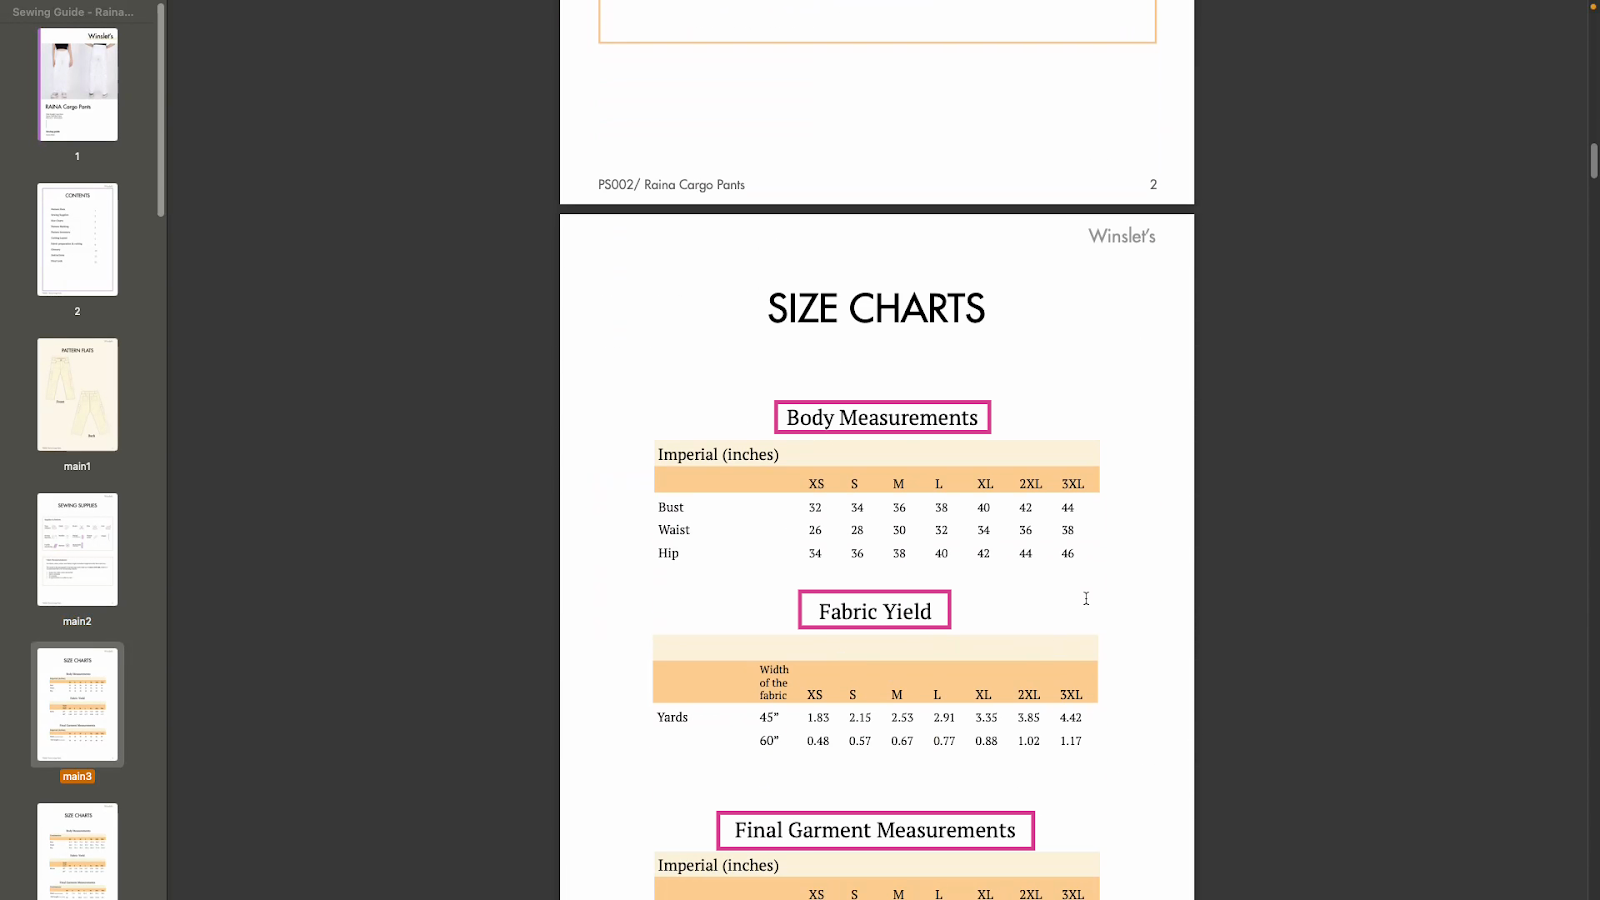
Step 5: For accurate sizing, consult the ‘Size Chart’ page. It contains Fabric Yield and Final Garment Measurements in both imperial (inches) and metric (centimeters and meters) units. Choose the one that’s most comfortable to use.
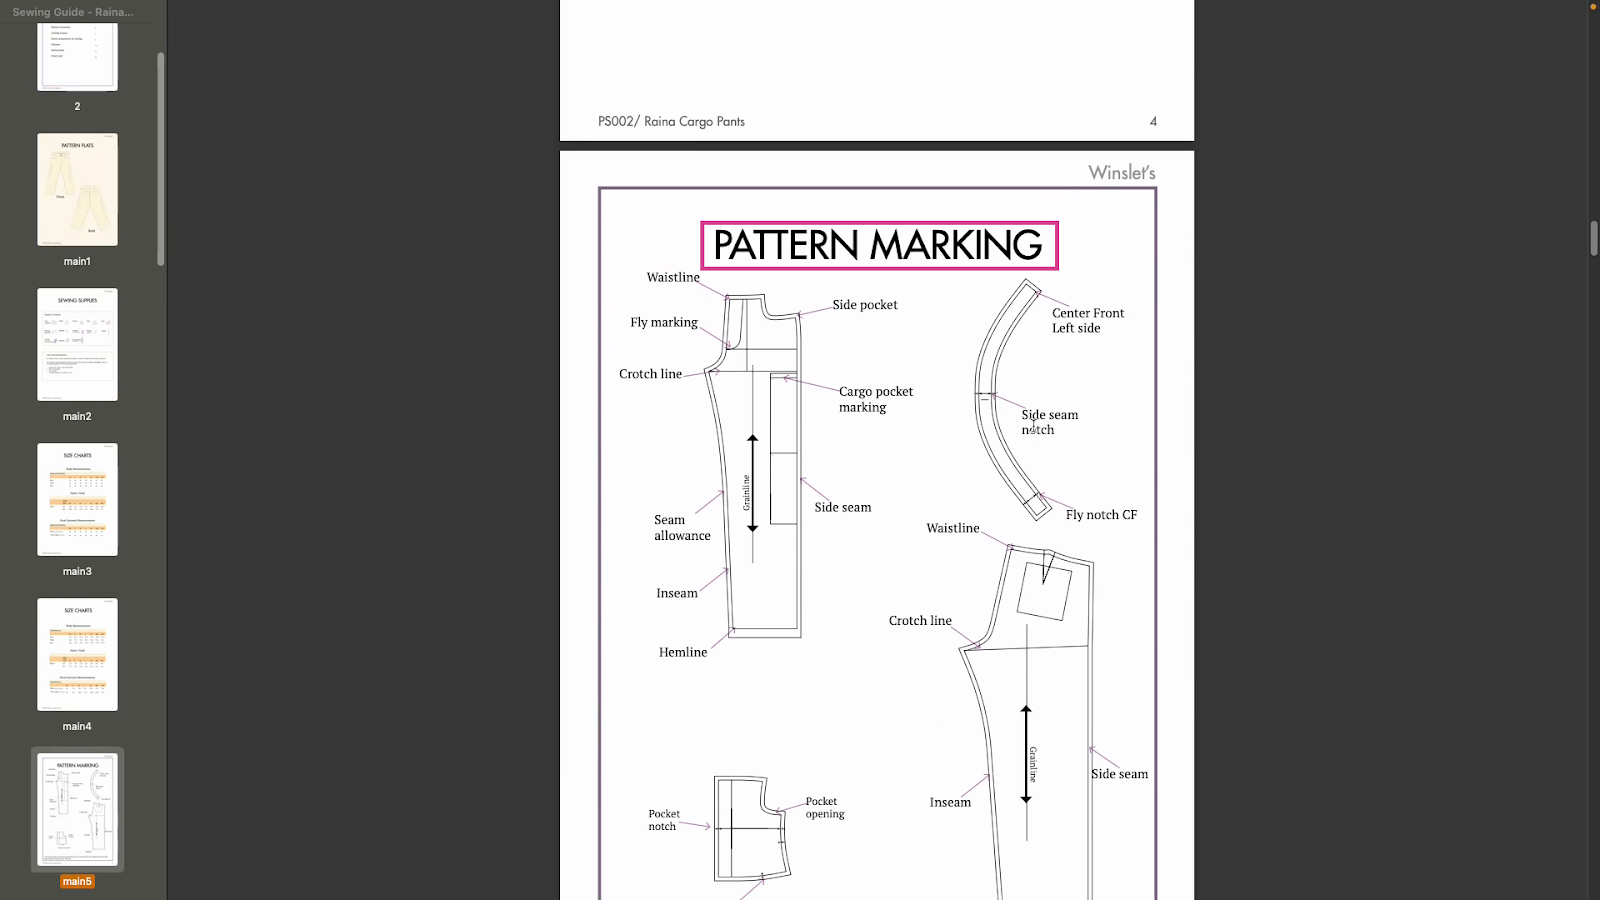
Step 6: Understand the pattern marking by visiting the ‘Pattern Marking’ page. This is important as it simplifies the process by marking every seam, notch, grain line, and other important details for assembling the pieces during the sewing process.
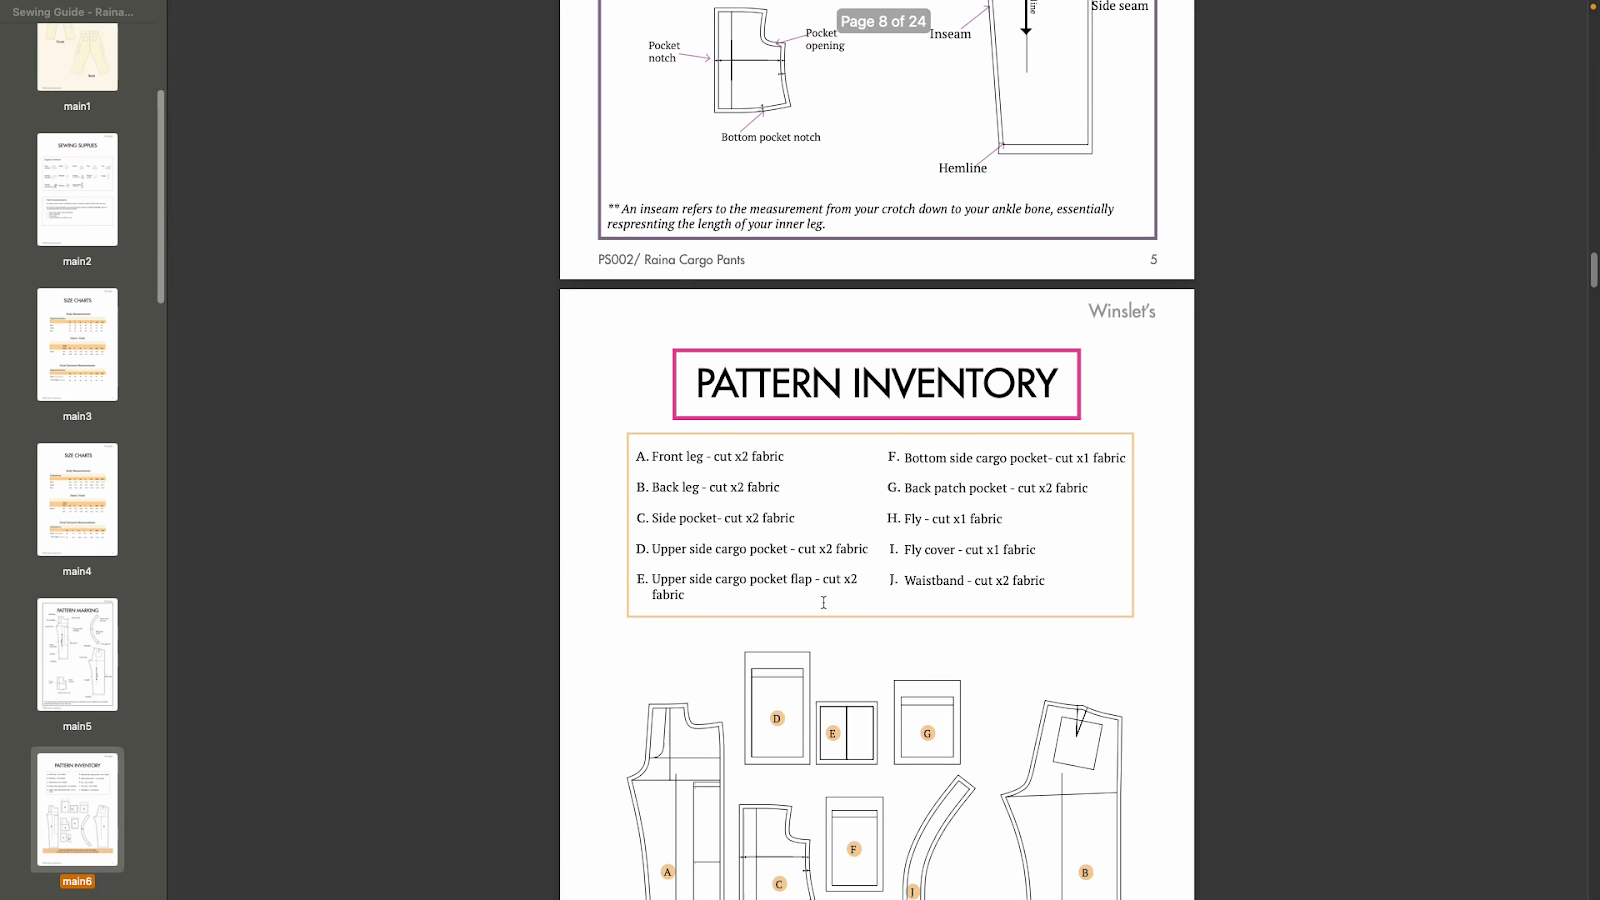
Step 7: Next, review the pattern inventory in the ‘Pattern Inventory’ page. It’s a list of all pattern pieces provided in the pattern PDF files. It’s an easy reference to understand what pieces are there, how they look, and how much fabric you need to cut.
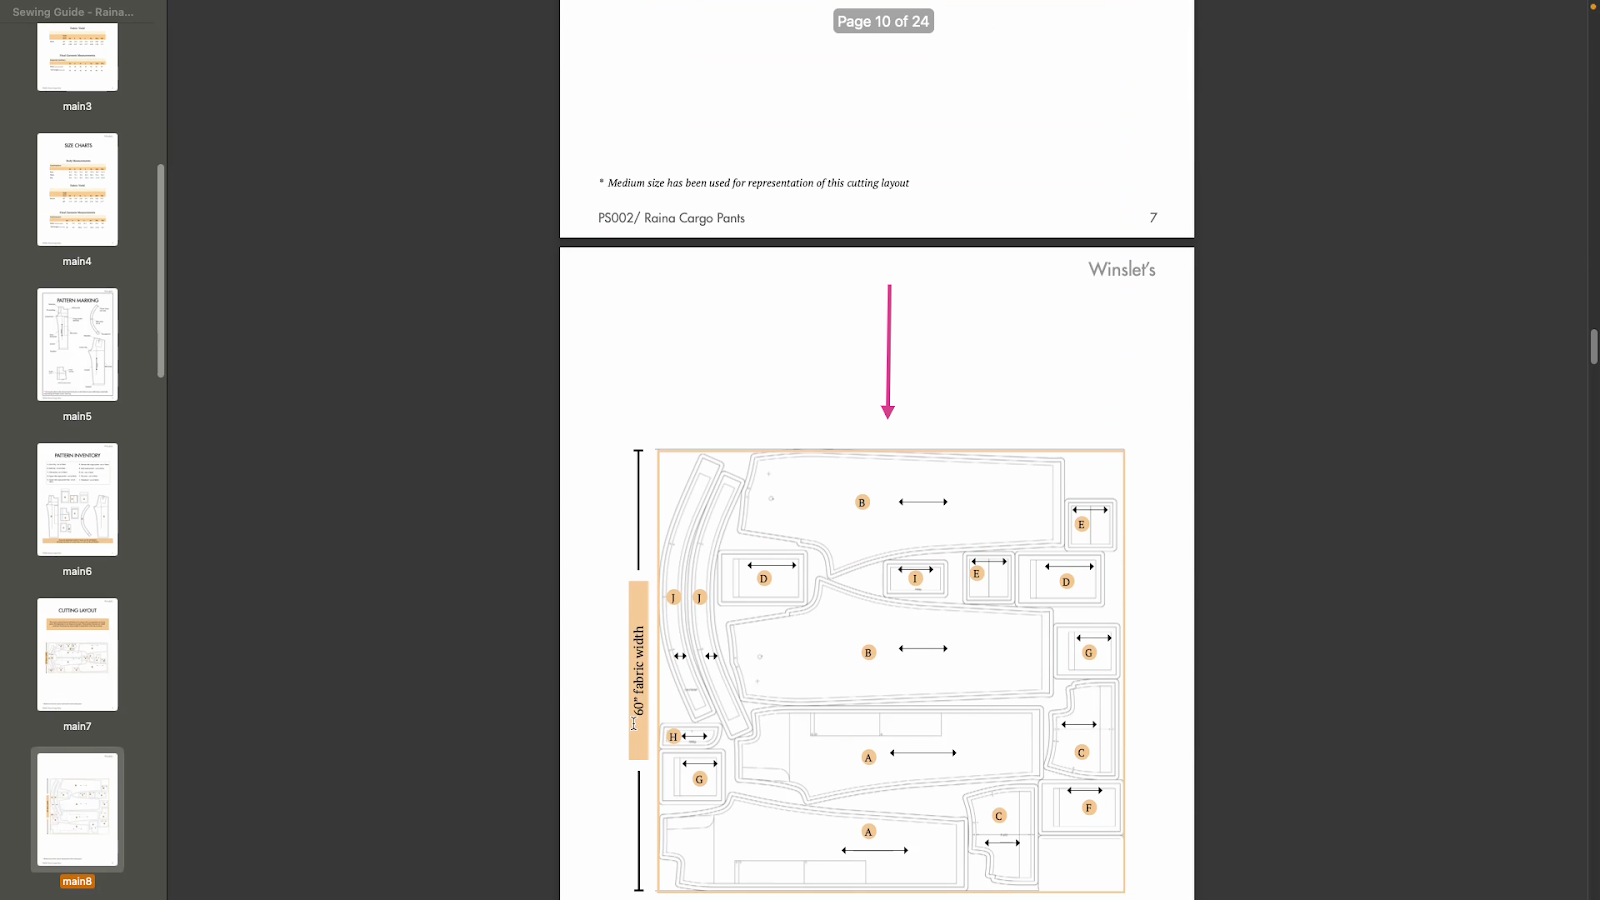
Step 8: Follow the cutting layout provided for a 45-inch fabric width and a 60-inch fabric width in the ‘Cutting Layout’ page. This ensures efficient cutting and minimal fabric waste.
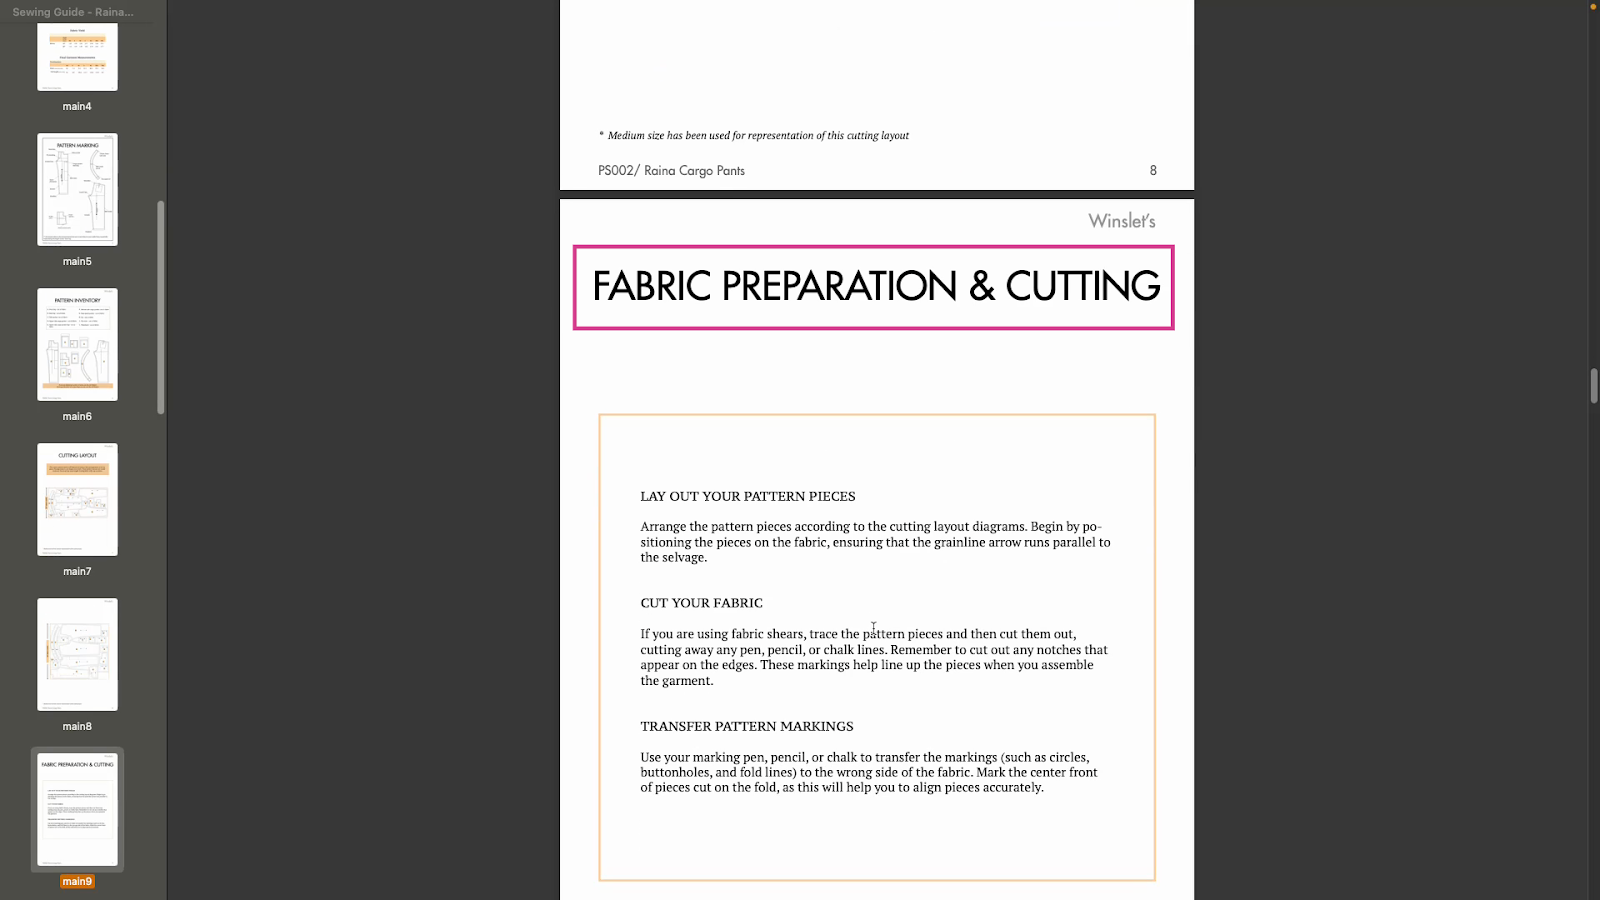
Step 9: Refer to the ‘Fabric Preparation and Cutting’ page for transferring the pattern markings onto the fabric and cutting the fabric accurately.
Step 10: Refer to the ‘Glossary’ page for any unfamiliar terms in the instructions.
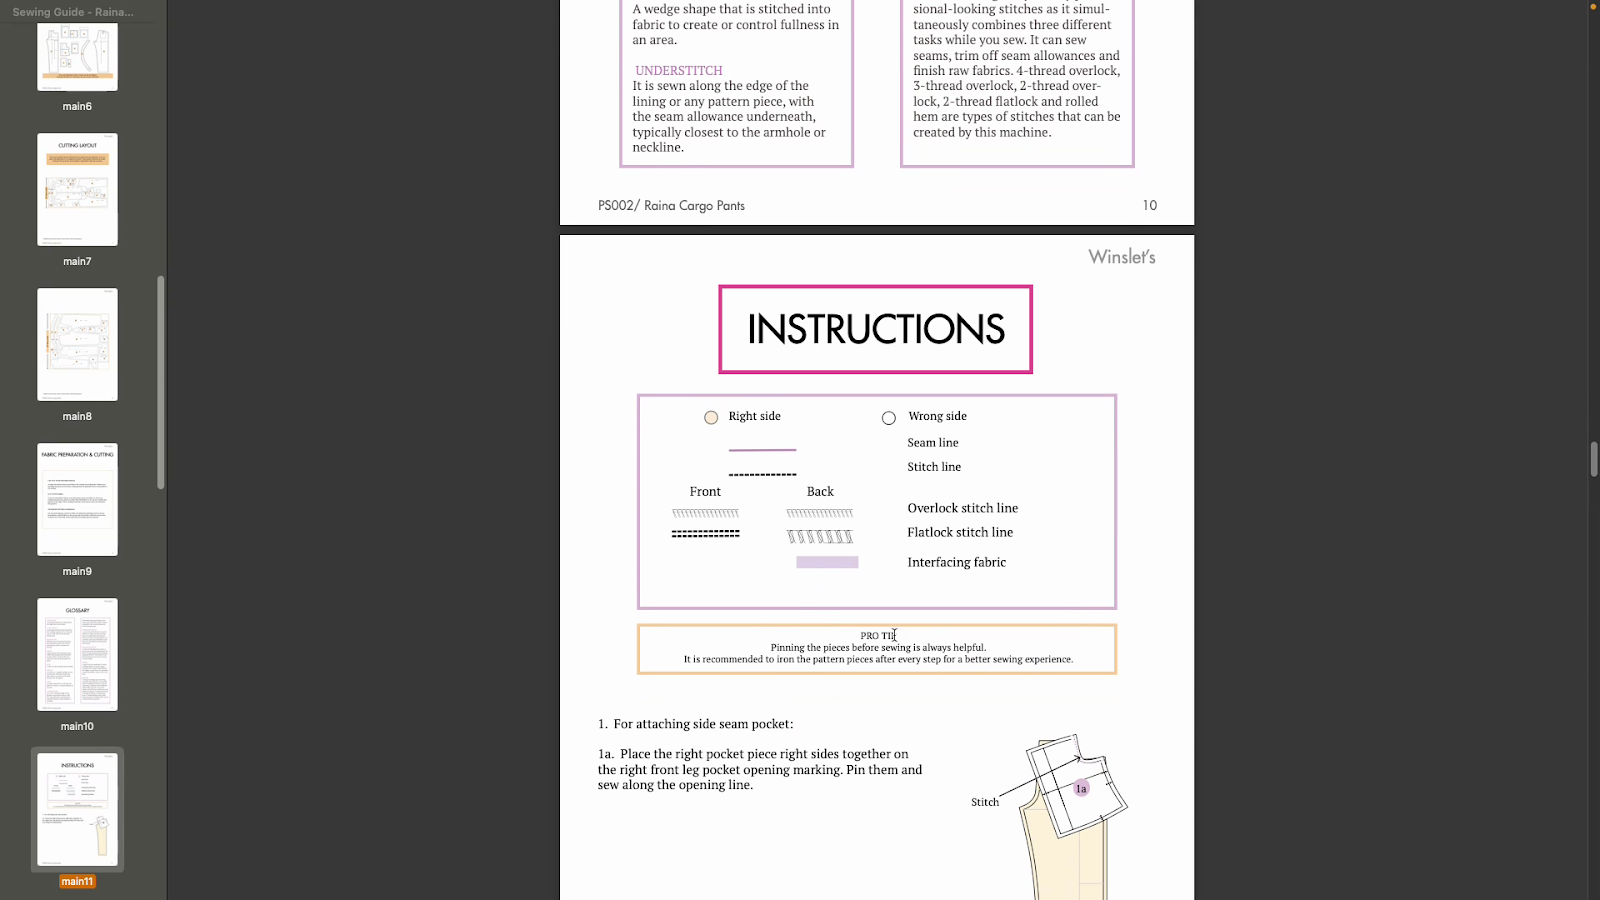
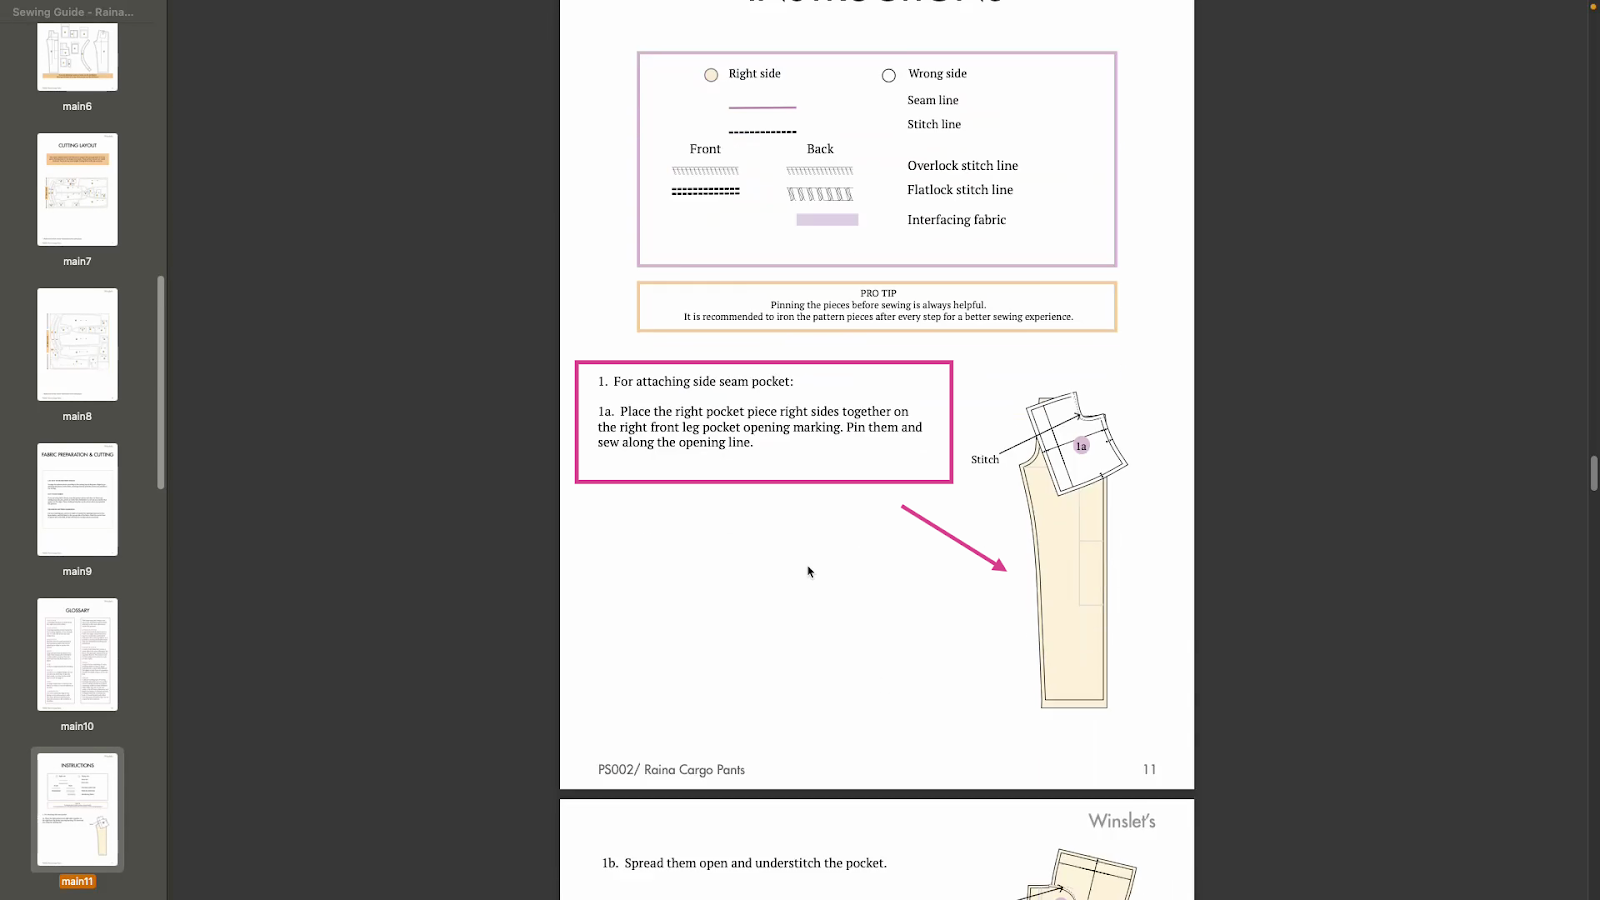
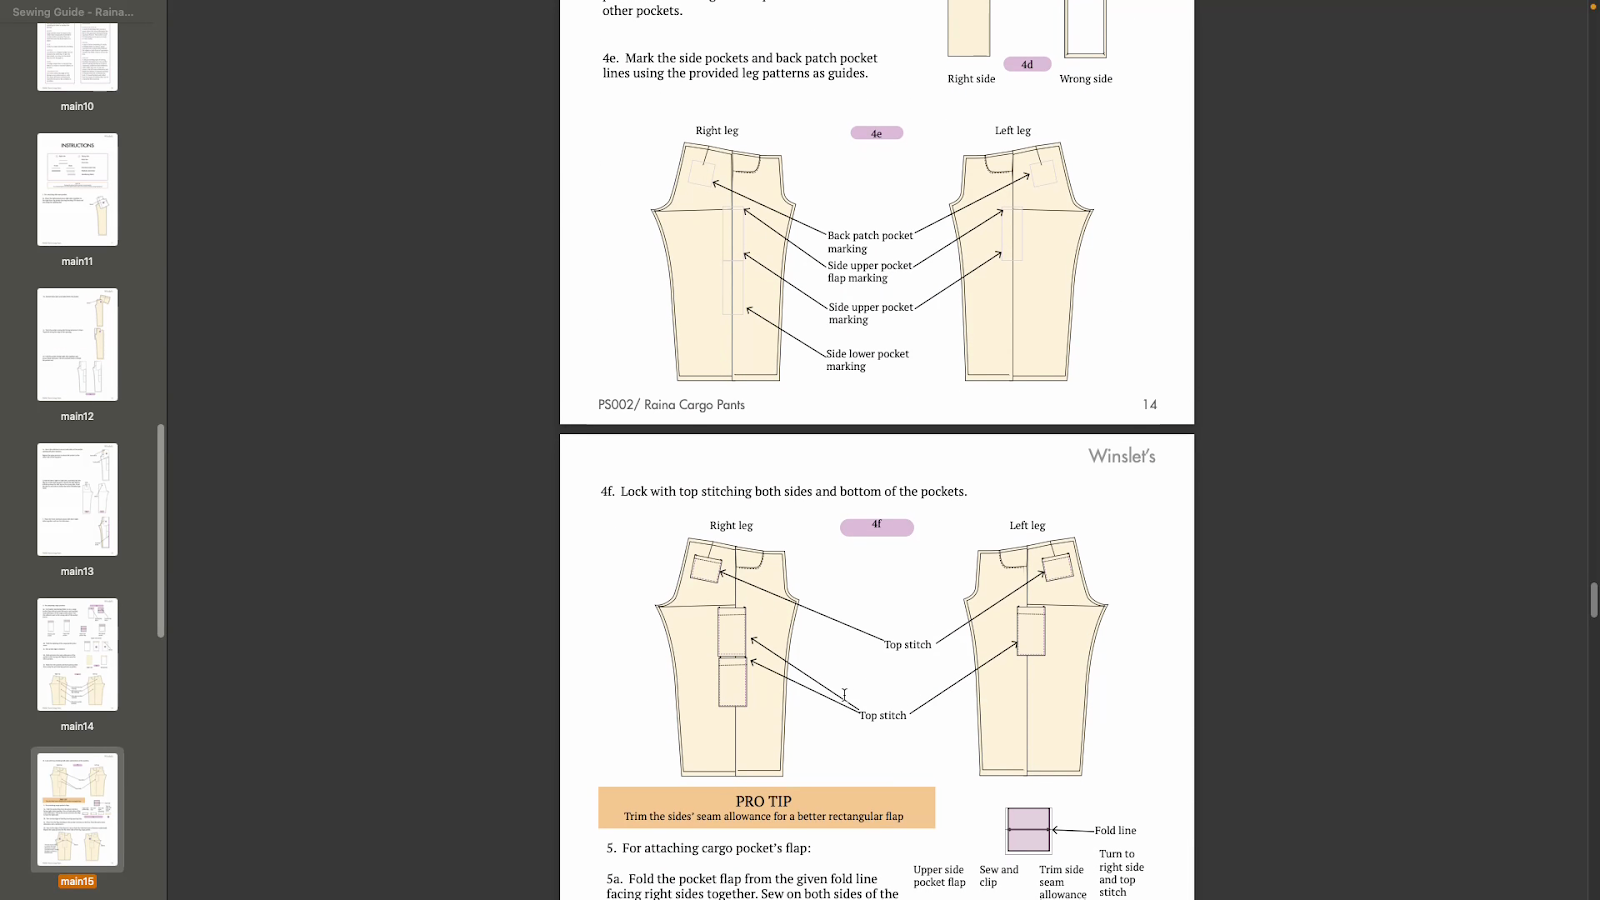
Step 11: Follow the detailed instructions mentioned in the ‘Instructions’ pages, each supported by an illustration. This helps in understanding how to place the pattern pieces together and which edge to sew along.
For any doubts or clarifications, feel free to reach out to support@winslets.com. Remember to always refer to the pattern marking page as mentioned in step 6 for a smooth sewing process.
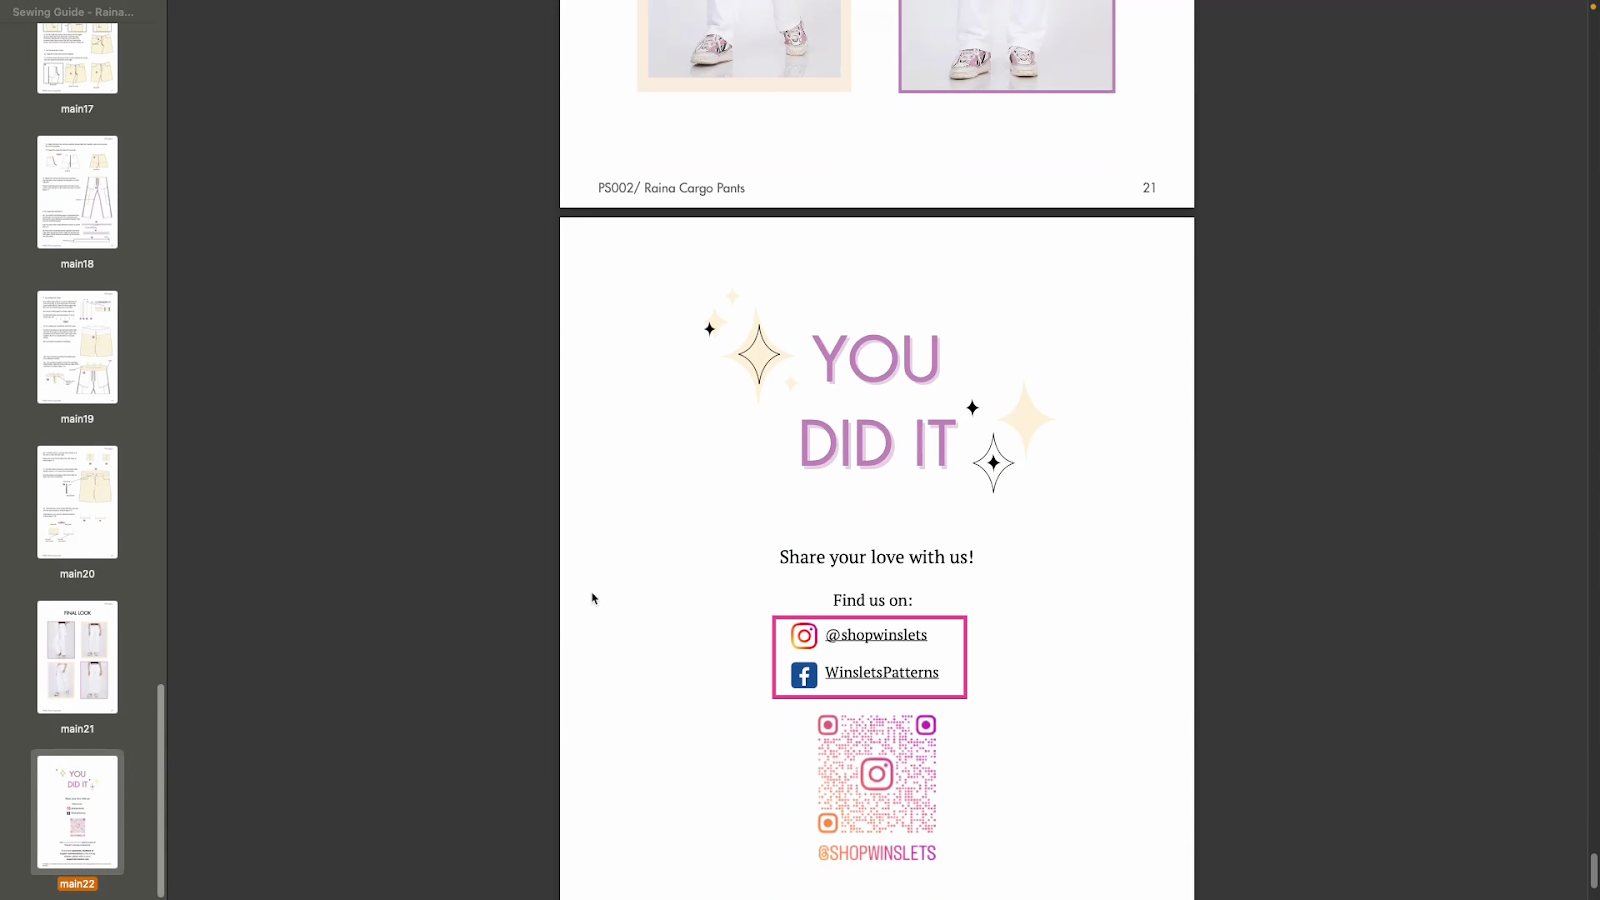
Finally, we would highly appreciate it if you can share the images of your finished garment on Instagram and Facebook. We would love to see how your final product turned out.
If you have any questions, please reach out to us support@winslets.com
If you are a sewist, have a look at our recommended sewing machines: beginner sewing machines, sewing tools and notions, coverstitch sergers and overlock machines, embroidery machines and quilting sewing machines, sewing practice sheets and sewing project planner.
If you are looking for sewing patterns, here are some great options: Activewear Sewing Patterns, Plus Size Sewing Patterns, Outerwear Sewing Patterns, Jumpsuit Sewing Patterns, Coord Set Sewing Patterns, Pants Sewing Patterns, Shorts Sewing Patterns, Skirts Sewing Patterns, Dress Sewing Patterns, Top Sewing Patterns, Bodycon Sewing Patterns, Evening Dresses Sewing Patterns, Loungewear Sewing Patterns, Cottagecore Sewing Patterns, Free Sewing Pattern.
Happy Stitching.