Essential Sewing Notions: A Guide to Buttons and Their Uses
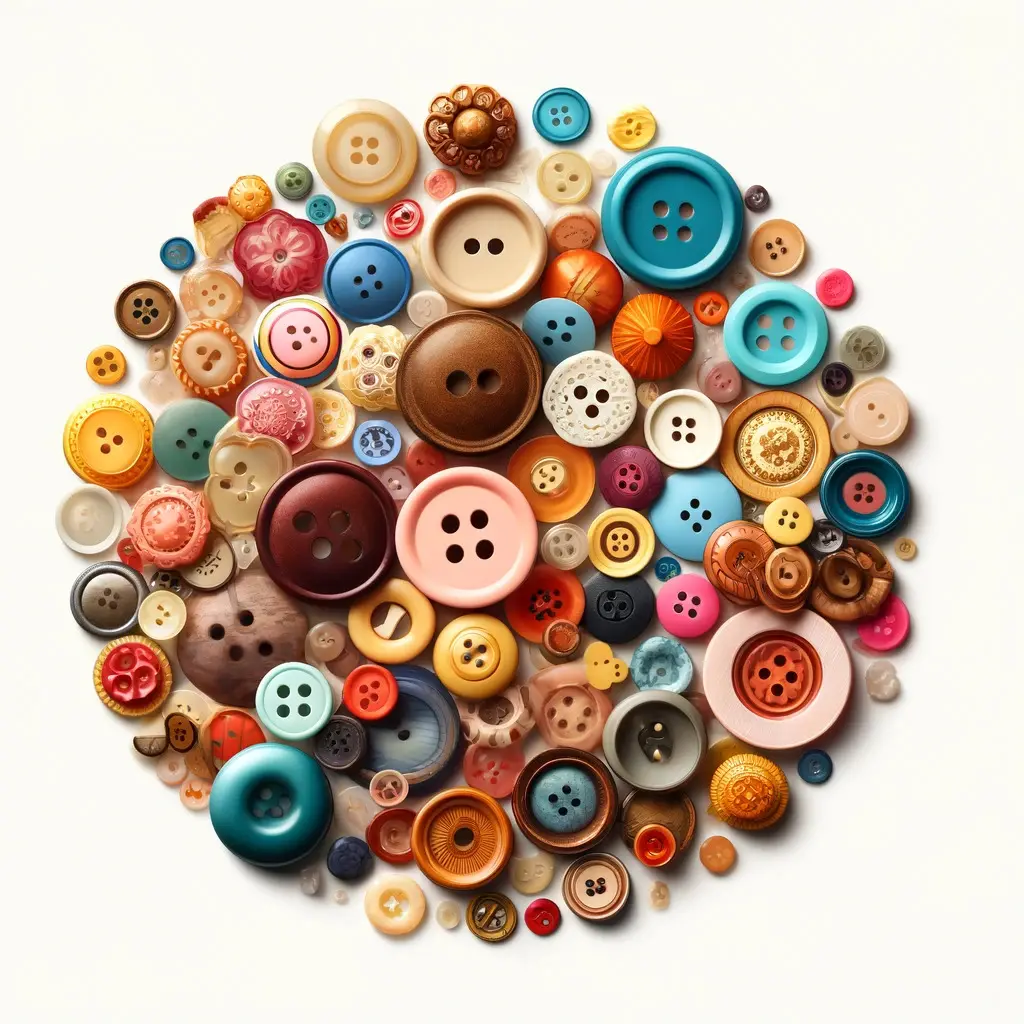
Buttons are fasteners used on clothing to close an opening by passing them through a loop or buttonhole. They can be made from a variety of materials, such as metal, plastic, wood, and horn. Sewing buttons come in different shapes, sizes, designs, and colors.
Types of Buttons
There are numerous types of buttons available. Primarily, they are categorized into seven main types:
Flat Buttons
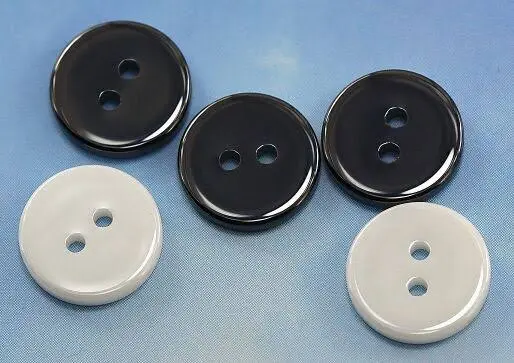
These are buttons with a smooth, flat surface, often used in clothing for a discreet and minimalist appearance. Also known as sew-through buttons, they feature either “two” or “four” holes.
Covered Buttons
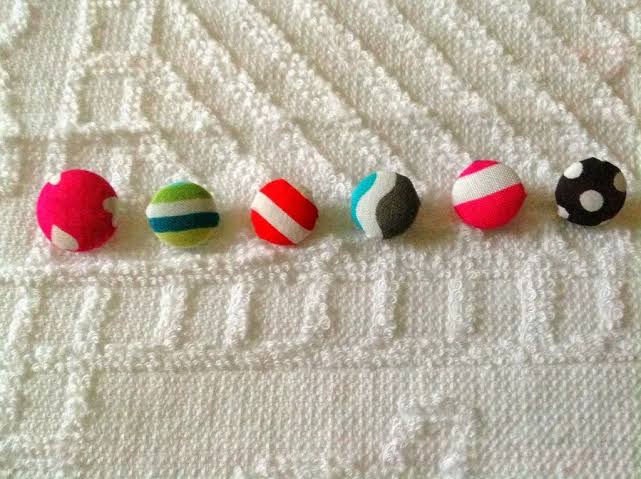
These buttons have been wrapped in fabric or material, providing a customized and often decorative finish that matches or complements the garment.
Novelty Buttons
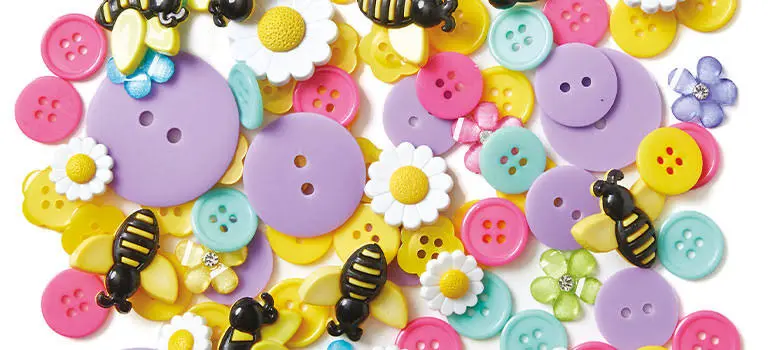
These are decorative buttons featuring unique designs, shapes, or themes, often used to add a playful or distinctive touch to garments and crafts.
Metal/Rivet Buttons
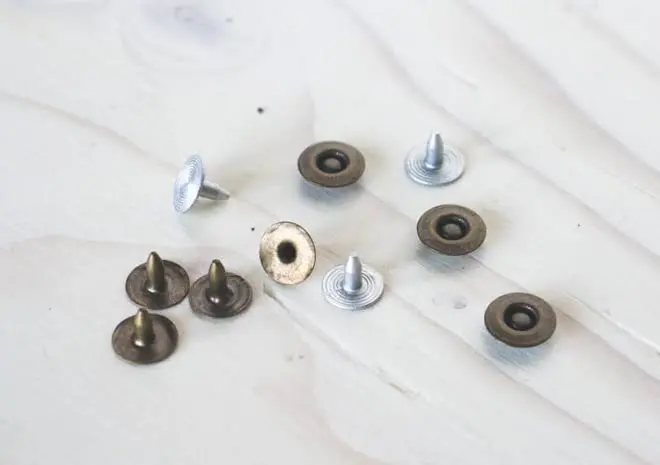
These are sturdy buttons typically made of metal, designed to be attached using rivets, and often used in denim and heavy-duty clothing for durability and a rugged appearance.
Shank Buttons

These buttons have a protruding loop or hole (shank) on the back, allowing them to be sewn onto fabric without visible thread on the button’s surface.
Toggle Buttons
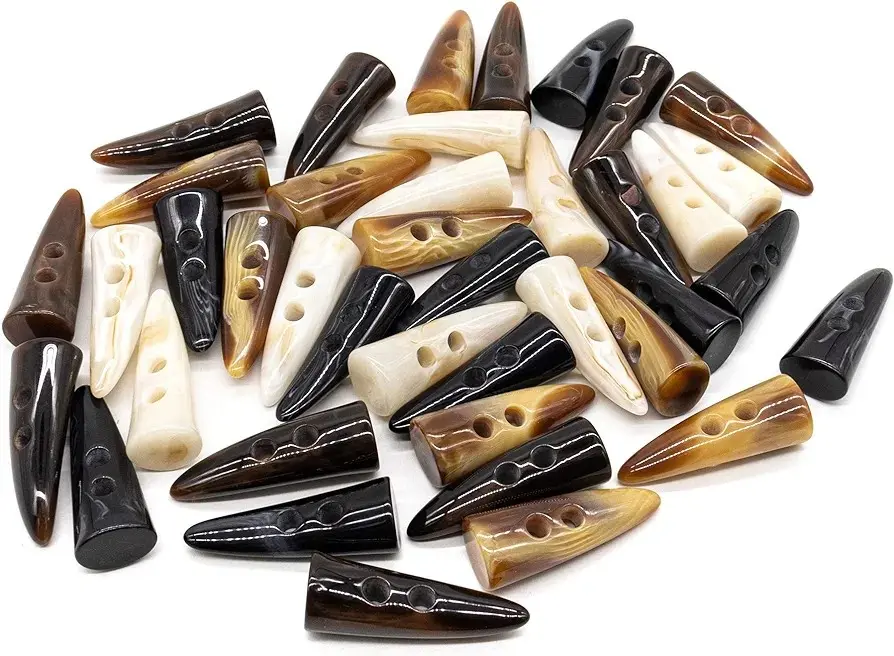
Toggle buttons are composed of two components: a bar or rod, known as the toggle, and a loop or fabric strip, which serves as the buttonhole to secure the toggle. They are designed for easy opening and closing.
Snap Buttons

Snap buttons are highly convenient button fasteners available in various types, such as sew-on, pronged, and adhesive-backed options. Ideal for garments requiring quick fastening and unfastening, they offer ease of use.
How to Sew Different Types of Buttons
The basic procedure for attaching buttons to clothing is generally consistent. Begin by positioning the button where desired, threading the needle, and starting your stitches from underneath the fabric.
How to Sew Flat Button (Two-Hole)
This common button type requires creating a thread shank during sewing. Using a toothpick can aid in this process.
1. Position the button on the fabric. Begin with a double stitch using a double-threaded needle.
2. Place a toothpick on top of the button. Sew up and down through the holes, passing over the toothpick.
3. Remove the toothpick.
4. Wrap the thread around the thread loops beneath the button to form a shank.
5. Pass the thread through to the back of the fabric.
6. Use a buttonhole stitch to secure the loop of threads on the back of the fabric.
How to Sew Flat Button (Four-Hole)
The sewing process for a four-hole button follows a similar approach to that of a two-hole button, with the difference being that the threads form an X pattern over the button on the front.
1. Position the button on the fabric and place a toothpick on top of it.
2. Using double thread, sew up and down through alternate sets of holes, passing over the toothpick to create an X shape with the stitches.
3. Remove the toothpick.
4. Wrap the thread around the thread loops beneath the button to create the shank.
5. On the reverse side of the fabric, use a buttonhole stitch to secure the thread loops in an X shape.
How to Sew a Covered Button
Covered buttons, often found on high-end garments, can enhance the professional appearance of any jacket or garment you create. Using a button-making tool simplifies the process.
1. Select the desired button size on the pattern.
2. Cut out the button pattern from interfaced fabric.
3. Stitch a gathering thread around the edge.
4. Position the button top on the interfaced side of the fabric.
5. Gather the fabric and secure it with a double stitch around the button top’s shank.
6. Insert the button into the appropriate hole in the button maker and push it firmly.
7. Place the button back on top of the button.
8. Use the other side of the button maker to press down on the button back until it clicks into place.
9. Remove the button from the button maker and ensure that the back is securely attached.
How to Sew a Metal or Rivet Button
Before installing a metal button on your garment, it’s advisable to practice on a denim scrap with the same number of layers as your final garment.
1. Use an awl to create a hole in your fabric just large enough for the button/rivet tack to be inserted through.
2. Push the tack through from the garment’s back to its front, ensuring you use the appropriate tack (ridged shafts for buttons, smooth shafts for rivets).
3. Utilize wire cutters to trim the shaft, leaving it protruding about 1-2 mm from the fabric.
4. Position your button/rivet face down on a metal surface and insert the tack shaft into its center.
5. Gently hammer the back of the tack, ensuring even engagement with the button/rivet. Adjust if necessary.
6. Hammer firmly two or three more times on the tack’s back to securely fasten it. The button/rivet should not move or turn if properly installed.
How to Sew a Shank Button
To secure this button type, employ a toothpick beneath it to aid in creating a thread shank on the underside of the fabric.
1. Position the button on the fabric. Secure a toothpick on the opposite side of the fabric, behind the button.
2. With double thread, sew the button onto the fabric, ensuring each stitch passes through the shank.
3. Confirm that each stitch encompasses the fabric and encompasses the toothpick beneath.
4. Remove the toothpick. Proceed with buttonhole stitching over the looped thread shank.
How to Sew-on Snap Buttons
Sew-on snaps offer an ideal closure solution for blouses or narrow openings requiring additional security.
1. Begin by separating the halves of the snap and starting with the ball side. Mark the position of the ball snap on the underside of the top flap.
2. Commence stitching with a knot or double backstitch that will be concealed under the snap.
3. Thread your needle through one of the holes at the snap’s edge, then stitch through each hole 2-3 times to secure it. Ensure stitches remain hidden on the garment’s right side.
4. After a few initial stitches, move to the next hole by guiding the needle across the top layer of fabric. Typically, there are four holes around the snap’s edge. Secure with a concealed stitch knot.
5. Repeat the process for the socket side of the sew-on snap. Attach the socket side to the top side of the flap’s underside.
Summary: Buttons and their uses in sewing
Buttons may seem like small details, but they play a crucial role in both functionality and style when sewing garments and accessories. From classic flat buttons to decorative shank buttons and practical snap closures, choosing the right type can elevate the look and durability of your projects. Whether you’re sewing a tailored blouse, a cozy coat, or a trendy bag, understanding button types and their applications ensures a polished and professional finish. Next time you’re planning a sewing project, take a moment to select the perfect buttons—they’re the finishing touch that can truly make your creation stand out!

If you are a sewist, have a look at our recommended sewing machines: beginner sewing machines, sewing tools and notions, coverstitch sergers and overlock machines, embroidery machines and quilting sewing machines, sewing practice sheets and sewing project planner.
If you are looking for sewing patterns, here are some great options: Activewear Sewing Patterns, Plus Size Sewing Patterns, Outerwear Sewing Patterns, Jumpsuit Sewing Patterns, Coord Set Sewing Patterns, Pants Sewing Patterns, Shorts Sewing Patterns, Skirts Sewing Patterns, Dress Sewing Patterns, Top Sewing Patterns, Bodycon Sewing Patterns, Evening Dresses Sewing Patterns, Loungewear Sewing Patterns, Cottagecore Sewing Patterns, Free Sewing Pattern.
Happy Stitching.