Fabric Preparation Before Sewing: A Step-by-Step Guide
After returning from the fabric store, you’re excited about the fantastic fabric you bought for your upcoming sewing project. However, before diving into cutting and sewing, it’s important to take some time for prep work. To ensure your project turns out perfectly, make sure to pretreat your fabric. If you’re unsure how to do this, read this comprehensive guide on fabric preparation before starting to sew.
Fabric Preparation Steps Before Sewing
What does prepping fabric involve? It’s the initial stage of preparing fabric for use, preceding cutting and sewing. Typically, it entails washing, drying, and potentially labeling the fabric.
Why is prepping fabric important? It eliminates chemicals, sizing agents, and reduces fabric shrinkage, ensuring a successful outcome for your sewing project. Beginning with prepped fabric sets the foundation for a functional final product, preventing common issues like unexpected shrinking post-sewing.
Let’s have a detailed look into the fabric preparation steps:
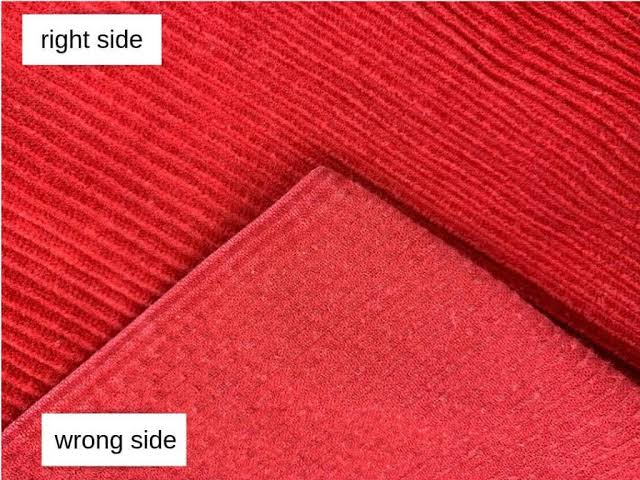
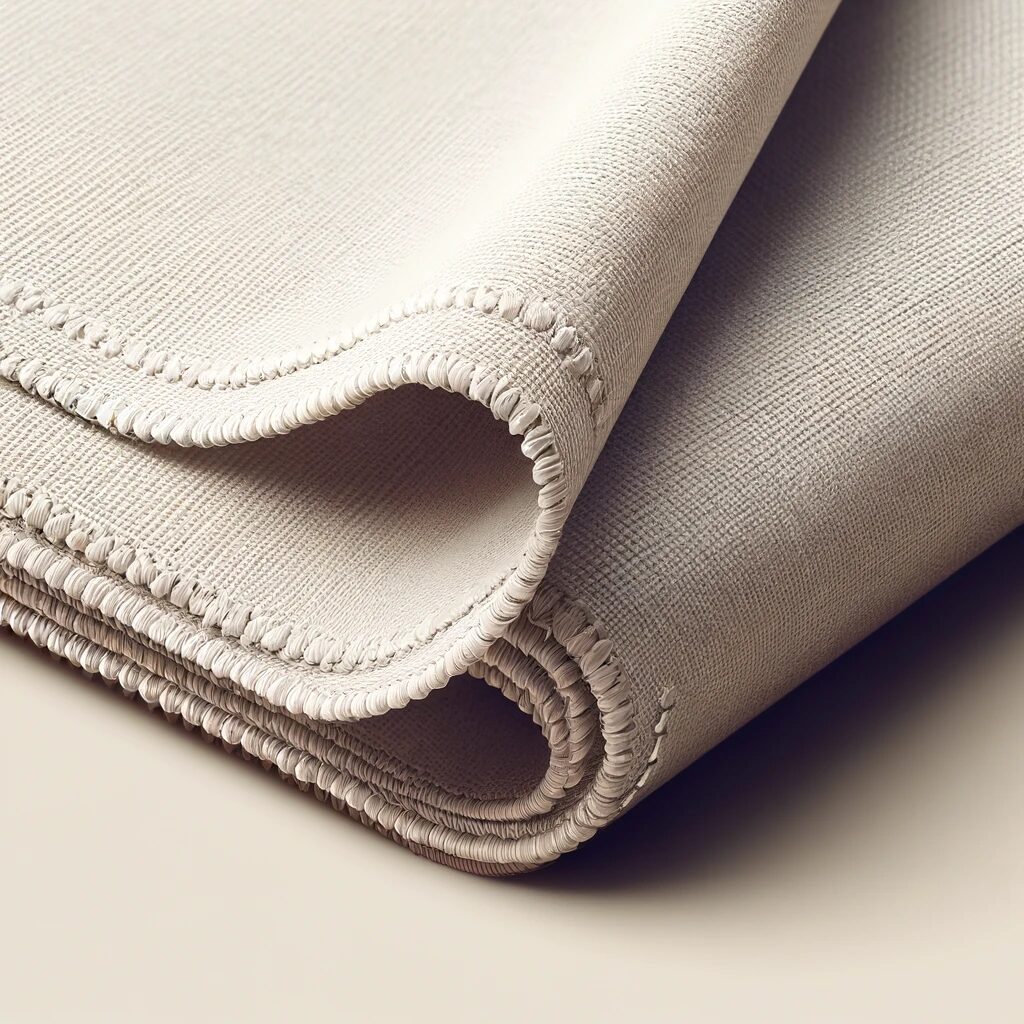
1. Identifying the Right and Wrong Sides
(Img Source)
To determine the right and wrong sides of the fabric, the outward-facing side is known as the right side, while the opposite side is termed the wrong side. This distinction aids in accurately cutting and sewing fabric pieces together.
Some fabrics exhibit variations between their sides; for instance, “patterned cotton” may feature differing shades on each side. Consistently select the side you want to be visible and ensure uniformity when cutting pattern pieces to maintain the desired appearance after sewing.
Conversely, with fabrics like “linen” or “felt” that appear the same on both sides, there is no preference for which side faces outward.
2. Shrinking
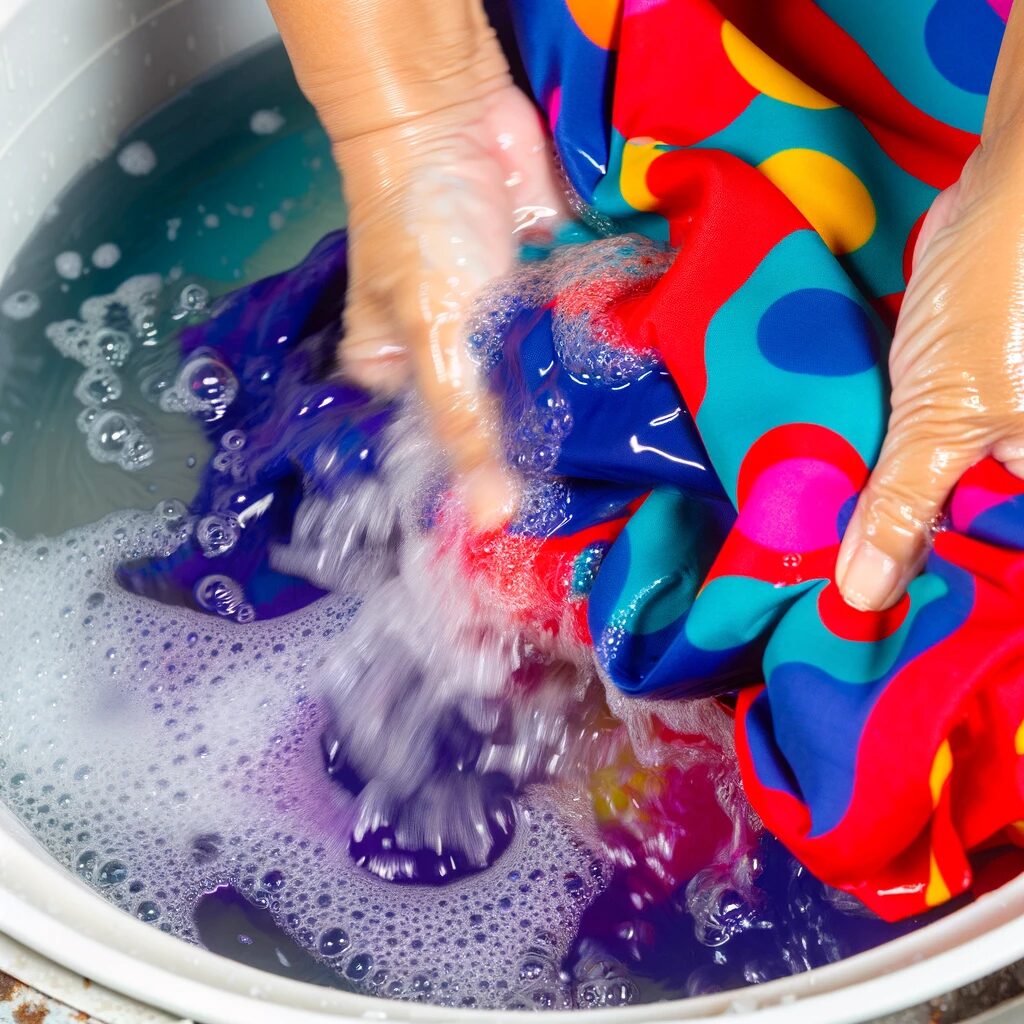
Shrinking the fabric before pinning and cutting is a crucial step in getting it ready. To do this, follow the fabric’s care instructions and wash it. If it’s dry clean only, dampen it and lay it flat on a surface to dry. This pre-shrinking process is especially important for woven cotton and rayon fabrics. It helps prevent shrinkage in the final garment.
3. Ironing

The next step is to always gently press your fabric using an iron to remove any wrinkles. Use the appropriate heat setting for the type of fabric you’re working with to avoid damaging it.
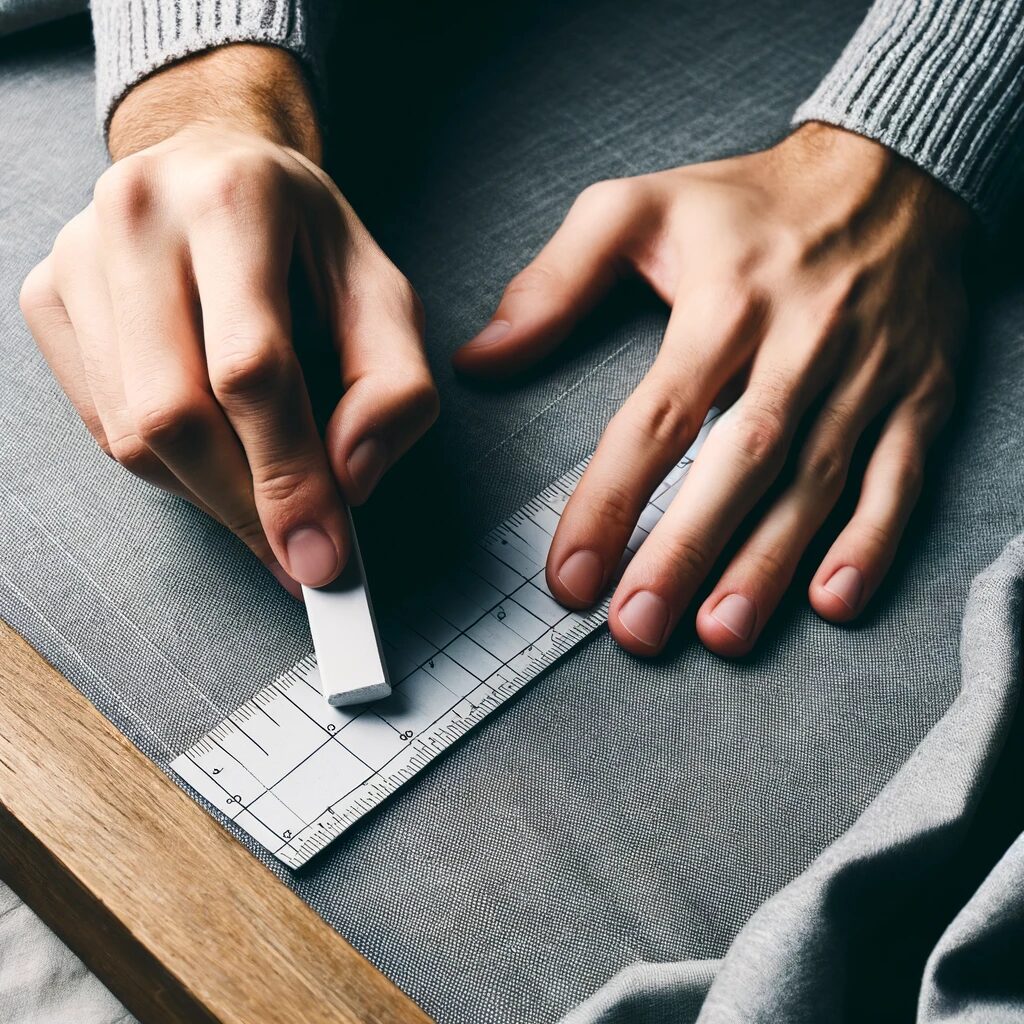
4. Square the Fabric
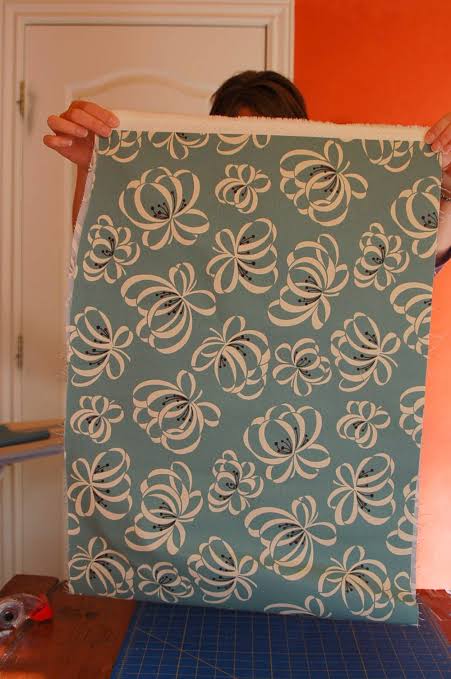
(Source)
To ensure that your fabric is squared up and straight before cutting, fold it in half lengthwise, aligning the selvages (the finished edges of the fabric). Then, fold it in half again widthwise. Make sure all edges and corners are aligned, and the fabric is smooth with no wrinkles or puckers. If necessary, trim any uneven edges with fabric scissors.
Check out this video to learn how to square your fabric:
5. Check for Grainline
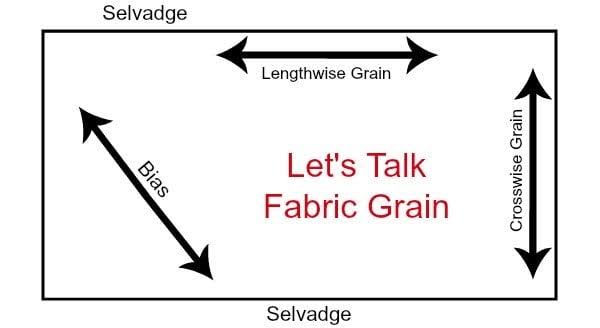
(Source)
Most fabrics have a grainline, which refers to the direction of the fabric’s threads. It’s essential to identify the grainline and align your pattern pieces accordingly to ensure proper drape and fit. To find the grainline, gently tug on the fabric along one edge. The direction with the least amount of stretch is the lengthwise grain, while the direction with more stretch is the crosswise grain. Your pattern instructions will indicate how to align the grainline with your pattern pieces.
Check out this video to learn how to check for grainline in your fabric:
6. Marking
Alright, now before cutting your fabric, transfer any pattern markings onto the wrong side of the fabric using tailor’s chalk, disappearing ink pens, or tailor’s tacks. These markings will guide you during sewing and ensure accurate placement of darts, pleats, pockets, and other design elements.
7. Pinning
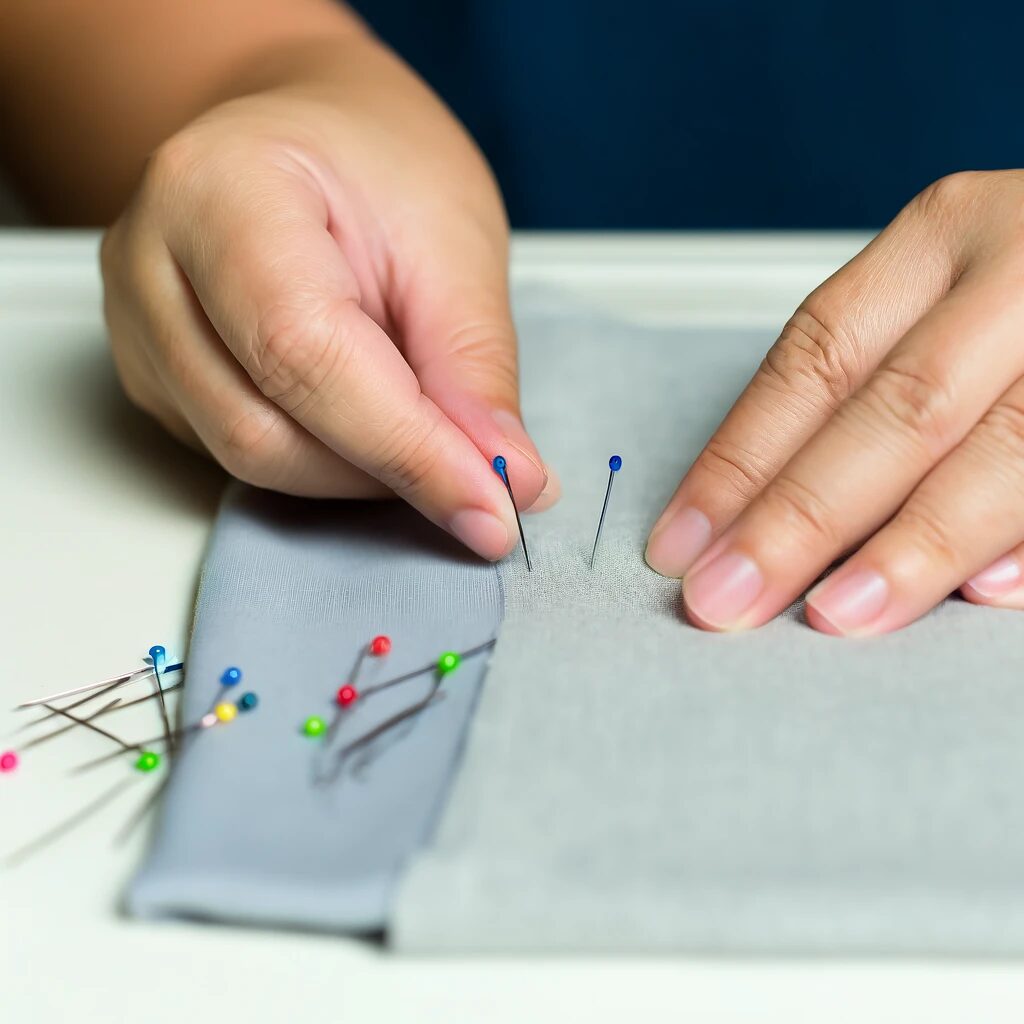
When pinning your fabric, remember less is more. Use just enough pins to keep your pieces in place without creating a pincushion effect. And opt for sharp, pointy pins for easy handling and minimal fabric distortion.
8. Cutting
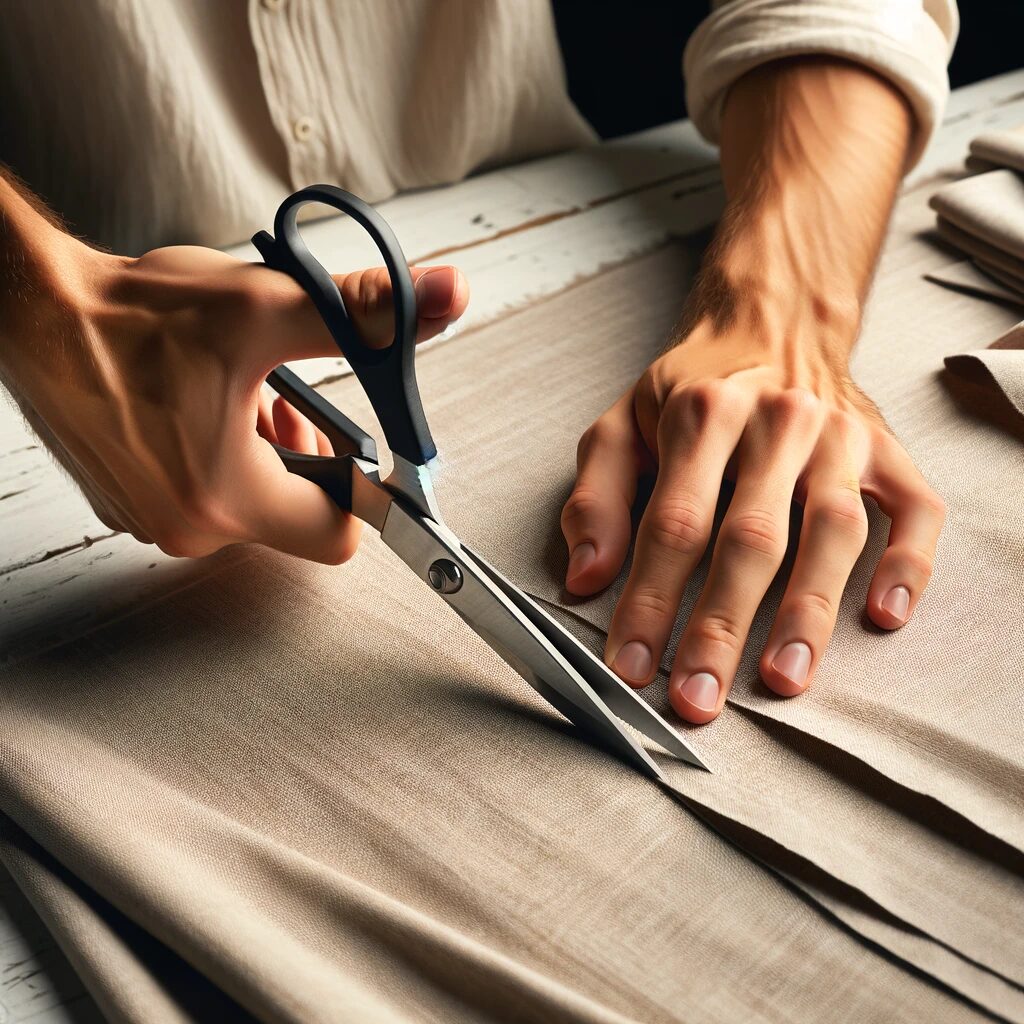
Now, let’s talk cutting. For everyday fabric cutting at home, grab yourself some fabric scissors – they’re super practical. Pinking shears are cool too, but they can be a bit pricey. So, if you’re watching the wallet, stick to the good ol’ fabric scissors. And if you’re feeling adventurous, consider investing in a rotary cutter and cutting mat for even more precision.
9. Finishing Touches
Once your fabric pieces are cut, take a moment to admire your handiwork. If you’re working with delicate fabrics or want to prevent fraying, consider finishing the edges with a serger, zigzag stitch, or bias binding. This extra step can make a world of difference in the longevity and professional finish of your project.
10. Storage

Finally, don’t forget to store your fabric properly between sewing sessions. Keep it in a cool, dry place away from direct sunlight to prevent fading and deterioration. And consider investing in fabric storage solutions like clear bins or hanging organizers to keep your stash organized and easily accessible.
Discover essential tips and techniques for preparing your fabric before sewing in this helpful video guide:
Summary: How to prepare your fabric prior to sewing
So, these were the fundamentals of preparing your fabric prior to sewing. If unsure, refer to resources, but armed with this guide and some common sense, your fabric (and the items you create from it) can endure for years. With your fabric prepped, it’s time to gather your pattern pieces and sewing machine to begin your project.