Sewing Machines Parts and Accessories : A beginner’s guide
Embarking on your sewing journey can be both exciting and overwhelming, especially when faced with the myriads of buttons, levers, and knobs on a sewing machine. Understanding the various parts of your sewing machine and knowing where to locate them is crucial for beginners in sewing. This knowledge not only empowers you to use your machine more effectively but also helps in troubleshooting common issues.
Despite the differences in design among sewing machines, this comprehensive guide is designed to acquaint you with the typical parts of both basic mechanical and advanced computerized models. Additionally, we will delve into the essential sewing machine accessories that will support your growth from a novice to a seasoned sewer. Whether you’re new to sewing or looking to advance, this guide will help you become familiar with the parts and accessories of a sewing machine.
If you’re wondering how to make the right decision as a beginner in choosing the ideal sewing machine, you may refer to this post:
How to choose the perfect sewing machine: Beginner’s Guide
Mechanical Sewing Machine: Basic parts and accessories

(Source)
- Hand Wheel

The handwheel is a knob, employed to manually raise and lower the needle, which is crucial for maneuvering through tight spaces and corners when sewing. Remember to always turn the wheel in your direction to prevent thread from becoming caught or tangled.
- Foot Pedal

(Source)
The foot pedal is connected to the main machine by a wire and is positioned on the floor. When you press down on the pedal with your foot, the sewing machine needle moves up and down. Pressing on the foot pedal partially controls the speed of the stitches.
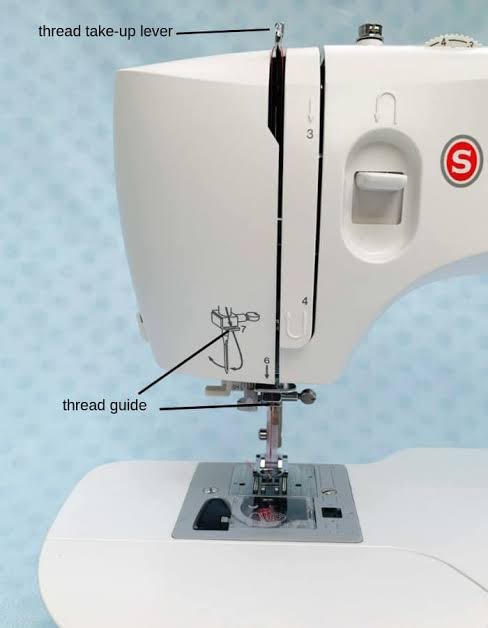
- Thread Guide

(Source)
These markings serve as a roadmap for threading. This vital component of your machine directs the thread from the spool pin either around to the bobbin winder or, on certain machines, downward to the lower needle. Threading your thread through the thread guide helps regulate the tension of the thread. Remember the position of the thread guide may vary among different machine brands, so consult your manual for specific threading instructions tailored to your machine.
- Throat Plate

The throat plate, sometimes referred to as the needle plate, is a metallic plate situated beneath the needle and presser foot. It features a small aperture through which the bobbin thread emerges, allowing the needle to pass through and create stitches. This plate is removable for cleaning purposes underneath.
- Tension Dial

The tension dial regulates the speed at which the thread advances through the machine, influencing stitch tension. This is essential in sewing because the required thread tension varies depending on the materials used—such as the thickness of the fabric (for example, denim, leather, or upholstery fabric will require a different tension setting than cotton or silk). Every manual sewing machine is equipped with a knob or dial that enables adjustment of the tightness or looseness of stitch tension.
- Feed Dogs

(Source)
Feed dogs are small metal or rubber teeth that function to pull the fabric between the presser foot and throat plate. These components grip the fabric and facilitate its movement through the machine, ensuring even stitching. Additionally, the feed dogs play a role in regulating stitch length by controlling the amount of fabric fed through at any given time. It’s important to note that while guiding the fabric, you should allow the feed dogs instead of your hands to handle the movement of the fabric.
- Removable Free Arm
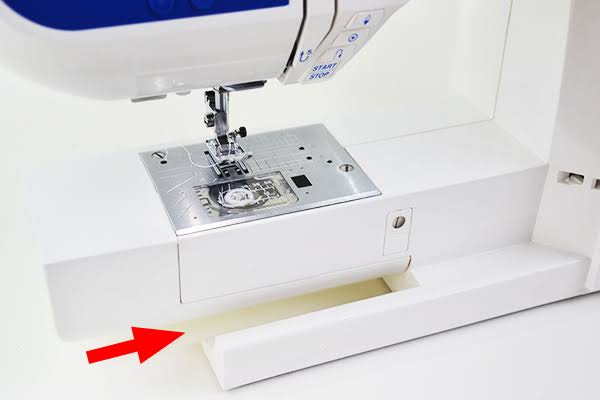
(Source)
The removable free arm is a detachable component that allows for easier sewing of cylindrical items like sleeves and cuffs by providing a narrower workspace. This section also doubles as storage for your sewing essentials.
- Shank
The shank holds the different feet in place while you sew. The design of a sewing machine determines whether the shank is positioned high, low, or at an angle, and it’s compatible with snap-on, screw-on, or clip-on presser feet.
- Needle and Needle Clamp

The sewing machine needle moves back and forth through the fabric without penetrating all the way like in hand sewing. Typically, machines come with a pre-installed needle, but your manual will explain how to change it. Regularly swapping needles ensures neat stitches.
As the name implies, the needle clamp secures the needle in position.
- Spool Pin
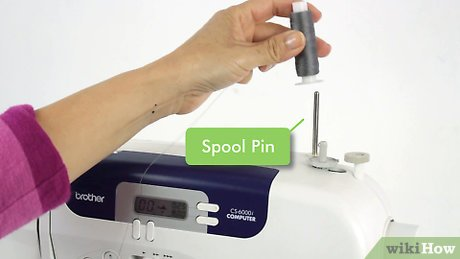
(Source)
The spool pin is where you place your thread to keep it steady while sewing. It can be horizontal or vertical, with horizontal ones offering smoother thread feeding.
- Bobbin Winder

(Source)
The bobbin winder winds thread from the spool onto the bobbin, ensuring it’s wound tightly. Typically, an empty bobbin is placed on the bobbin winder to be filled from the spool. For even winding, it’s essential to start with an empty bobbin.
- Tension Regulator
This dial regulates the tension of the top thread. Correct tension ensures that the top and bobbin threads intertwine to create even stitches. If the tension is too tight, stitches may pucker or break; if it’s too loose, the stitches won’t hold. For machines with a manual dial (like a mechanical machine) turning it counterclockwise reduces tension and clockwise increases it. For machines with digital controls (like a computerized machine) press higher settings to increase tension and lower settings to decrease it.
- Take-Up Lever
(Source)
The top thread goes through the take-up lever, which moves up and down with the needle. Before positioning your fabric under the presser foot, raise the take-up lever completely, ensuring the needle is at its highest point. This prevents the needle from snagging the fabric.
Computerized Sewing Machine: Basic parts and accessories
Let me also introduce you to some common advanced parts of more advanced machines like a computerized sewing machine:
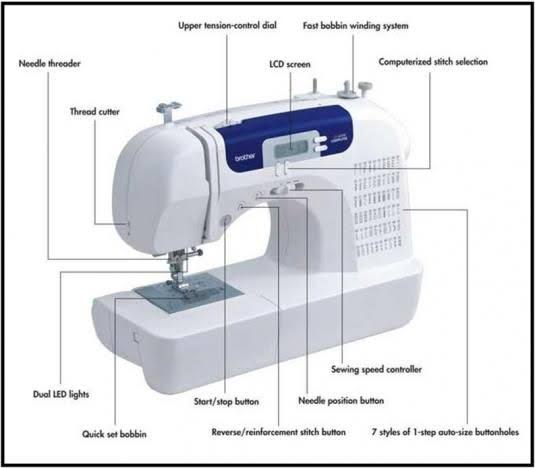
(Source)
- Start/Stop Button
The Start/Stop button allows sewing without using the foot pedal. It’s useful for beginners, longer sewing sessions, and precise stitching, offering more control and reducing foot fatigue.
- LCD Screen
An LCD screen displays stitching options, patterns, and settings, providing user-friendly control and customization for various sewing tasks and techniques.
- Touch Buttons
Touch buttons are very convenient that quickly pick the most common stitches like buttonhole and zigzag stitches. Press these to change your stitch type, and make your stitches bigger or smaller.
- Automatic Needle Threader
An automatic needle threader helps to effortlessly thread the needle, saving time and reducing frustration for users, especially those with dexterity issues.
- Thread Cutter
The thread cutter trims excess thread after sewing. It streamlines the sewing process, saving time and effort. It’s handy for quick adjustments between stitches and helps maintain neat, professional-looking seams.
- Speed Controller
The speed controller keeps the sewing machine running at a consistent speed regardless of the pressure applied to the foot pedal.
- Stitch Selector
Older sewing machines feature a dial for selecting different stitches, while newer ones have buttons for this purpose. Despite the varying methods for changing stitch types, the fundamental principle remains consistent. For most sewing tasks, the essential stitches to use are the straight stitch and zigzag. As you gain more expertise, you can experiment with the decorative stitches available on your machine.
- Stitch Length Selector
The stitch length selector that comes in a dial or knob grants you the power to tailor the stitch length, whether you’re stitching in a straight line, zigzagging, or exploring intricate patterns. Stitch measurements vary between machines, often denoted per inch, spanning from 0 to 20 or metrically, from 0 to 4 stitches per millimeter, or simply by numerical values from 0 to 9. Opting for longer stitch lengths proves beneficial for temporary tacking lines, whereas for everyday sewing tasks, targeting a length of about 2 or 2.5 ensures ample strength for typical seams.
- Stitch Width Selector
The dial or lever dedicated to stitch width governs the width of decorative stitches, like the zigzag stitch.
- Menu Screen
Many computerized machines feature a menu screen, offering the convenience of adjusting functions and stitches. This setup often replaces individual selector dials for stitch type, width, and length.
- Reverse Stitch Button
Pressing the reverse stitch button changes the direction of the stitches, enabling you to reinforce the thread at both the start and end of a seam.
- Buttonhole Sensor
The buttonhole sensor determines the required size of your buttonhole by analyzing the button you’ve selected.
- Quick Set Bobbin
The quick set bobbin feature simplifies bobbin threading and replacement. It saves time during setup and minimizes disruptions while sewing, ensuring smoother workflow and efficient stitching.
Explore the fundamental components of a sewing machine in this video:
Sewing Machine Accessories
Now, let’s talk about accessories. These little tools can make a big difference in your sewing experience. From bobbins to sewing feet, each accessory serves a specific purpose to make your sewing projects easier and more efficient.
Let’s break down some essential sewing machine accessories you should consider:
- Bobbin

(Singer)
A bobbin is a small, spool-like object that holds the lower thread in a sewing machine. It is inserted into the bobbin case and works with the needle thread to create stitches. Sewing machines typically feature either a top drop-in style bobbin or a front-loading bobbin. Once the bobbin is loaded, its thread and the top thread intersect to create each stitch. Releasing the bobbin for threading is straightforward, either through a lever beneath the machine for front-loading bobbins or by opening the top-hatch for top-loading bobbins. Some machines use “plastic bobbins”, while others use “metal.” Make sure to check which type your machine requires to avoid stitch problems.
- Slide Plate or Bobbin Cover

(Source)
Access to the bobbin is granted through either a slide plate or a bobbin cover, depending on the design of the machine.
- Machine Needles
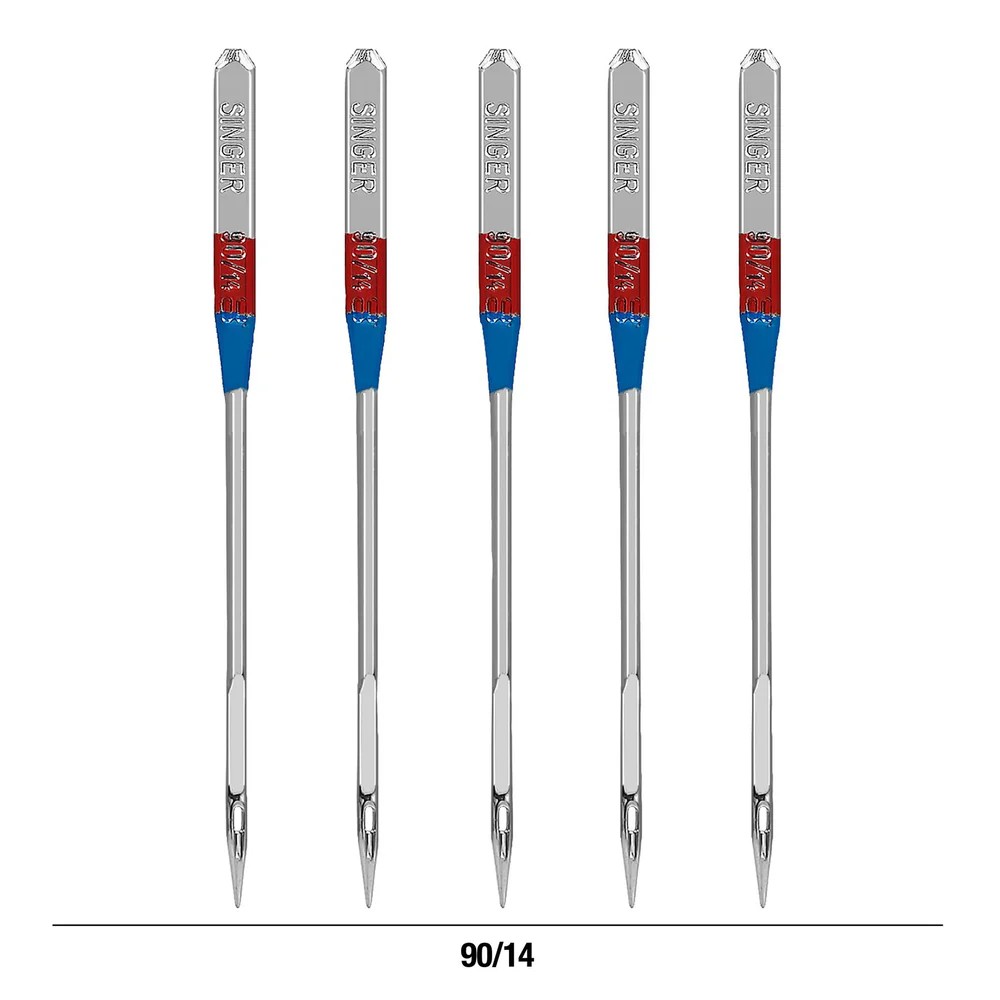
(Singer)
Sewing machine needles are slender, pointed tools used to stitch fabric. They come in various sizes and types for different fabrics and sewing techniques, such as universal, ballpoint, and denim needles.
- Machine Threads

Sewing machine threads are thin strands of material used to create stitches in fabric. They come in various materials like cotton, polyester, and silk, each suited for different sewing projects based on their strength, durability, and appearance.
- Presser Foot
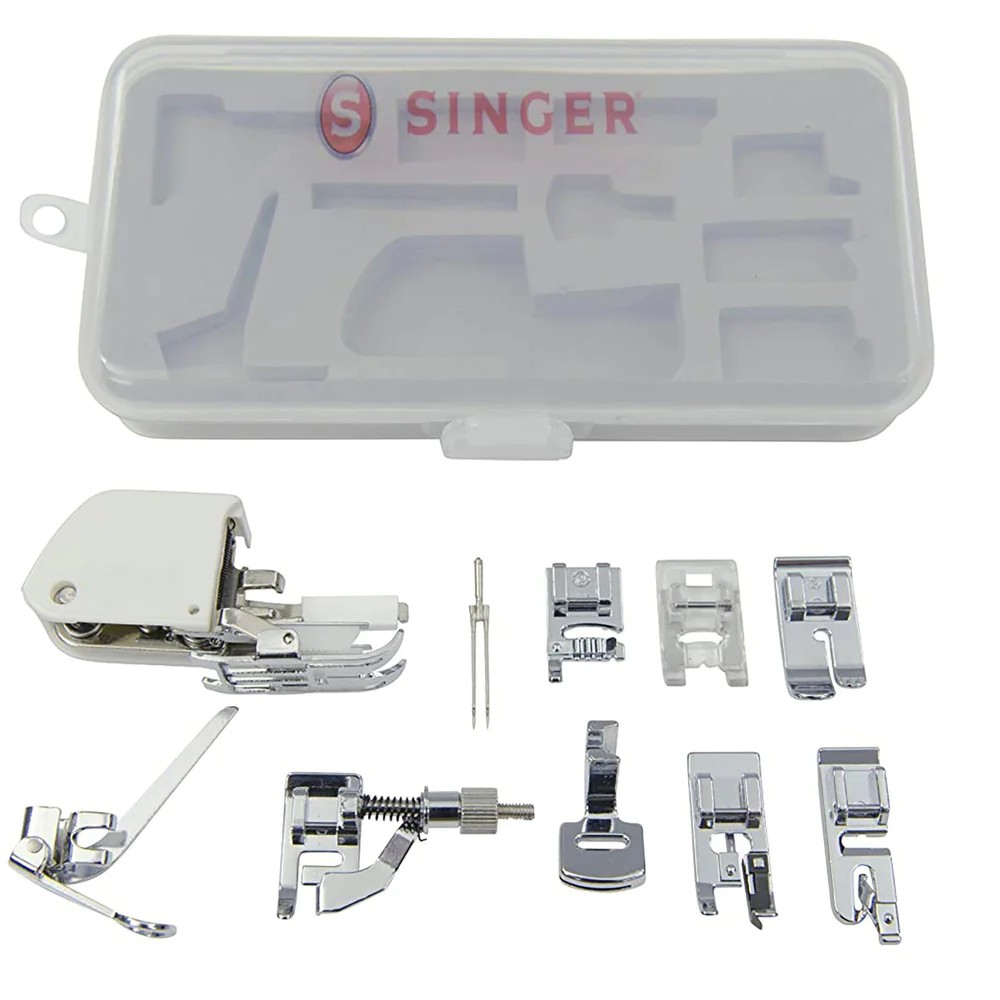
(Singer)
The presser foot plays a crucial role in securing the fabric during sewing. Positioned beneath the needle, this removable metal attachment holds the fabric in place. Adjacent to it, you’ll typically find a lever to raise and lower it. Lift the presser foot when positioning your fabric, then lower it to secure the fabric during sewing. While the basic presser foot is the most commonly used, there are numerous specialty feet available for various tasks, such as crafting buttonholes, attaching zippers, and quilting.
The table below shows a detailed elaboration of the most commonly used presser foot:
| All Purpose Foot | 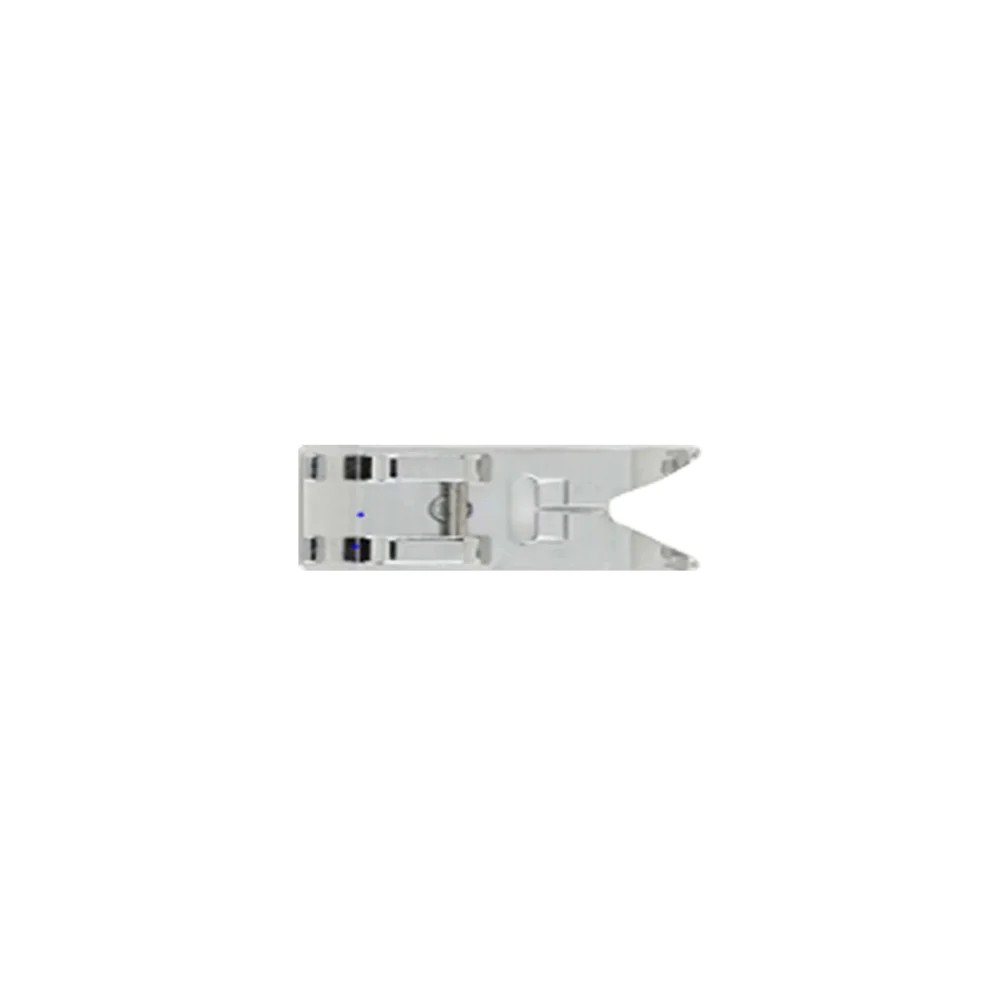 (Singer) (Singer) | Ideal for various sewing tasks involving straight or zigzag stitches. Moreover, it boasts grooves underneath that ensure seamless fabric feeding during the sewing process. |
| Satin Stitch Foot |  (Singer) | Effectively feeds satin and various decorative stitches, making it ideal for applique, decorative stitching, and surface embellishments on projects. |
| Overedge Foot |  (Amazon) | Keeps the fabric stable while working an overedge stitch along the raw edge. |
Embroidery Foot |  (Amazon) | It’s a clear foot that has a groove underneath. This groove lets linear machine embroidery stitches pass through smoothly. |
| Free Motion / Darning Foot | 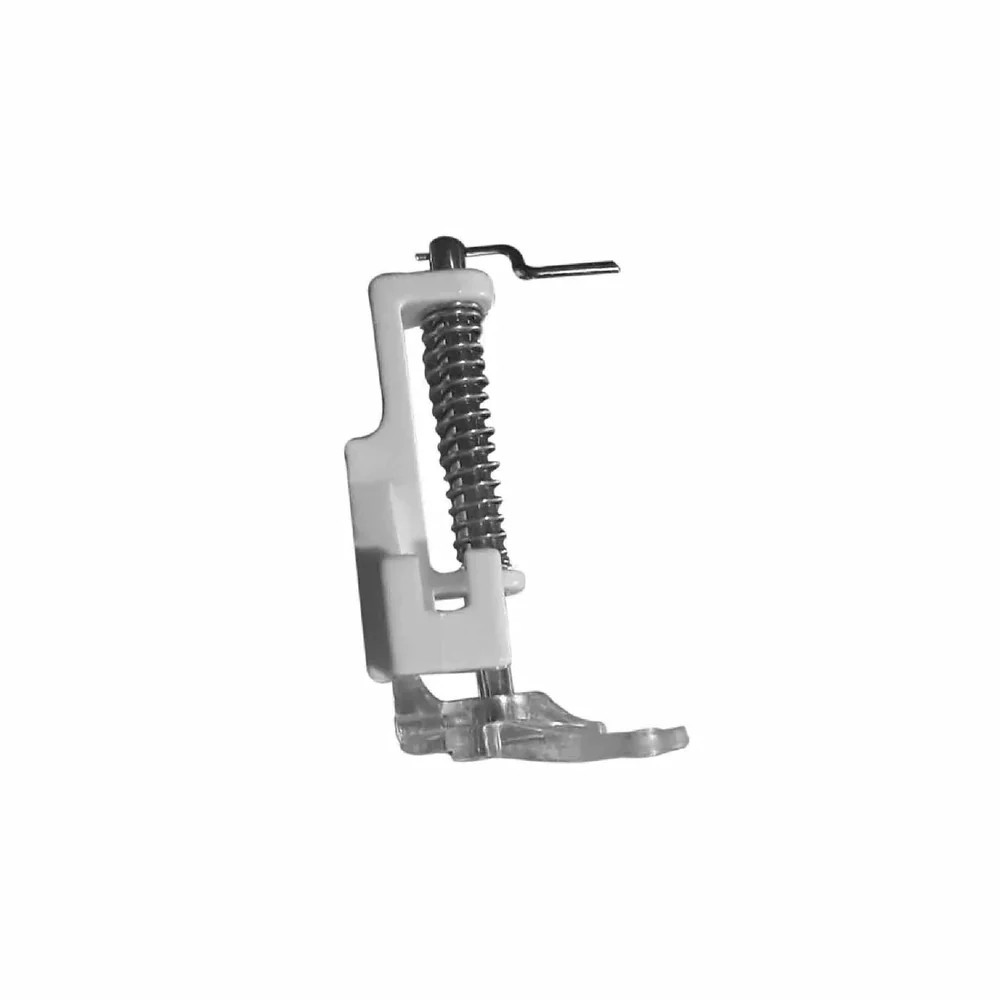 (Singer) | Used for free-motion stitching when the feed dogs are lowered. |
| Button Sewing Foot |  (Singer) | Attach buttons quickly and easily with minimal effort. |
| Buttonhole Foot |  (Amazon) | Creates perfect buttonholes to fit your buttons. |
| Blind Hem Foot |  (Singer) | Produces invisible hems in medium to heavy weight fabrics, particularly effective for hemming knits when paired with a stretch blind hem stitch. |
| Rolled Hem Foot | 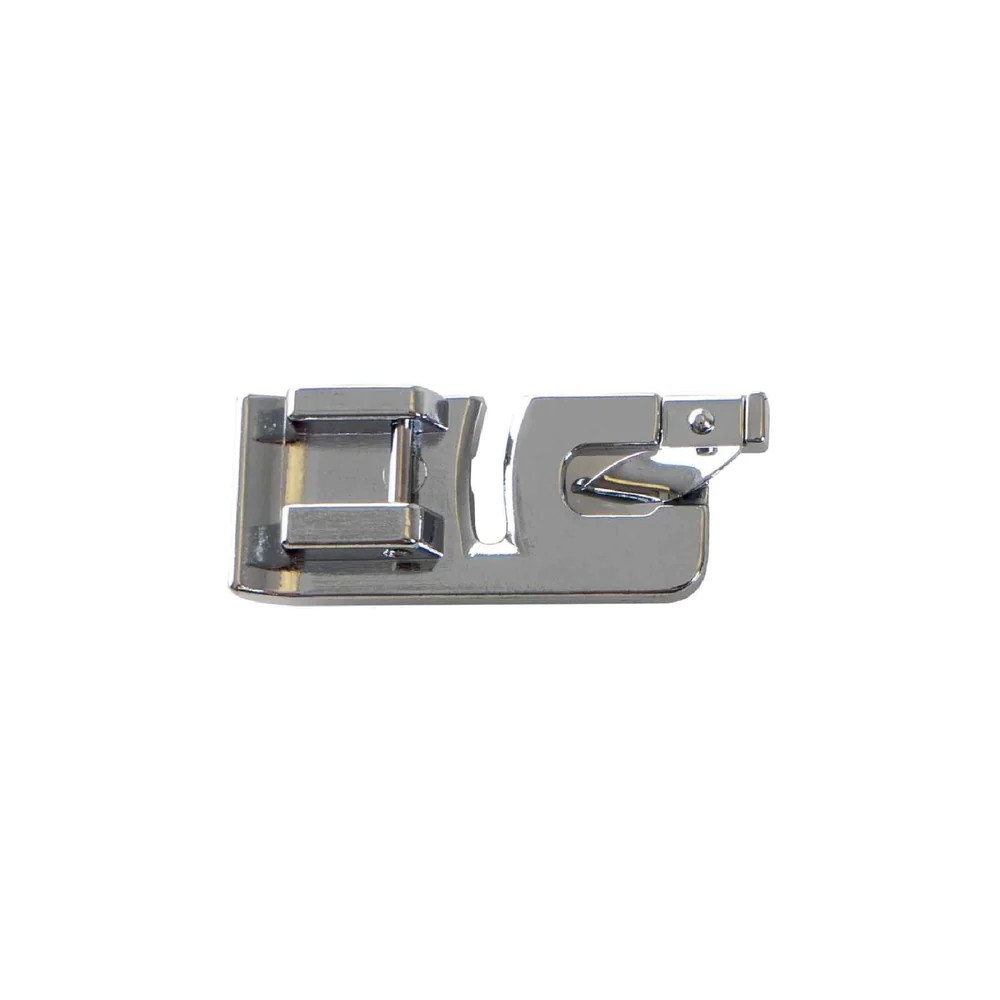 (Singer) (Singer) | Effortlessly sews a narrow rolled hem, providing a flawless decorative edge to fabrics of light to medium weight. |
| Ruffler Foot |  (Singer) (Singer) | Utilized for crafting evenly spaced pleats and gathers, offering options to create uniform pleats at predetermined intervals or to tuck every twelfth stitch, sixth stitch, every stitch, or none at all. It functions optimally with light to medium weight fabrics. |
| Roller Foot |  (Singer) | Help fabrics feed smoothly, especially useful for materials prone to sticking. It reduces friction, ensuring even stitching without fabric distortion. |
| Even Feed / Walking Foot |  (Singer) | Ensures consistent feeding of multiple fabric layers during sewing, preventing any puckering or slipping of the fabric. |
| Overcasting Foot | 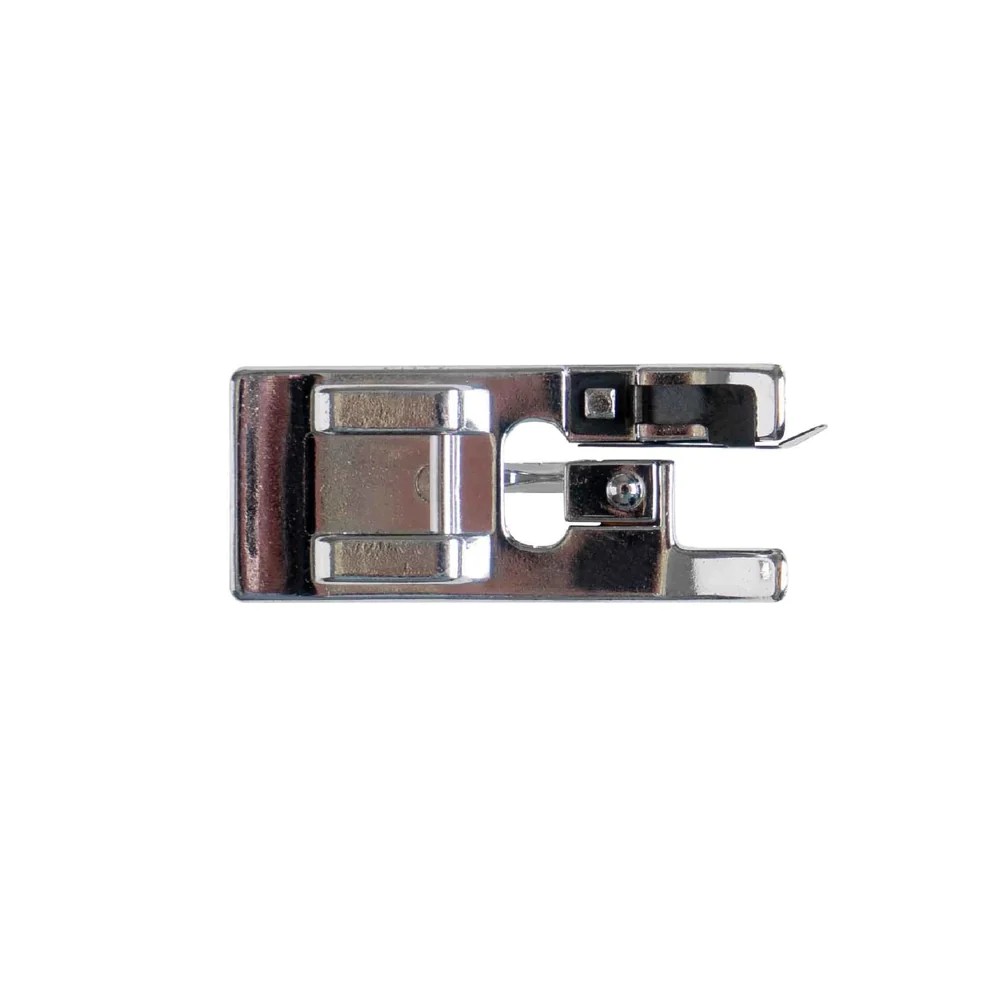 (Singer) | Effortlessly complete fabric edges to stop them from curling, fraying, or unraveling. |
| Zipper Foot | 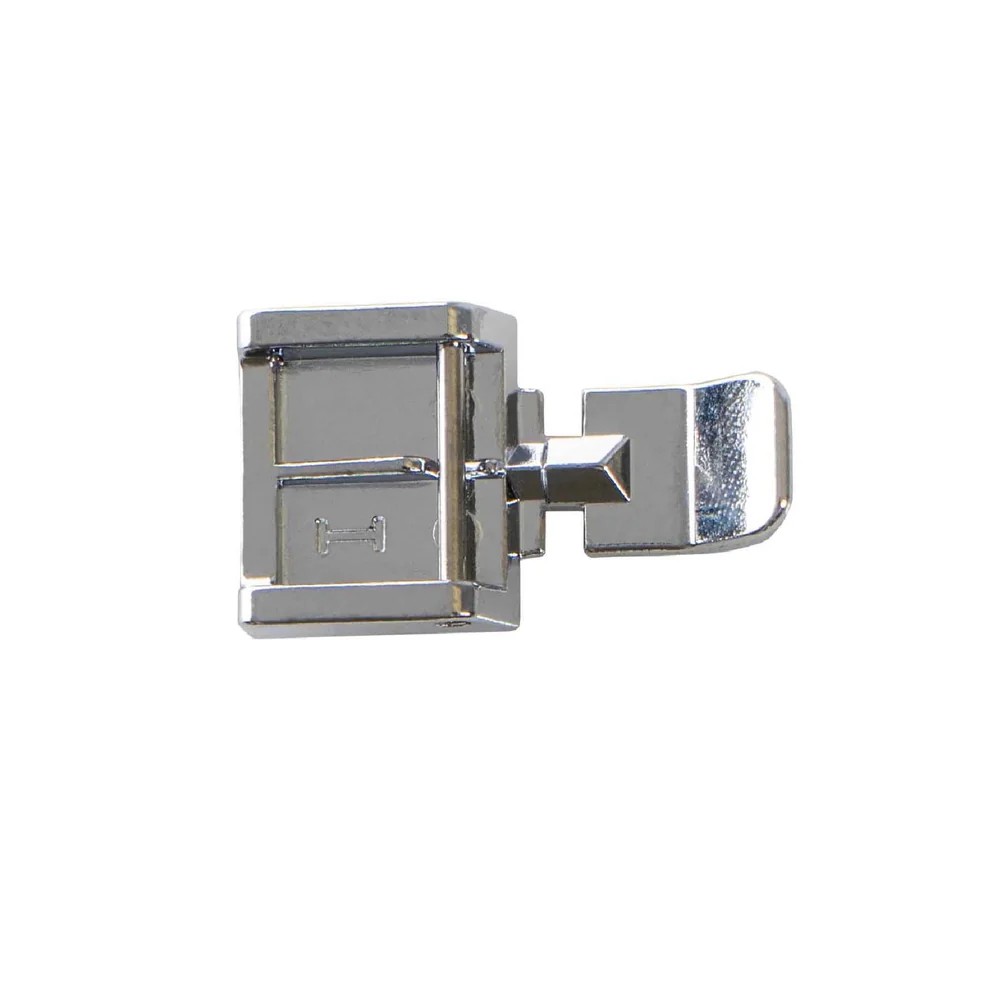 (Singer) | An ideal foot not only for zipper insertion but also for piping insertion and sewing right alongside zipper teeth. |
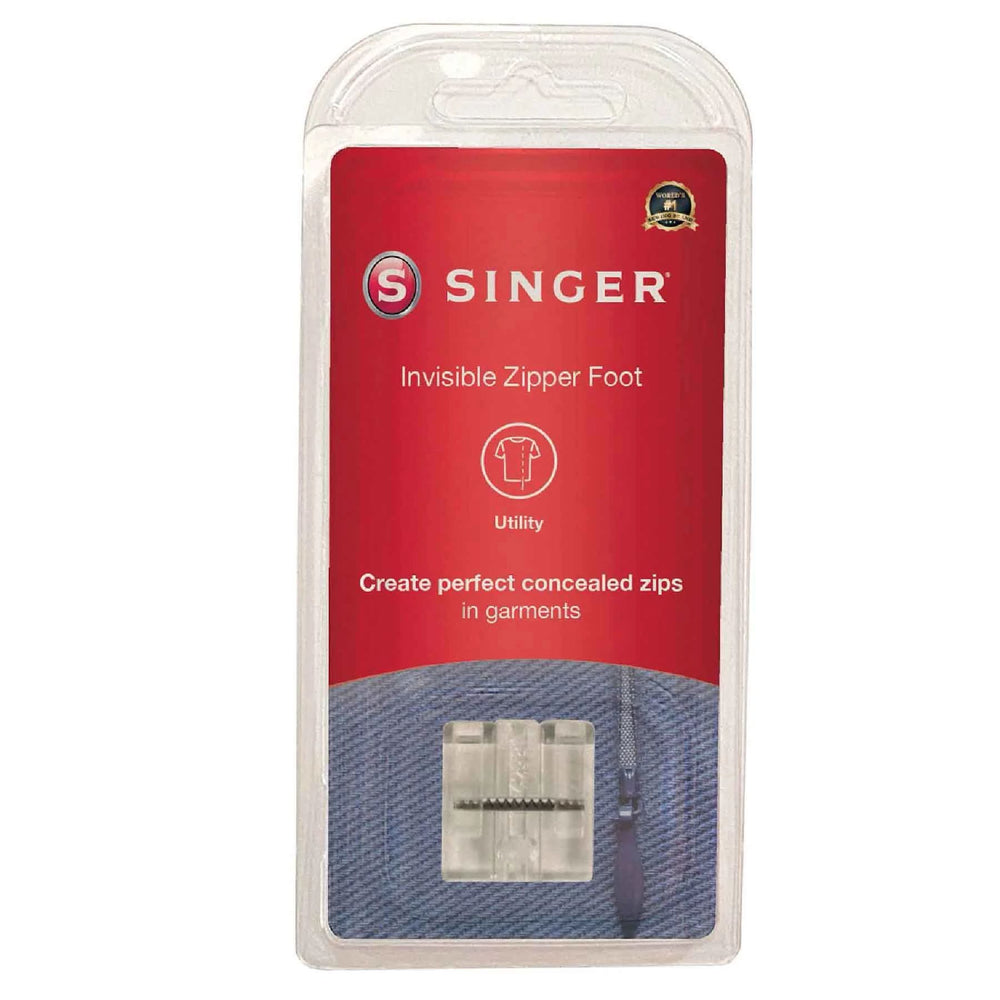
| Invisible Zipper Foot |  (Singer) | Effortlessly insert a concealed zipper in garments and home decor projects, ensuring a seamless finish. |
| Pintuck Foot |  (Singer) (Singer) | Enhances fabrics like garments, table linens, and bed linens, especially with a twin needle. It creates evenly spaced raised tucks, thanks to its grooved underside for perfect parallel rows. |
| Piping Foot |  (Amazon) | Enables close stitching to piping for a professional look. |
| Ribbon Foot | 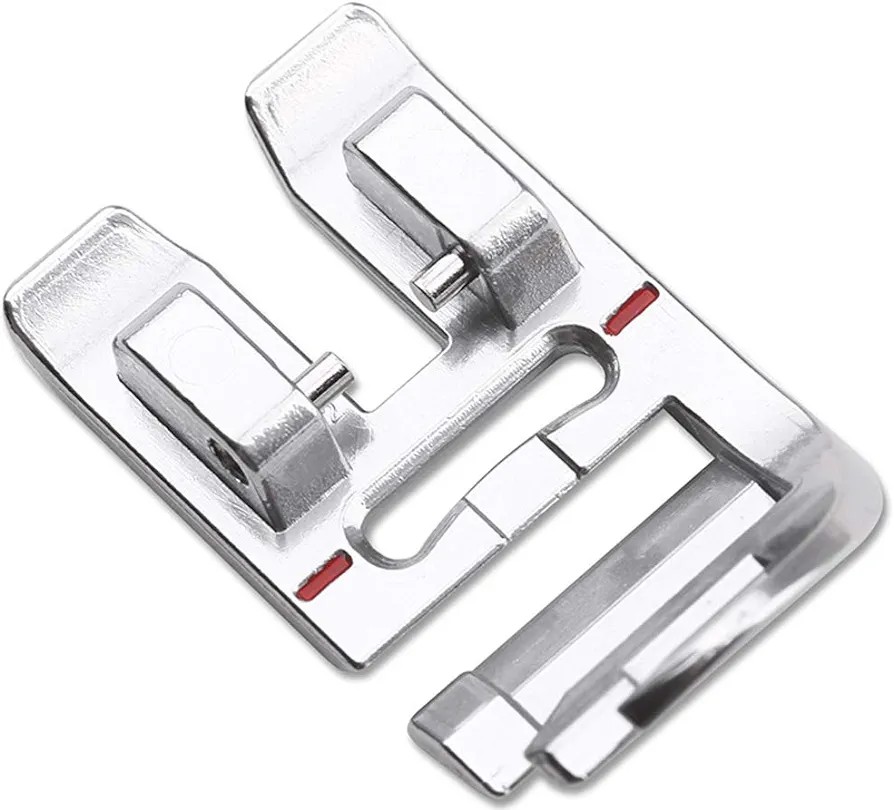 (Amazon) | It’s a foot that feeds one or two ribbons evenly under the machine needle, ensuring your stitching is precise. |
| Beading Foot |  (Amazon) | There are two types of beading feet. A narrow beading foot has a narrow groove and is perfect for attaching small beads or decorative cords. If you have beads on a string, utilize a wide beading foot with a wide groove that lets them fit under it. Then you can zigzag stitch over them easily. |
| Ultra-Glide Foot |  (Amazon) | Made from Teflon™ for smooth gliding, ideal for synthetic leathers. |
Discover the top presser feet that will transform your sewing projects! Click here to explore and purchase the best options available:
21 Best Presser Feet.
Discover the different types of sewing machine feet in this video:
Summary: Parts and Accessories of a Sewing Machine
Understanding the basic parts and accessories of a sewing machine is essential for any sewing enthusiast. From the presser foot to the bobbin case, each component plays a vital role in achieving precision and efficiency in stitching. Mastery of these elements empowers crafters to tackle a wide range of projects with confidence and creativity.
If you are a sewist, have a look at our recommended sewing machines: beginner sewing machines, sewing tools and notions, coverstitch sergers and overlock machines, embroidery machines and quilting sewing machines, sewing practice sheets and sewing project planner.
If you are looking for sewing patterns, here are some great options: Activewear Sewing Patterns, Plus Size Sewing Patterns, Outerwear Sewing Patterns, Jumpsuit Sewing Patterns, Coord Set Sewing Patterns, Pants Sewing Patterns, Shorts Sewing Patterns, Skirts Sewing Patterns, Dress Sewing Patterns, Top Sewing Patterns, Bodycon Sewing Patterns, Evening Dresses Sewing Patterns, Loungewear Sewing Patterns, Cottagecore Sewing Patterns, Free Sewing Pattern.
Happy Stitching.