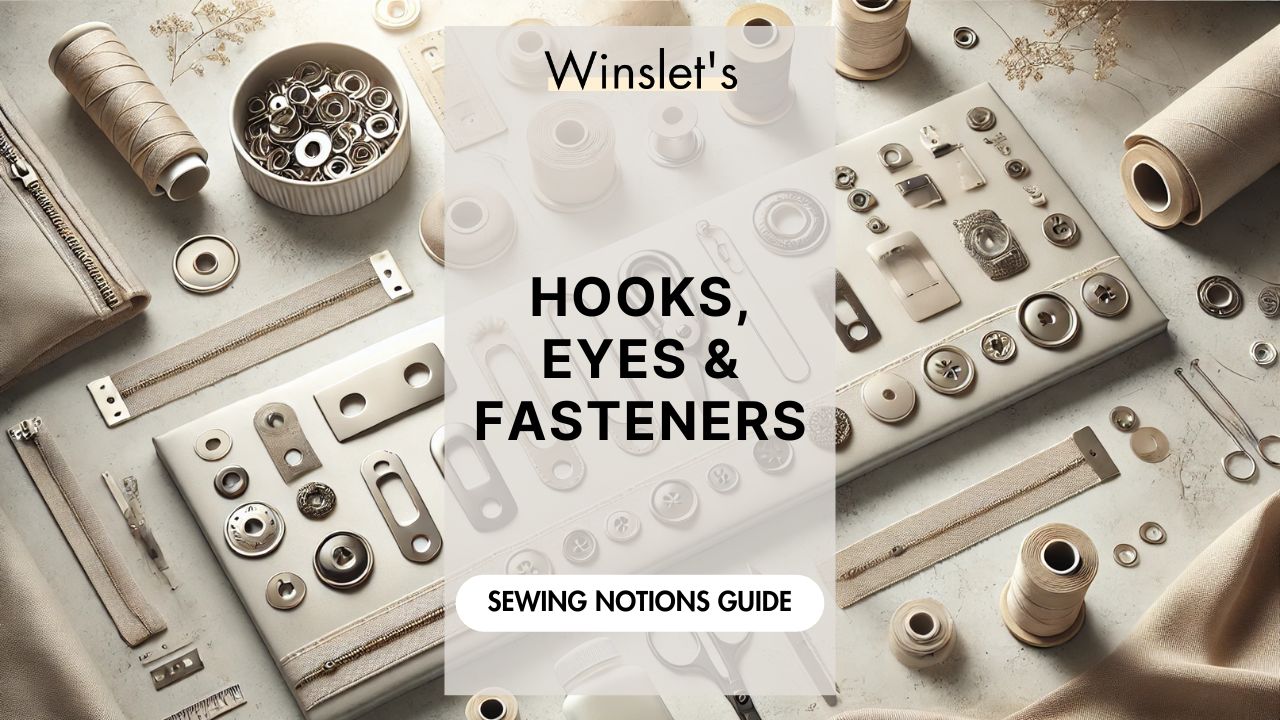
Essential Sewing Notions: A Guide to Hooks and Eyes, Elastic & Fasteners
Hooks and eyes, elastic, and other fasteners are essential sewing notions that provide both functionality and aesthetic appeal to garments. Hooks and eyes are small metal fasteners commonly used in garments where a discreet closure is desired, such as on bras, dresses, and skirts. They consist of a hook and a corresponding eye, creating a secure and nearly invisible closure. Elastic is a versatile material that adds stretch and flexibility to clothing, making it ideal for waistbands, cuffs, and fitted garments. It can be attached to fabric edges or sewn into casings, depending on the design requirements. Other fasteners, such as Velcro and snap tape, offer alternative closure solutions for various sewing projects. Velcro, also known as hook-and-loop tape, is particularly useful in children’s clothing and adaptive wear due to its ease of use. Snap tape provides a convenient alternative to buttonholes and can be sewn onto garments, bags, and home decor items. Understanding the appropriate use and application of these notions enhances both the functionality and appearance of your sewing projects.
For a comprehensive guide on these essential sewing notions, including detailed instructions and illustrations, continue reading
What are Hooks and Eyes?
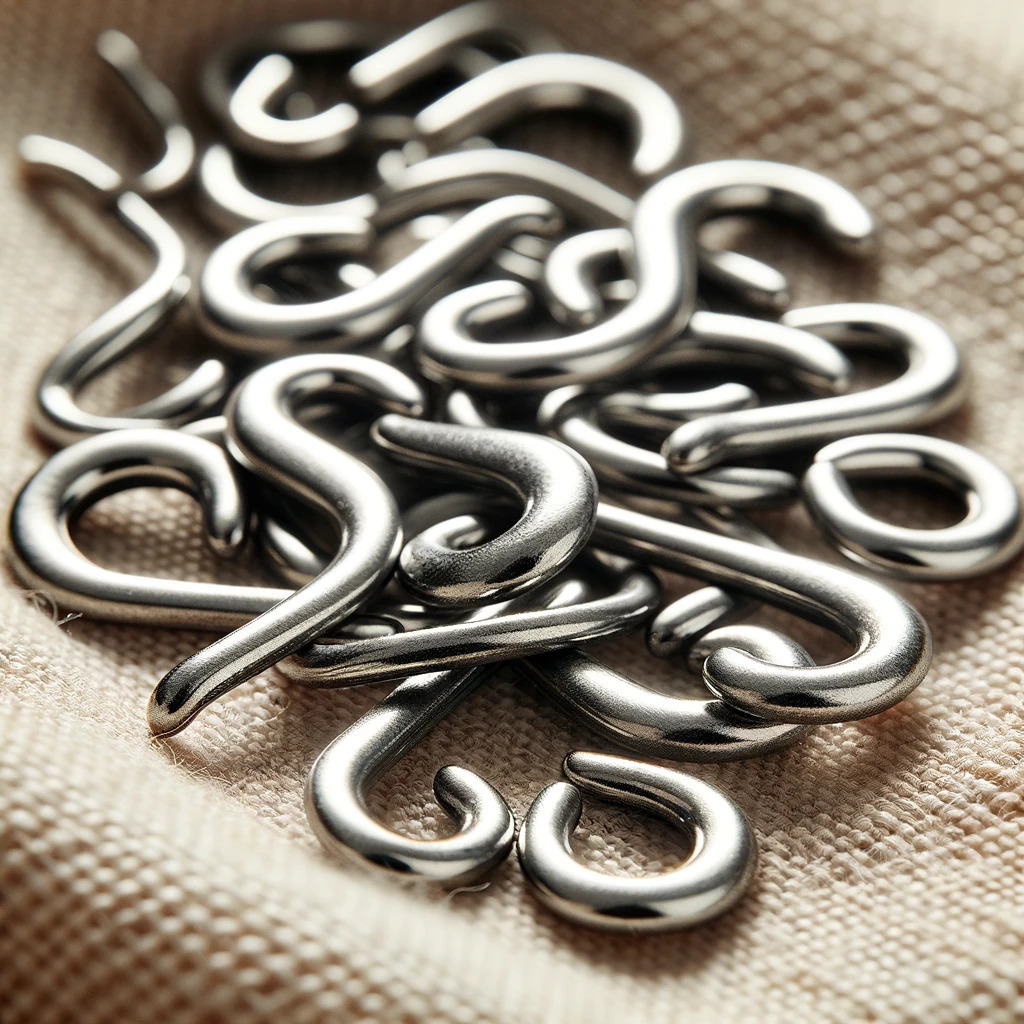
Hooks and eyes are small, discreet fasteners commonly used in garments where a smooth, seamless look is desired. The “hook” is a small metal bar and the “eye” is a tiny loop. When joined, they create overlapping closures that are flat and nearly invisible. They are often found on bras, dresses, and skirts, providing a secure closure that is almost invisible from the outside.
1. Determine where to place the hook and eye on your garment, usually on overlapping fabric edges.
2. Mark their positions about 1/8 inches (0.32 cm) from the fabric’s edge using a fabric marker.

- For Attaching the Hook:
3. Start by anchoring the fabric with a small double stitch at the marked spot. Align the hook’s round part with the fabric edge.
4. Avoid pushing the needle entirely through the fabric to prevent visible stitches. Pass it through one of the hook’s loops and secure the knot.
5. Stitch around the loops with a blanket stitch, creating knots by passing the needle through the thread loops.
6. Repeat until the hook is firmly attached.
- For Attaching the Eye:
7. Position the eye on the opposite end with a double stitch, ensuring alignment with the hook.
8. Use a blanket stitch to secure the eye, as it’s more reliable than straight stitches.
9. Tie a knot close to the fabric once both hook and eye are sewn.
10. Trim any excess threads and check the closure to ensure it fastens correctly and lies flat.
https://youtu.be/vKkOVkRp0hA?si=jfrGxbBJWS4AN01J
Frog Fastener
Creating a decorative cord loop, known as a frog fastener, is common in garments with an Asian influence. While they can be purchased, making them is simple. Similarly, a matching ball button can be crafted from cord by twisting it over and under itself.
- Here’s how to make a frog fastener:
1. Use fabric glue to secure the cord, shaping it into the desired form and attaching it to the fabric’s edge. Conceal the ends beneath the center.
2. Stitch along each edge of the cord with small hand stitches using matching thread for extra security.
- For tying a ball button:
1. Begin by forming a loop in the cord.
2. Twist the cord to create another loop over the initial one, ensuring the end of the cord passes under the first loop.
3. Continuously loop the cord over, under, over, and under all the other loops.
4. Pull both ends to cinch the loops into a ball button shape.
5. Stitch the ends in a decorative pattern to complement the frog fastener.
What are Tape Fasteners
Tape fasteners are adhesive strips or pieces of tape used to securely attach two objects together, often temporarily. They come in various forms, such as hook and loop (like Velcro) or a snap tape.
Velcro
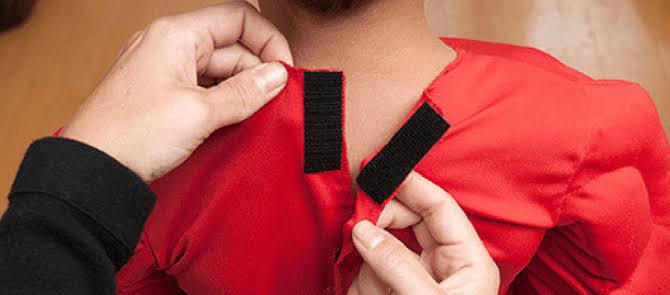
Velcro, or hook-and-loop tape, is a versatile fastener used in a wide range of applications, from clothing to home decor. It is especially popular in children’s clothing and adaptive clothing due to its ease of use. Velcro can be sewn onto fabric or applied with adhesive backing.
1. Cut the Velcro to the appropriate size using scissors to prevent damaging the hooks or loops.
2. Position the Velcro pieces onto the fabric, ensuring precise alignment.
3. Place the soft Velcro on the underside of the top fabric piece and the scratchy Velcro on the lower fabric piece, using pins or fabric glue at the center of the strip.
4. Utilize a heavy-duty needle and, if available, a special presser foot for hook and loop closures in your sewing machine; otherwise, use a zipper foot.
5. Adjust your machine to a smaller stitch length and sew using either straight or zigzag stitches, moving the needle left or right. Make small stitches along the seams.
Snap Tape
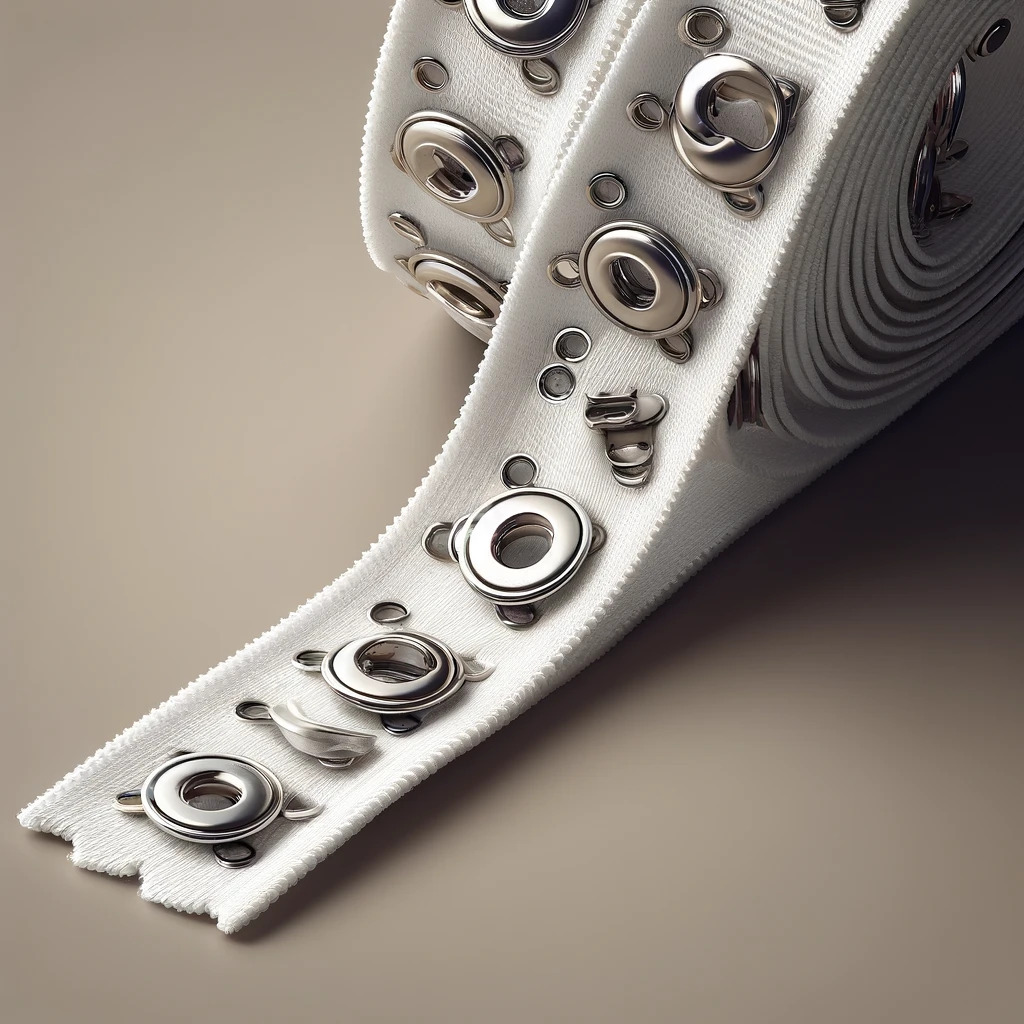
Snap tape provides a convenient alternative to buttonholes and can be sewn onto various items like garments, bags, onesies, and home decor projects, such as dresses, bodysuits, jackets, etc.
1. Ensure both your thread and bobbin thread match the color of your snap tape.
2. To prevent needle breakage, opt for a heavy-duty needle as the twill is thicker than standard fabric.
3. Use a zipper foot to sew along all four sides of the snap tape.
What are Eyelets?
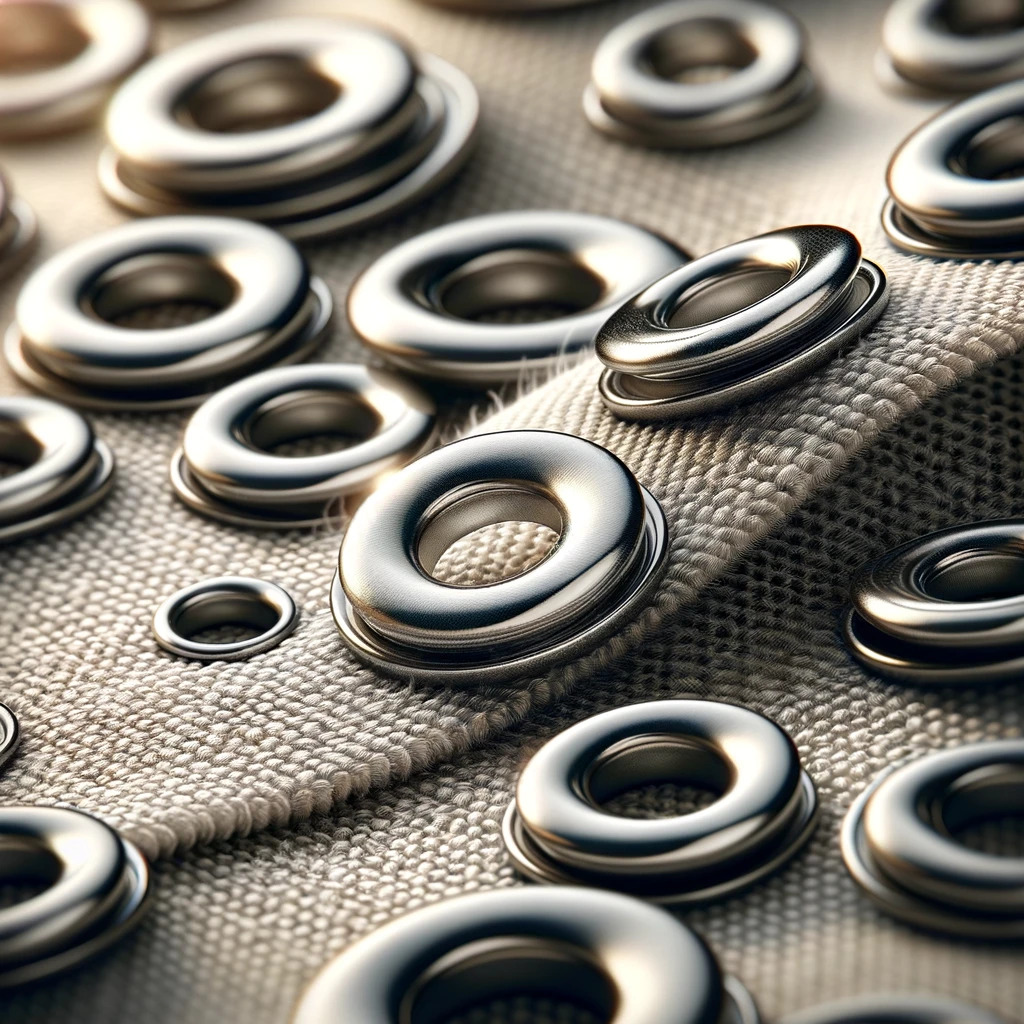
Eyelets are metal circles that can be inserted into fabric to create neat finished holes. They typically consist of two parts, and when pressure is applied to join them, the fabric forms a hole with enclosed raw edges.
1. Begin by carefully marking the desired location for the eyelet on the fabric.
2. Use scissors to create a hole for the eyelet shaft by making a small “x” without stretching the fabric.
3. Insert the eyelet shaft through the hole.
4. Apply force with a hammer to crush the eyelet shaft securely over the fabric.
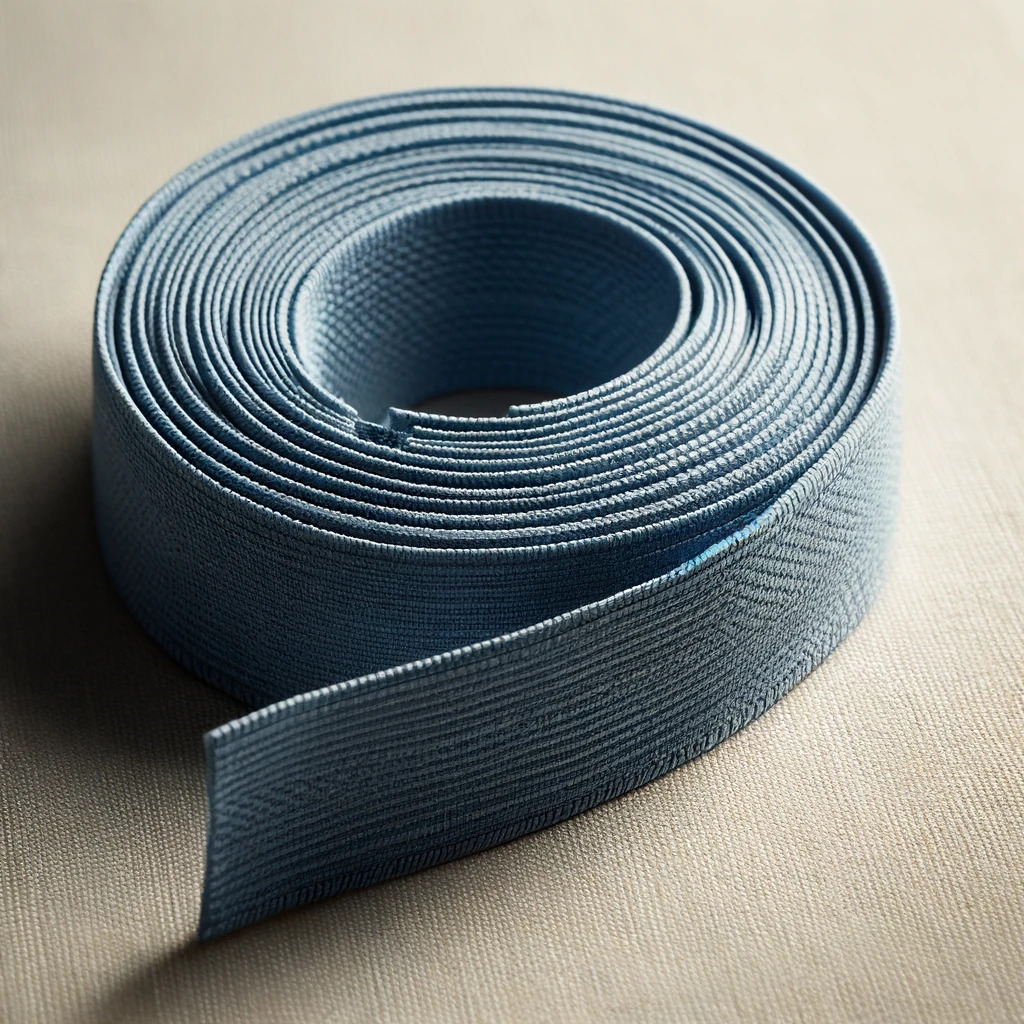
What is Elastic?
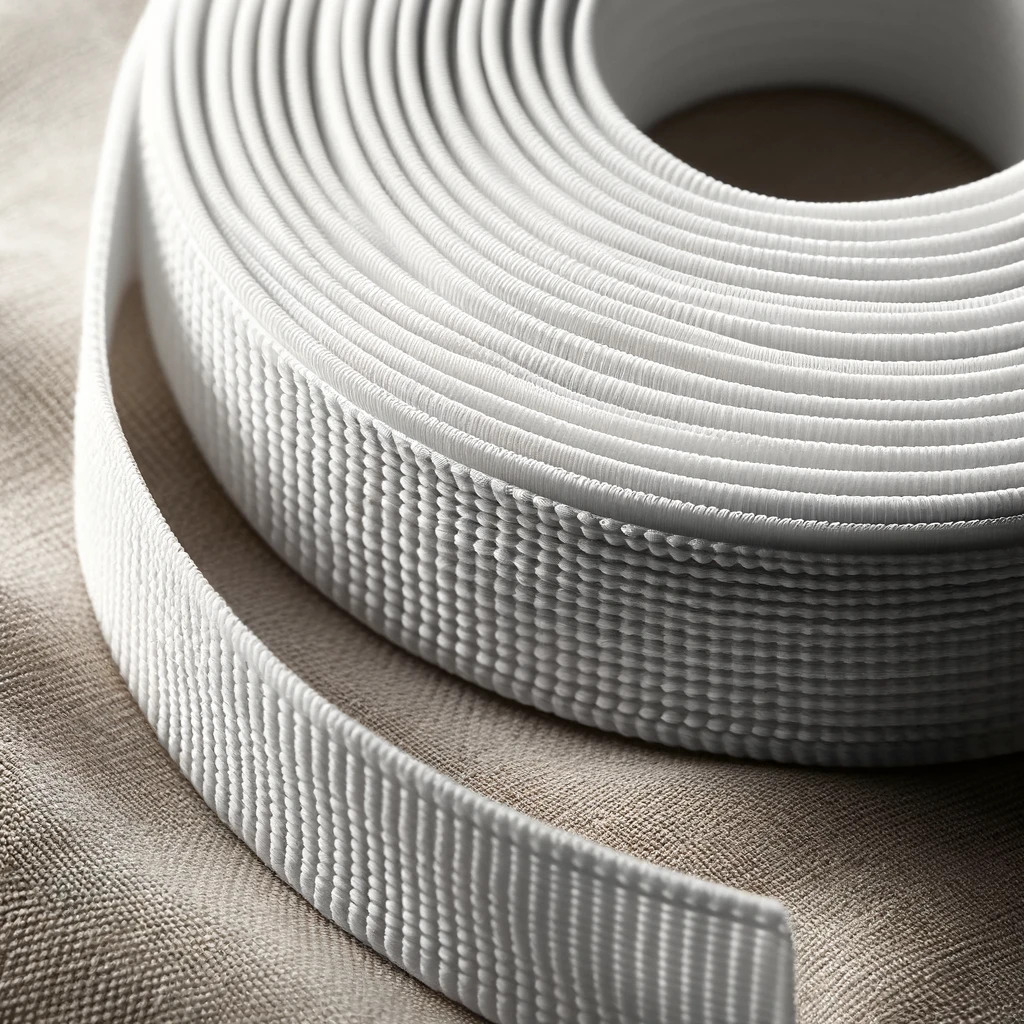
Elastic is a crucial notion for creating flexible and comfortable garments. It is used in waistbands, cuffs, and necklines, providing stretch and ensuring a snug fit. Elastic comes in various widths and types, including braided, woven, and knit.
How to Attach Elastic to Fabric Edges?
When sewing elastic onto fabric edges, this method is ideal for wider elastics, providing a subtle gather. It’s commonly used for knit fabrics and patterns involving elastic at the neck, waistband, or leg openings, but not typically used in woven fabric patterns.
1. Start by folding the elastic into a loop, overlapping the ends by ½ inch (12 mm), and stitching them together.
2. Divide both the elastic and the edge of the fabric into quarters and mark them for alignment.
3. Pin the elastic to the wrong side of the fabric edge, matching the quarter marks.
4. Stretch the elastic between marks and stitch along the edge using a wide zigzag stitch or a serger. If using a serger, avoid cutting the edge to maintain elastic strength.
5. Fold the elastic down by its width on the inside of the waistband and pin it in place, stretching it as needed.
6. Stitch the elastic in place along the waistband edge, flattening it as you sew, using either a straight or zigzag stitch.
How to Sew Elastic in a Casing?
This method is suitable for elastic waistbands with either thin or thick elastic, providing fuller gathers. It’s versatile for necklines, sleeves, and ankles, particularly in woven fabric patterns.
1. Press the top raw edge of the waistband over by ¼ inch (6 mm) on the fabric’s wrong side.
2. Fold the top edge over again by the fabric’s width plus an additional ¼ inch.
3. Stitch around the bottom edge of the casing, leaving a 1-inch (2.5 cm) gap, typically on the side or back of the waistband, and backstitch on either side of the gap.
4. Thread the elastic through the casing using a safety pin, overlapping the ends by ½ inch (12 mm), and stitch them together with a straight or zigzag stitch.
5. Push the elastic back into the casing and stitch the gap closed.
What is Bias Tape?
Bias tape is a strip of fabric cut on the bias (diagonal to the grain of the fabric), making it stretchy and flexible. It is used to finish edges, create casings, and add decorative touches to garments and home decor items. Bias tape can be pre-made or custom-made from matching or contrasting fabric.
Sewing a Single Fold Bias Tape
Single fold bias tape is a narrow strip of fabric that has been cut on the bias (diagonally across the grain) and folded in half lengthwise. It’s often used to neatly finish raw edges of fabric, such as on quilts, garments, or crafts.
1. Begin by determining the desired side for your bias tape, starting from the opposite side of the fabric. Use an iron and steam to shape the bias tape.
2. Shape the bias tape 1/4″ away from the fabric’s raw edge. This ensures alignment of raw edges when unfolded for stitching. Stitch along the crease closest to the raw edge.
3. Next, turn the bias tape to the other side of the fabric, in this case, the right side, and press it again before stitching the inner edge in place.
Sewing a Double Fold Bias Tape
Double fold bias tape is similar to single fold bias tape, but it’s folded in half twice lengthwise, resulting in a strip with four layers of fabric. This creates a neat, finished edge on both sides when it’s used to encase raw edges of fabric. It’s commonly used for binding edges on quilts, garments, and other sewing projects.
1. Begin by unfolding the tape and pinning it to the right side of the fabric, ensuring the raw edges are aligned. Note that one side of the folded tape is wider than the other. Pin the narrower side at this stage.
2. Sew along the fold of the bias tape closest to the fabric’s raw edge.
3. Wrap the tape to the wrong side of the fabric, covering the stitching line with the folded edge of the tape, and pin in place.
4. Stitch very close to the edge of the tape on the right side.
5. Ensure the stitching catches the edge of the tape on the wrong side.
Summary: Choosing the right fastener is important
Choosing the right fasteners can make all the difference in your sewing projects, ensuring both functionality and a polished finish. Hooks and eyes provide discreet closures, elastic adds comfort and flexibility, and alternatives like Velcro and snap tape offer easy fastening solutions. Understanding when and how to use these sewing notions will help you create garments that fit well, feel comfortable, and last longer. Whether you’re working on everyday wear, tailored pieces, or specialty projects, these small yet essential tools will elevate your sewing skills and make your creations even more versatile!
If you are a sewist, have a look at our recommended sewing machines: beginner sewing machines, sewing tools and notions, coverstitch sergers and overlock machines, embroidery machines and quilting sewing machines, sewing practice sheets and sewing project planner.
If you are looking for sewing patterns, here are some great options: Activewear Sewing Patterns, Plus Size Sewing Patterns, Outerwear Sewing Patterns, Jumpsuit Sewing Patterns, Coord Set Sewing Patterns, Pants Sewing Patterns, Shorts Sewing Patterns, Skirts Sewing Patterns, Dress Sewing Patterns, Top Sewing Patterns, Bodycon Sewing Patterns, Evening Dresses Sewing Patterns, Loungewear Sewing Patterns, Cottagecore Sewing Patterns, Free Sewing Pattern.
Happy Stitching.