How to Insert a Bobbin in your Sewing Machine?
Hey there, sewing enthusiasts! Today, I’m going to walk you through the essential task of inserting a bobbin into your sewing machine. Whether you’re new to sewing or just need a quick refresher, this guide will help you master this crucial step with ease.
What is a Bobbin?
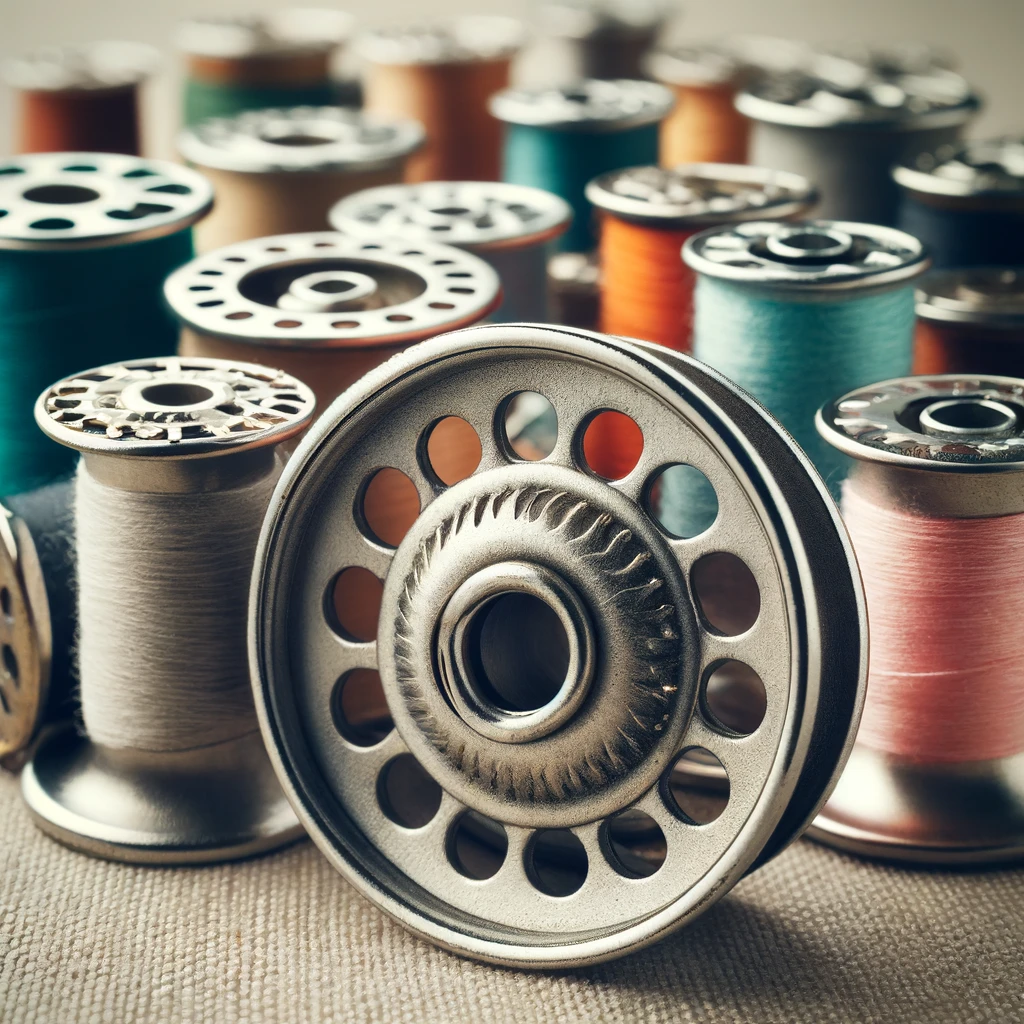
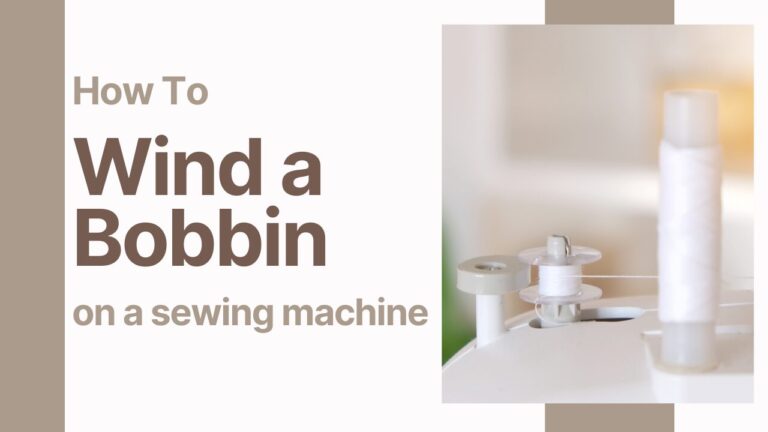
First things first, a bobbin is a small spool that holds the thread for the bottom part of your stitches. You need to wind the bobbin with thread before you can insert it into your machine. If you’re unsure how to wind a bobbin, check out my basic tutorial on that first:
How to wind a bobbin on your sewing machine?
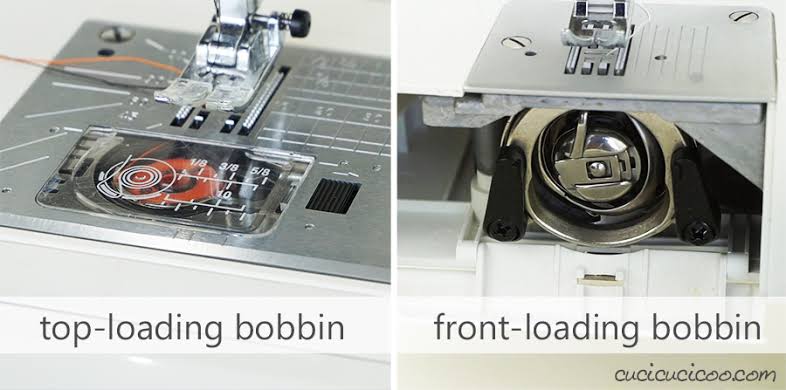
Types of Bobbin Systems: Front-Loading vs. Top-Loading
Sewing machines generally use two types of bobbin systems: top-loading (drop-in) and front-loading.
| Top-Loading Bobbin | Front-Loading Bobbin |
| Ideal for beginners as it is easier to load. | Users can easily adjust the bobbin thread tension. |
| The bobbin sits flat and the case stays inside the machine. | The bobbin sits upright and you need to remove the case to insert it. |
| Spins continuously in one direction, making the stitching smooth. | Moves back and forth, which can be a bit more complex. |
| Allows you to monitor thread levels easily. | The bobbin is enclosed, which some users prefer. |
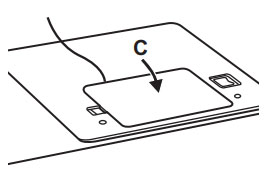
Take a look at your sewing machine:
- If there’s a small cover near the needle plate, you have a top-loading bobbin.
- If you need to open a door on the front of the machine to access the bobbin, it’s front-loading.
(Source)
In both top-loading and front-loading machines, a part called the shuttle moves the top thread around the bobbin case, catching the bobbin thread and pulling it up through the needle plate. This action forms what we know as a “stitch.”
In most top-loading sewing machines, the shuttle is designed to spin continuously in one direction. This is known as a “rotary shuttle hook.” The bobbin, which holds the lower thread, lies flat in a horizontal position. This design is common in modern sewing machines because it allows for smoother and faster stitching.
Here is an animation to show how the rotary shuttle works. Picture the bobbin and shuttle lying flat:
(Source link: Wikipedia)
In contrast, most front-loading sewing machines use an “oscillating shuttle hook.” This means the shuttle moves back and forth rather than in a continuous circle. The bobbin in this setup is positioned vertically. Although this design is a bit older, it is still reliable and used in many sturdy sewing machines today.
Here is an animation to show how an oscillating shuttle works:

(Source link: Hobby Couture)
An additional point to note is that rotary shuttles are typically quieter and require less maintenance compared to oscillating shuttles, which might need more frequent cleaning and oiling due to their back-and-forth movement. This difference in maintenance can influence a user’s choice depending on their sewing needs.
Inserting a Front-Loading Bobbin
Step 1: Turn Off Your Machine
Safety first! Always turn off your machine to avoid any accidents.
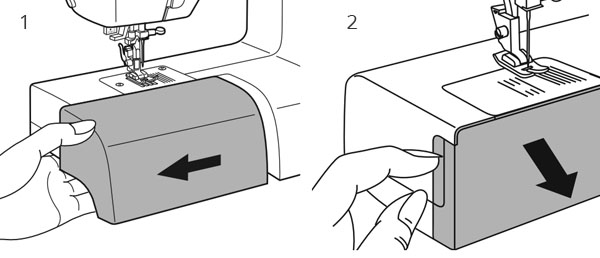
Step 2: Open the Bobbin Area
- Remove the extension table if your machine has one.
- Open the front cover to access the bobbin case.
(Source link: Singer)
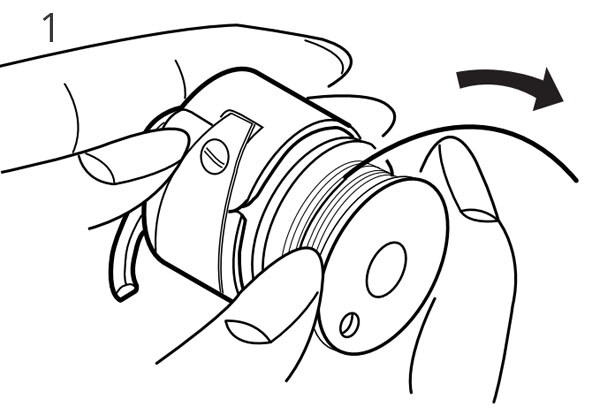
Step 3: Insert the Bobbin into the Bobbin Case
- Make sure the thread unwinds in the direction of the arrow on the bobbin case.
(Source link: Janome)
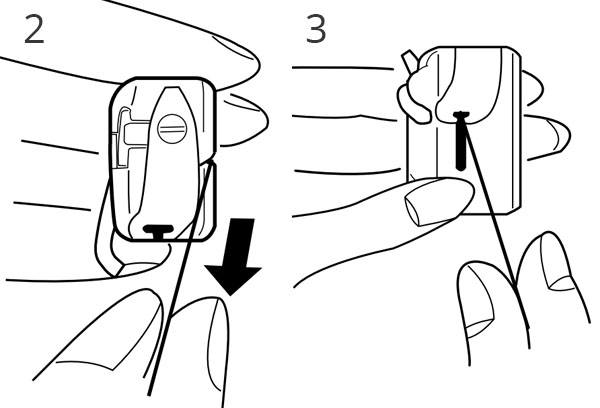
- Pull the thread through the notches on the case.
(Source link: Janome)
Step 4: Leave Some Thread Hanging
- Leave about 4 inches of thread free.
- Ensure the thread is hanging to the right of the bobbin case’s metal extension.
Step 5: Place the Bobbin Case into the Machine
- Position the metal extension at 12 o’clock.
- Push the bobbin case into place until it clicks securely.
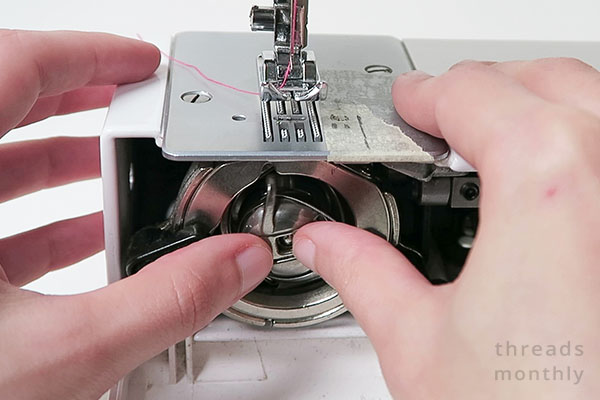
(Source link: Threads Monthly)
Step 6: Adjust if Necessary
If it doesn’t fit easily, turn the handwheel (always towards you) to help align the bobbin area.
Note: Always turn the handwheel towards you (counterclockwise) to avoid jamming the machine.
Inserting a Top-Loading Bobbin
Step 1: Turn Off Your Machine
Turn off your machine or put it into safety mode if available.
Step 2: Remove the Bobbin Cover
- Raise the presser foot to get it out of the way.

(Source link: Threads Monthly)
- Beside the transparent bobbin cover, there’s a latch. Slide it to the right to open the bobbin cover and remove it.
(Source link: Threads Monthly)
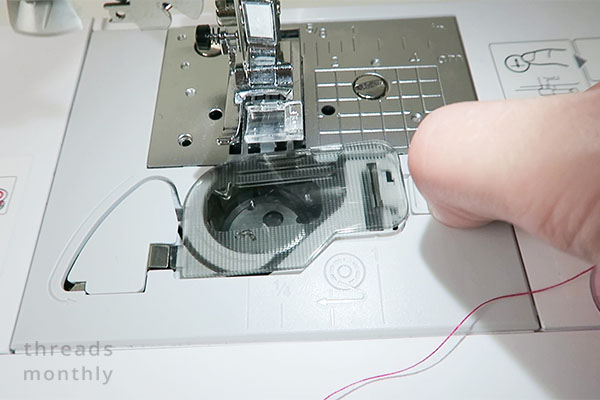
Step 3: Insert the Bobbin
- Place the bobbin into the holder with the thread unwinding counterclockwise.
- Guide the thread through the slit in the needle plate cover to ensure it enters the tension spring.

(Source link: Threads Monthly)
Step 4: Cut the Thread
Use the built-in cutter to trim the thread, or if there isn’t one, leave about 6 inches of thread hanging out towards the back.
(Source link: Singer)
Step 5: Replace the Bobbin Cover
- Reattach the bobbin cover by first inserting the tab on the cover into the notch on the machine.
- Press down to snap it into place.
You may watch this video for a better understanding of the process:
Extra Tips for Smooth Sewing
To ensure your sewing experience is as smooth and enjoyable as possible, it’s important to keep a few key tips in mind. These pointers will help you maintain your machine, achieve perfect stitches, and avoid common pitfalls:
- Ensure correct tension for even stitches. Both top and bobbin threads should have the right tension.
- Clean the bobbin area regularly to remove lint and dust. This helps prevent jams.
- Good quality thread reduces lint build-up and breakage, ensuring better stitch quality.
- If you’re new to sewing, practice inserting the bobbin a few times with the machine off. This helps you become familiar with the process and reduces mistakes.
Summary: How to insert a bobbin?
And there you have it! By following these simple steps, you’ll be able to insert your bobbin correctly and get back to creating beautiful projects with your sewing machine. Always remember to consult your machine’s manual for any specific instructions or troubleshooting tips. Happy sewing!
If you are a sewist, have a look at our recommended sewing machines: beginner sewing machines, sewing tools and notions, coverstitch sergers and overlock machines, embroidery machines and quilting sewing machines, sewing practice sheets and sewing project planner.
If you are looking for sewing patterns, here are some great options: Activewear Sewing Patterns, Plus Size Sewing Patterns, Outerwear Sewing Patterns, Jumpsuit Sewing Patterns, Coord Set Sewing Patterns, Pants Sewing Patterns, Shorts Sewing Patterns, Skirts Sewing Patterns, Dress Sewing Patterns, Top Sewing Patterns, Bodycon Sewing Patterns, Evening Dresses Sewing Patterns, Loungewear Sewing Patterns, Cottagecore Sewing Patterns, Free Sewing Pattern.
Happy Stitching.