How to Wind a Bobbin on your Sewing Machine?
Mastering the art of how to wind a bobbin on your sewing machine is a foundational skill for any sewing enthusiast. Properly wound bobbins ensure smooth sewing, prevent thread jams, and produce consistent, high-quality stitches.
In the picture below, you can clearly see the difference between a well-wound bobbin and a badly wounded one. A well-wound bobbin makes sewing smooth and easy, while a badly wound bobbin can cause problems and poor stitch quality.
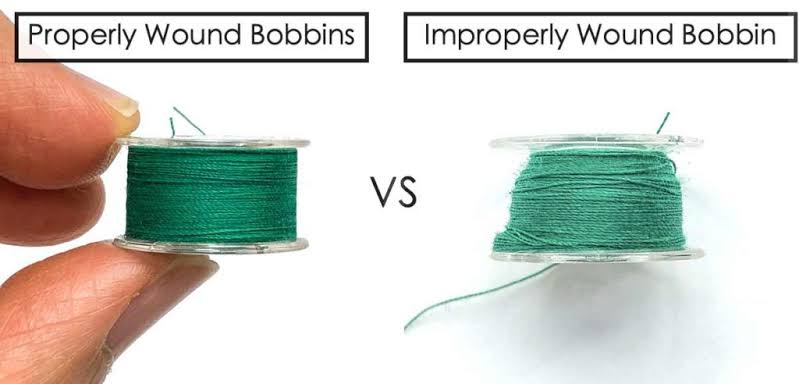
(Source)
This detailed guide will walk you through each step of the bobbin winding process and provide additional insights to enhance your sewing experience.
Understanding the Bobbin
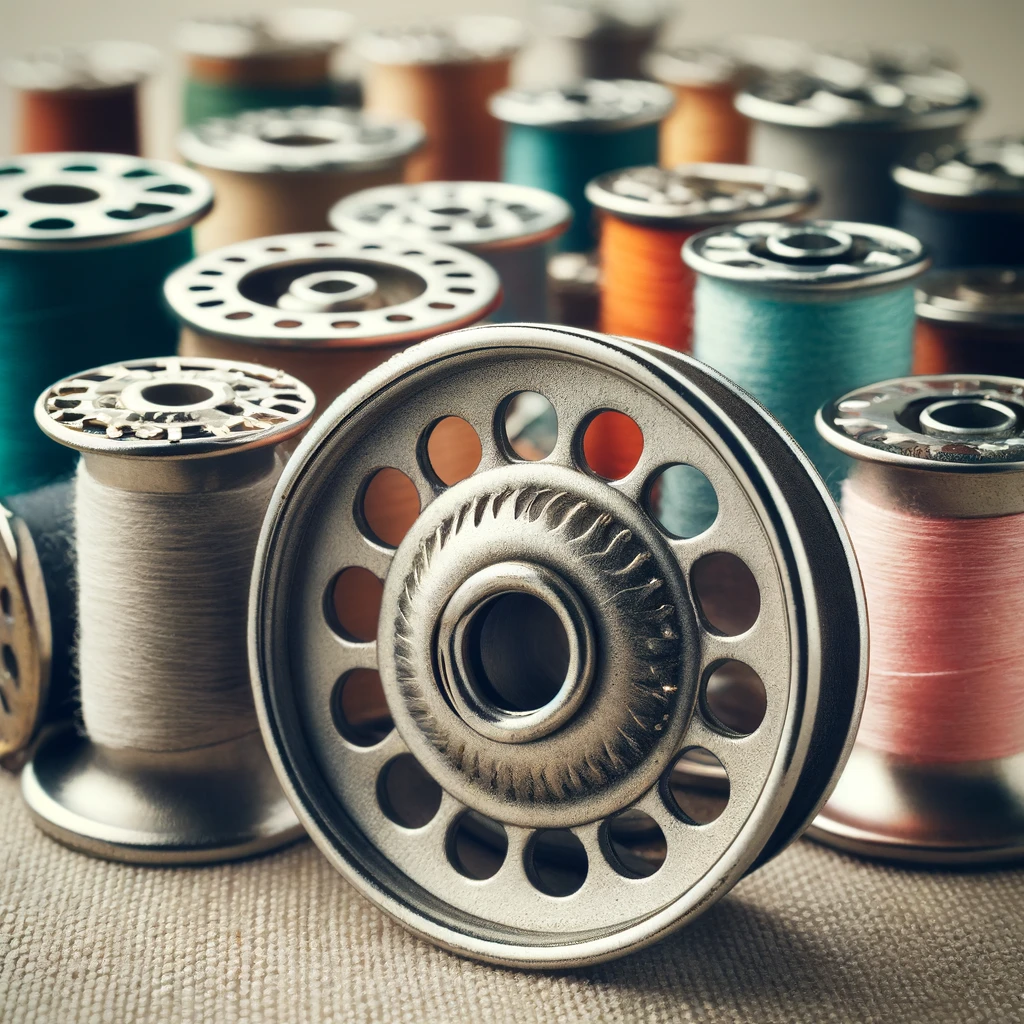
A bobbin is a small spool that holds the lower thread in your sewing machine. This lower thread works in tandem with the upper thread to create stitches in your fabric. Bobbins come in various materials like metal, plastic, or even wood, and their size and shape can vary depending on the sewing machine model.
The bobbin resides in the “bobbin case,” which is crucial for maintaining tension on the lower thread. This tension prevents the thread from unraveling and ensures that each stitch is uniform and secure.
Sewing machines typically feature either a “front-loading” or “top-loading bobbin system,” each with its unique operational advantages.
Why Proper Bobbin Winding is Important?
Before diving into the steps, it’s important to understand why proper bobbin winding is essential:
- Preventing Thread Jams: Incorrectly wound bobbins can lead to thread tangles and jams, disrupting your sewing.
- Ensuring Even Stitches: Proper tension and even winding result in consistent stitches, crucial for the integrity of your sewing project.
- Smooth Operation: A well-wound bobbin allows your machine to run smoothly without interruptions.
Steps to Wind a Bobbin
Follow these detailed steps to wind a bobbin on your sewing machine effectively:
Step 1: Preparation
- Take out the bobbin from the bobbin case.
- Ensure your needle is in the top position.
- Start with an empty bobbin to avoid mixing threads. Remove any old thread if present.
- Have several empty bobbins ready, especially if you frequently change thread colors.
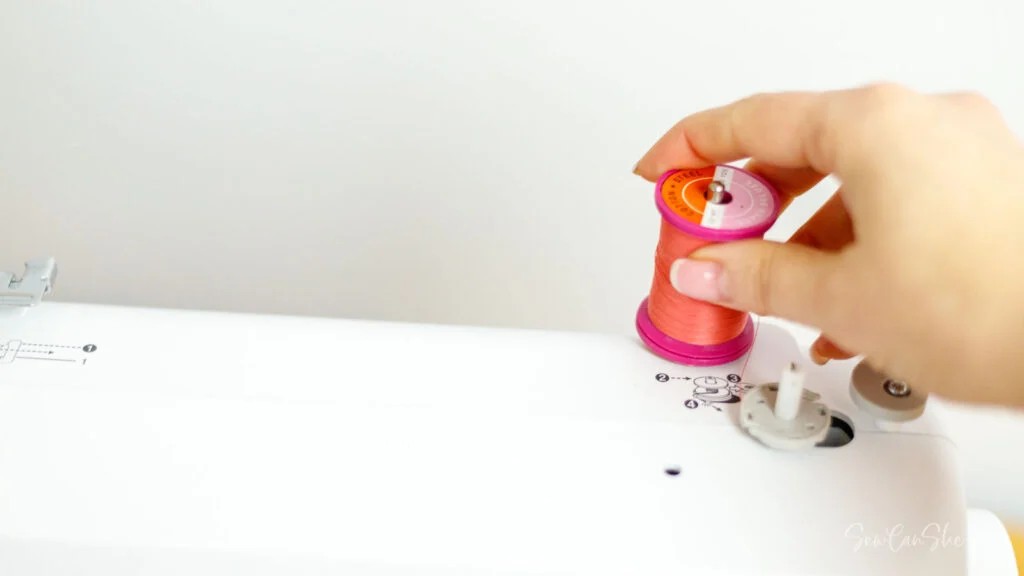
Step 2: Place the Thread on the Spool Pin
- Use the same spool pin you use for regular sewing. On some machines, this pin may be telescoping and need to be pulled up.
- Place the spool holder on the spool pin. For larger spools, the larger side of the holder should face the spool, and for smaller spools, use the smaller side or a small spool holder.
- If the spool has a thread retaining slit, position it on the right to avoid catching the thread during winding.
(Source)
Step 3: Understanding Thread Types
- Cross-Wound Threads: These threads form a zig-zag pattern on the spool and should be placed on a horizontal spool pin so the thread unwinds from the top.
- Stacked Threads: These threads run parallel to the spool and should be placed on a vertical spool pin, allowing the thread to unwind at a right angle.
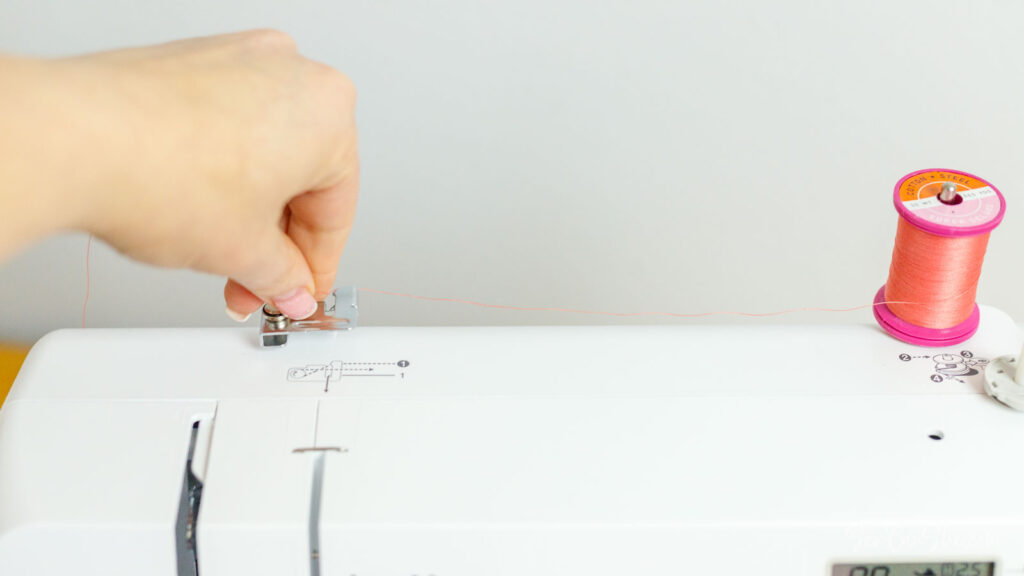
Step 4: Guide the Thread
- Pull the thread to the left and through the thread guide at the back of the machine, pulling towards you.
- Snap the thread into the thread guide to keep it locked in place. This is crucial for both bobbin winding and threading the needle.
(Source)
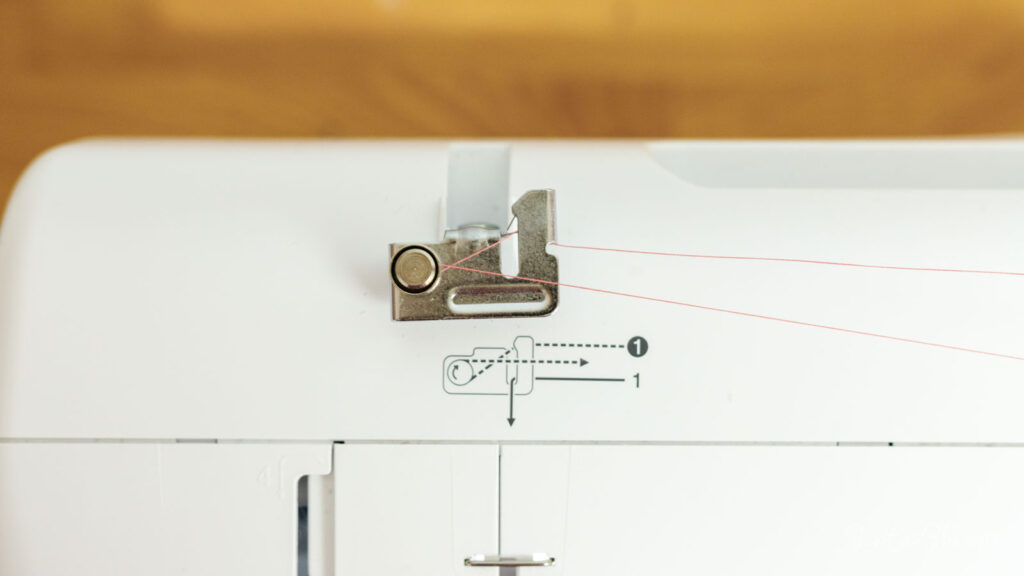
Step 5: Wrap the Thread Around the Tension Disk
- Wrap the thread clockwise around the bobbin thread tension disk. Ensure the thread clicks into place to maintain proper tension.
(Source)
- If the thread doesn’t click into place, the bobbin may wind loosely and unevenly, affecting stitch quality.
Step 6: Thread the Bobbin
- Pass the end of the thread through one of the holes in the bobbin from the inside out.
- Put the bobbin on the bobbin winder shaft and push it to the right. Ensure it’s securely in place.
With the bobbin positioned and the winder shaft engaged, you are ready to start winding the bobbin.
Step 7: Start Winding
- Hold the thread end up and away from the bobbin.
- Press the foot controller to start winding. Begin slowly to ensure the thread catches properly.
- Stop after a few winds and trim the loose thread end close to the bobbin.
Step 8: Complete Winding
- Press the foot controller again and continue winding until the bobbin is full. Most machines will automatically stop when the bobbin is full.
- Do not overfill the bobbin as it can cause issues during sewing.
Step 9: For Drop-In Bobbins
- Retrieving and Preparing the Bobbin
These instructions apply to a drop-in bobbin case only:
- If using a drop-in bobbin case, remove the bobbin from the bobbin shaft.
- Hold the bobbin so the thread wraps around in a counter-clockwise direction, unwinding from left to right.
- After winding, push the bobbin winder spindle to the left and trim the thread close to the bobbin.
- Ensure the bobbin is evenly wound without any thread protruding.
- Retrieve the newly wound bobbin and prepare to thread your machine.
(Source)
- Inserting the Bobbin into the Drop-in Bobbin Case
- Pull the thread end towards you and slightly to the right.
- Locate the small slit on the front of the bobbin case and pass the thread through it to adjust the bobbin tension.
- Guide the thread towards the left channel of the drop-in bobbin case.
- Gently pull the thread through the channel and tug it to the right; it will automatically cut to the correct length for sewing.
Step 10: Put the Bobbin Cover
- Put the bobbin cover back on the machine.
- Follow your machine’s instructions to re-thread the upper thread.
You may watch this video for a better understanding of the process:
Additional Tips for Perfect Bobbin Winding
Perfecting the technique of bobbin winding goes beyond just following basic steps. Here are some additional tips to ensure your bobbins are wound smoothly and consistently:
- Always ensure the thread tension is consistent throughout the winding process to avoid issues with stitch quality.
- Regularly clean and maintain your machine, especially around the bobbin area, to prevent lint buildup and ensure smooth operation.
- The more you wind bobbins, the more comfortable you will become with the process, leading to better results.
Summary
By following these steps and tips, you can master your skill of winding a bobbin, ensuring your sewing projects are always high quality and frustration-free. Always refer to your sewing machine’s manual for specific instructions and details related to your particular model. Happy sewing!
If you are a sewist, have a look at our recommended sewing machines: beginner sewing machines, sewing tools and notions, coverstitch sergers and overlock machines, embroidery machines and quilting sewing machines, sewing practice sheets and sewing project planner.
If you are looking for sewing patterns, here are some great options: Activewear Sewing Patterns, Plus Size Sewing Patterns, Outerwear Sewing Patterns, Jumpsuit Sewing Patterns, Coord Set Sewing Patterns, Pants Sewing Patterns, Shorts Sewing Patterns, Skirts Sewing Patterns, Dress Sewing Patterns, Top Sewing Patterns, Bodycon Sewing Patterns, Evening Dresses Sewing Patterns, Loungewear Sewing Patterns, Cottagecore Sewing Patterns, Free Sewing Pattern.
Happy Stitching.