Sewing 101: A Beginner’s Guide to Different Pocket Styles and How to Use Them
Pockets are essential elements in garment construction, offering both functionality and style. For beginners, understanding the various types of pockets and their applications can enhance sewing projects significantly. This guide delves into common pocket styles, their uses, and tips for sewing them effectively.
Types of Pockets
Here are several types of pockets commonly used:

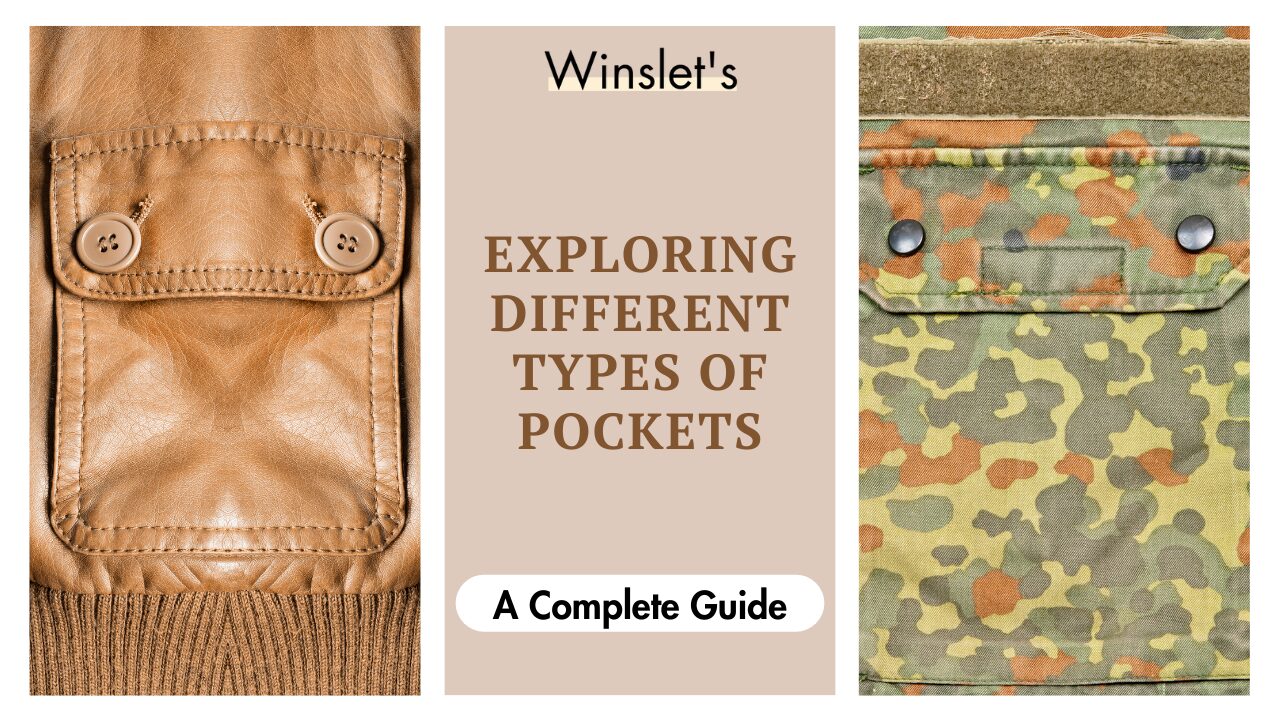
1. Patch Pocket: A simple pocket sewn onto the outside of a garment. It’s often rectangular or square-shaped and can be sewn with or without a flap.
2. Slip Pocket: Also known as a slash pocket, this type of pocket is created by sewing a slit into the garment and attaching a pocket bag behind it. It’s common in pants and skirts.
3. Welt Pocket: A more formal pocket style where a slit is sewn into the garment, and a welt (a narrow strip of fabric) is sewn to the inside edges of the slit, creating a finished opening. This type is often found on jackets and trousers.
4. In-Seam Pocket: A pocket that is sewn into the seam of a garment, such as the side seam of pants or skirts. It’s discreet and doesn’t disrupt the garment’s lines.
5. Cargo Pocket: A larger pocket typically found on cargo pants and jackets. It’s boxy and often secured with flaps or buttons, providing ample storage space.
6. Pouch Pocket: Usually seen on hoodies and sweatshirts, this pocket is created by sewing a piece of fabric onto the front of the garment, leaving an opening at the top for access.
7. Kangaroo Pocket: A large pocket that spans across the front of a garment, usually found on hoodies. It’s created by sewing a single piece of fabric to the front of the garment, leaving openings at the sides.
8. Zippered Pocket: Any type of pocket that includes a zipper closure for security. It can be a patch pocket, welt pocket, or even an in-seam pocket.
Sewing Pockets
Let’s go into more detail on how to attach each type of pocket to garments:
1. Patch Pocket
- Decide on the size and position of your patch pocket. Cut out a piece of fabric for the pocket, usually rectangular or square, with seam allowances included.
- Fold and press the seam allowances (usually 1/4 inch or 6 mm) towards the wrong side of the fabric.
- Pin the pocket in place on the garment, ensuring it’s centered and aligned correctly with the garment’s design.
- Edge stitch around the sides and bottom of the pocket, about 1/8 inch (3 mm) from the edge. You can use a straight stitch or a decorative stitch if preferred. Optionally, add a topstitch around the pocket for reinforcement and a professional finish.
2. Slip Pocket
- Determine where you want the pocket and mark the pocket opening on the garment. Cut out the pocket bag fabric and interface it if extra stability is needed.
- Fold and press the seam allowances of the pocket opening to the wrong side of the garment.
- Position the pocket bag behind the opening, aligning it with the wrong side of the garment.
- Stitch around the pocket opening, securing the pocket bag to the garment. Start and end your stitching with reinforcement stitches to prevent unraveling. Optionally, you can sew the sides and bottom of the pocket bag to the garment for added security.
3. Welt Pocket
- Mark and cut out the welt pocket opening on the garment. Prepare the welt and pocket bag pieces, ensuring they’re cut to the correct sizes with interfacing applied if needed.
- Sew the welt pieces to the garment, creating the welt strips on the right side of the fabric. This involves sewing parallel lines with a gap in between that matches the width of your welt piece.
- Position the pocket bag behind the welt and garment, ensuring it’s aligned correctly with the opening.
- Sew around the edges of the pocket bag, securing it to the welt and garment. Finish by sewing the sides and securing the ends of the welt strips.
4. In-Seam Pocket
- Decide where to place the in-seam pocket within the side seam of the garment.
- Cut out the pocket bag pieces and prepare them with seam allowances.
- Sew the pocket bag pieces into the side seams of the garment. Ensure the pocket openings align with the seam allowances when sewing the side seams of the garment.
5. Cargo Pocket
- Cut out the cargo pocket pieces, including any flaps or closures you want to include.
- Position the cargo pocket on the garment, ensuring it’s centered and aligned with the design.
- Edge stitch around the sides and bottom of the cargo pocket. Reinforce the corners and edges where stress may occur, especially if the pocket will carry heavier items.
6. Pouch Pocket
- Cut out the pouch pocket piece and prepare it with seam allowances.
- Position the pouch pocket on the garment and pin it in place.
- Edge stitch around the sides and bottom of the pouch pocket to attach it securely to the garment.
7. Kangaroo Pocket
- Cut out the kangaroo pocket piece.
- Position the kangaroo pocket on the front of the garment, aligning it with the edges.
- Edge stitch around the sides and bottom of the kangaroo pocket to attach it securely to the garment.
8. Zippered Pocket
- Prepare the zipper and pocket pieces, which usually involve a combination of welt or patch pocket with a zipper closure.
- Sew the zipper to the pocket opening first, ensuring it operates smoothly and is securely attached.
- Sew the pocket to the garment, enclosing the zipper within the pocket structure. This may involve sewing around the pocket edges and reinforcing the zipper ends for durability.
Real-Life Applications of different types of pockets
- Casual Wear: Patch pockets and kangaroo pockets add a relaxed, functional element to casual garments like shirts and hoodies.
- Formal Attire: Welt pockets and flap pockets provide a sleek, polished look suitable for blazers and tailored pants.
- Outdoor and Utility Clothing: Cargo pockets offer ample storage space, making them ideal for utility garments and outdoor wear.
Troubleshooting Tips for Sewing Pockets
- Alignment Issues: Ensure pockets are symmetrically placed by measuring and marking positions accurately before sewing.
- Bulkiness: Trim seam allowances and use appropriate interfacing to reduce bulk, especially in welt and flap pockets.
- Durability: Reinforce pocket openings with backstitching or bar tacks to prevent tearing from frequent use.
Summary: Beginners Guide to Pockets
Pockets add both functionality and style to garments, making them an essential element in sewing. This guide introduces beginners to different pocket types, including patch, welt, in-seam, cargo, and kangaroo pockets, explaining their uses and real-life applications in casual, formal, and utility wear. It also provides troubleshooting tips to ensure proper alignment, reduce bulkiness, and reinforce pocket openings for durability. By understanding these pocket styles and techniques, sewists can enhance both the practicality and aesthetics of their handmade garments.

If you are a sewist, have a look at our recommended sewing machines: beginner sewing machines, sewing tools and notions, coverstitch sergers and overlock machines, embroidery machines and quilting sewing machines, sewing practice sheets and sewing project planner.
If you are looking for sewing patterns, here are some great options: Activewear Sewing Patterns, Plus Size Sewing Patterns, Outerwear Sewing Patterns, Jumpsuit Sewing Patterns, Coord Set Sewing Patterns, Pants Sewing Patterns, Shorts Sewing Patterns, Skirts Sewing Patterns, Dress Sewing Patterns, Top Sewing Patterns, Bodycon Sewing Patterns, Evening Dresses Sewing Patterns, Loungewear Sewing Patterns, Cottagecore Sewing Patterns, Free Sewing Pattern.
Happy Stitching.