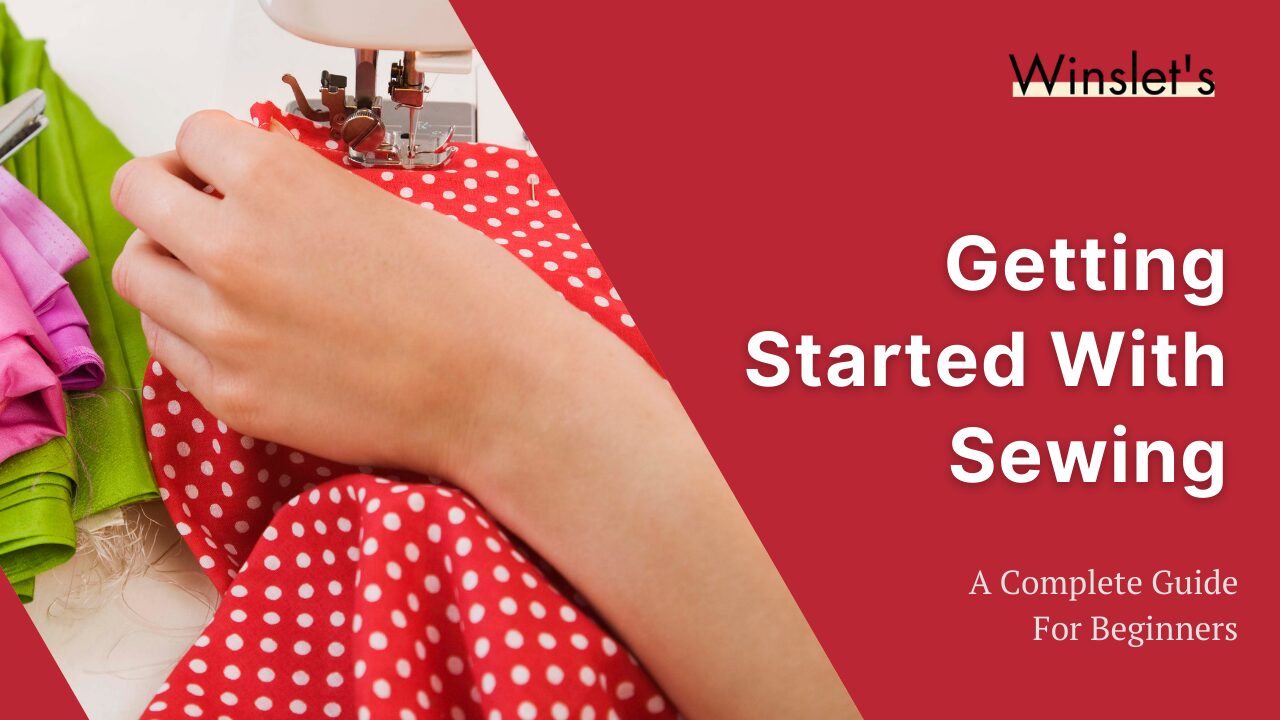
Getting Started with Sewing: Easy Setup Guide for Beginners
Sewing can be a fantastic and enjoyable hobby to explore! Are you considering trying it out but feel unsure about where to begin? You might have dreams of making beautiful items but feel a bit lost about how to start your sewing journey. No worries, I’m here to help you get started. This guide will provide you with all the essential information to begin your sewing adventure with confidence.
This guide is perfect for beginners or those with little sewing experience. Let’s get started!
How to Sew by Hand?
(Source)
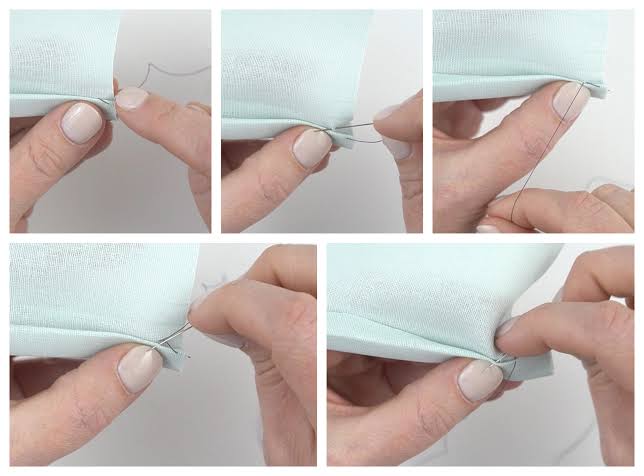
Hand sewing is ideal for beginners because it teaches essential skills like threading and stitching while offering more control and precision. The slower pace and reduced risk of injury make it a safer, less overwhelming way to start sewing.
- First, cut a piece of thread about the length from your fingertips to your elbow. This length is easy to handle and reduces the chance of knots and tangles.
- With your needle and thread ready, let’s prepare for sewing. Start by tying a small knot at one end of the thread. A basic knot will do; it’s just to keep the thread from slipping through the fabric.
- Now, thread the needle. Wetting the tip of the thread slightly can make it stiffer and easier to push through the eye. If the thread end frays, snip off the rough part and try threading again.
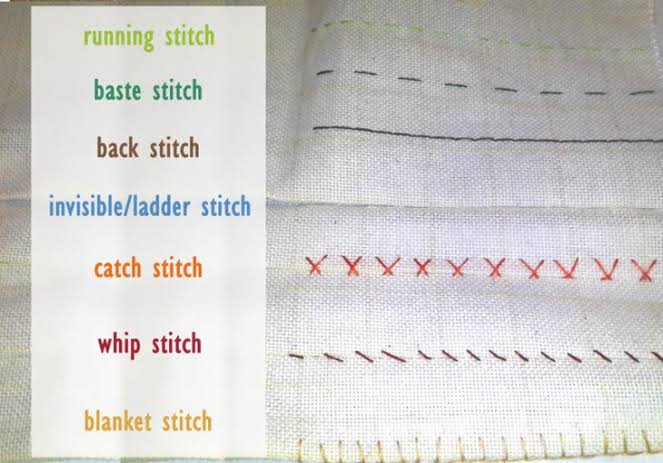
- When you begin stitching, use simple stitches like the running stitch or the backstitch. These are foundational stitches that are easy to learn and can be used in many projects. Over time, as you become more comfortable, you can explore more complex stitches and techniques.
(Source)

Getting Started with Your Sewing Machine
Sewing machines come in various types and models, each with its own unique features. While specifics may vary, this post is intended to give you a general guide to help you get acquainted with your sewing machine and start sewing confidently.
Every sewing machine comes with a manual. Take some time to read through it carefully. It will provide valuable information about the machine’s functions, maintenance tips, and troubleshooting advice. Check our recommended beginner sewing machines here
Watch this video to learn how to begin sewing on a sewing machine:
Step 1: Connect to Power
To set up your sewing machine, start by connecting it to power. Begin with the power switch in the off position. Insert the holed plug into the designated socket on the side or back of your machine, then plug the main power cord into a standard electrical outlet. Switch on the power and check if the indicator light illuminates, confirming the machine has power.
This simple process ensures your sewing machine is ready to use, allowing you to explore its functions and start your sewing projects smoothly.
Step 2: Needle Insertion
Now that your sewing machine is powered up, the next step is learning to insert or change the needle.
1. Position the Needle: Lower the presser foot to access the needle area comfortably. Use the handwheel towards you to raise the needle to its highest point. This prevents the machine from jamming when you begin sewing.
2. Removing the Needle (if necessary): If there’s already a needle in place, hold it firmly while you loosen the screw securing it in the needle clamp. Carefully remove the old needle from the clamp.
3. Inserting the New Needle: Pay close attention to the orientation of the needle. Depending on your machine, the flat side of the needle should face either towards the back or the side. Consult your machine’s manual for specific guidance on this.
4. Securing the Needle: Insert the new needle into the needle clamp, ensuring it goes up as high as it can. Tighten the screw firmly to secure the needle in place.
Step 3: Attaching the Presser Foot
After successfully inserting the needle, the next crucial step is attaching the presser foot to your sewing machine. Here’s how to proceed:
1. Identify the Correct Presser Foot: Refer to your sewing machine’s manual to identify the appropriate presser foot for beginner sewing. It might be labeled as an all-purpose foot, standard presser foot, or a straight stitch foot.
2. Prepare for Attachment: Usually, attaching the presser foot may involve using a screwdriver, lever, snap-on mechanism, or a combination of these tools.
3. Position the Needle: Ensure the needle is at its highest position by turning the handwheel towards you. This prevents any interference or jamming when attaching the presser foot.
4. Attach the Presser Foot: Once you’ve identified the correct presser foot and the needle is correctly positioned, proceed to attach the presser foot securely according to the instructions in your manual.
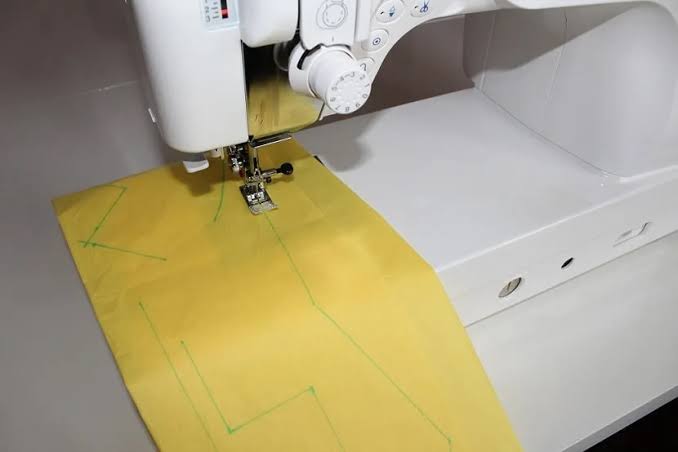
Step 5: Practicing on Paper
As a beginner, it is recommended you start by practicing on paper before moving on to fabric. This helps you master sewing straight lines without using thread initially, making it easier to handle fabric later on.
1. Prepare Your Machine: Check your instruction manual to ensure the stitch selector is set to the “Straight Stitch.” Adjust the stitch length to 2-3 and set the stitch width to 0 as per the manual’s instructions. If you have an electronic or computerized sewing machine, the stitch settings are typically displayed on an LCD Screen. Refer to your manual to locate and adjust the stitch length and width using the appropriate controls.
2. Prepare the Paper: Draw straight lines on a piece of paper using a pencil or marker. This will serve as your practice guide.
3. Begin Sewing: Place the paper beneath the presser foot of your sewing machine. Lower the foot and begin sewing along the marked lines on the paper.
(Source)
- Practice adjusting the stitch length to become familiar with how your machine operates. Observe how the spacing between the holes on the paper changes as you alter the stitch length. You can also experiment by selecting different stitch types and adjusting their width.
- To control the speed, press the foot control: a light press slows the machine, while more pressure speeds it up. Lifting the foot control slows down or stops the machine.
4: Changing Directions: To change sewing directions, stop the machine with the needle lowered into the paper. Raise the presser foot, pivot the paper around the needle, lower the foot again, and continue sewing. This technique simulates sewing maneuvers you’ll use on fabric.
Step 6: Essential Preparations Before Starting the Actual Sewing Process
Before beginning sewing, regardless of your machine’s model, it’s crucial to take a few essential steps to ensure smooth and successful sewing:
1. Getting Accustomed to the Parts of your Sewing Machine: For a detailed explanation of the parts and accessories of a sewing machine, refer to the post: Basic parts of a sewing machine
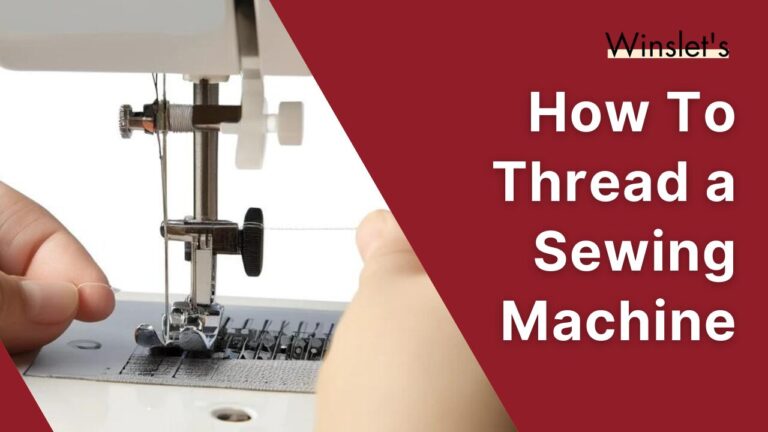
2. Threading the Machine: Proper threading is crucial for smooth sewing. Follow the threading instructions in your manual step-by-step. This includes threading the needle correctly and ensuring the thread passes through all necessary guides and tension discs. For more details, refer to the post: How to thread a sewing machine?
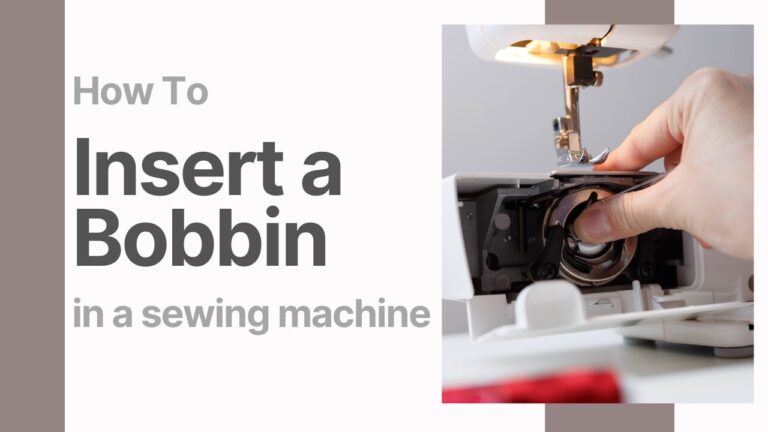
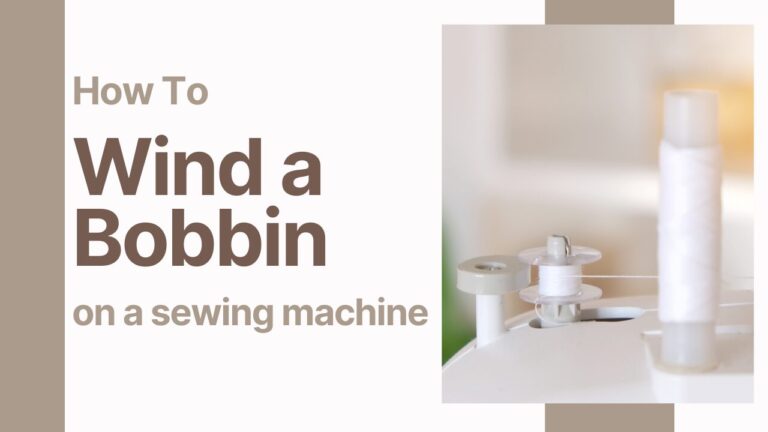
3. Winding and Inserting the Bobbin: Understanding how to wind and insert the bobbin is essential. Again, refer to your manual for specific instructions. Make sure the bobbin is correctly placed and the thread is feeding smoothly. For more details, refer to these posts:
How to wind a bobbin on your sewing machine?
How to insert a bobbin in your Sewing Machine?
Summary
I’ve tried to cover all the basics of sewing in this post but it’s always hard to be exhaustive. So don’t forget to check our entire collection of Sewing 101 posts. Is there anything else about sewing you’re curious about? Feel free to drop your questions in the comments below! I’m here to help.

If you are a sewist, have a look at our recommended sewing machines: beginner sewing machines, sewing tools and notions, coverstitch sergers and overlock machines, embroidery machines and quilting sewing machines, sewing practice sheets and sewing project planner.
If you are looking for sewing patterns, here are some great options: Activewear Sewing Patterns, Plus Size Sewing Patterns, Outerwear Sewing Patterns, Jumpsuit Sewing Patterns, Coord Set Sewing Patterns, Pants Sewing Patterns, Shorts Sewing Patterns, Skirts Sewing Patterns, Dress Sewing Patterns, Top Sewing Patterns, Bodycon Sewing Patterns, Evening Dresses Sewing Patterns, Loungewear Sewing Patterns, Cottagecore Sewing Patterns, Free Sewing Pattern.
Happy Stitching.