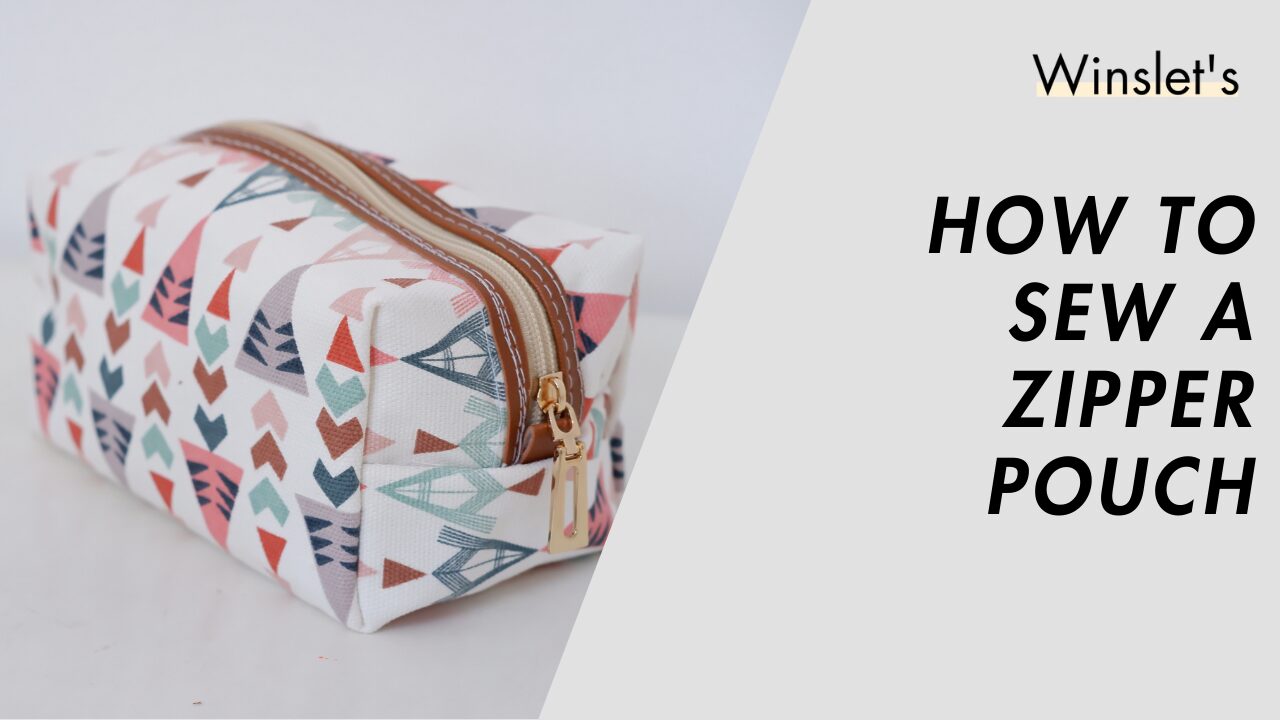
How to Sew a Zipper Pouch: Beginner-Friendly Tutorial with Lining
Looking to enhance your sewing repertoire with a practical and stylish project? Crafting a zipper pouch is an excellent choice for both beginners and seasoned sewists. Not only does it offer a chance to practice sewing zippers, but it also results in a customizable accessory perfect for organizing essentials. In this comprehensive tutorial, we’ll guide you through each step of creating a lined zipper pouch, ensuring a polished and professional finish.
Materials You’ll Need
- Fabric for the exterior and lining
- Zipper (preferably nylon or metal, depending on your preference)
- Sewing Machine
- Scissors
- Pins
- Sewing Iron
- Optional: interfacing for added stability, decorative embellishments
Steps to Sew a Zipper Pouch
Follow the step-by-step instructions below to sew your own zipper pouch:
Step 1: Choose Your Fabric
Select a durable fabric for the exterior of your pouch and a complementary or contrasting fabric for the lining. Cotton, canvas, or denim are excellent choices for the exterior, while lightweight cotton or satin works well for the lining.

Step 2: Measure and Cut Fabric
Measure and cut two rectangles from each fabric: one for the exterior (the desired size of your pouch) and one for the lining (slightly smaller than the exterior pieces to account for seam allowances).
Step 3: Prepare the Zipper
Place the zipper face down on the right side of the exterior fabric, aligning the top edges. If using interfacing, apply it to the wrong side of the exterior fabric before attaching the zipper. Pin in place and stitch along the edge using a zipper foot on your sewing machine.
Step 4: Attach Lining
Place the lining fabric right side down on top of the zipper and exterior fabric, aligning the top edges. Pin in place and stitch along the edge, again using the zipper foot.
Step 5: Repeat for the Other Side
Fold the exterior and lining fabrics away from the zipper, then repeat steps 3 and 4 to attach the remaining exterior and lining pieces to the other side of the zipper.
Step 6: Stitch the Sides
Unzip the zipper halfway to ensure you can turn the pouch right side out later. Fold the pouch so that the exterior fabrics are right sides together and the lining fabrics are right sides together. Pin along the sides, leaving a small opening at the bottom of the lining for turning.
Step 7: Finish and Turn
Stitch along the sides of the pouch, backstitching at the beginning and end. Trim any excess fabric and corners, then turn the pouch right side out through the opening in the lining. Use a turning tool or chopstick to gently push out the corners for crisp edges.
Step 8: Final Touches
Close the opening in the lining with a slip stitch or topstitching. Give the pouch a final press with an iron to smooth out any wrinkles and voila! Your zipper pouch is complete.
Customization Ideas
Here are some detailed ideas for customizing your zipper pouch:
1. Wristlet Strap: You may add a wristlet strap to your pouch for easy carrying. You can use matching or contrasting fabric to create a loop and attach it to one end of the pouch. Make sure to reinforce the attachment points for durability.
2. Fabric Embellishments: Get creative with fabric embellishments like embroidery, applique, or fabric paint. You can embroider a delicate design onto the exterior fabric, applique a playful shape or pattern, or use fabric paint to add a pop of color or personalized message.
3. Patchwork: Consider experimenting with patchwork to create a unique and eclectic look for your pouch. Cut small fabric scraps into various shapes and sizes, then piece them together to cover the exterior fabric. This is a great way to use up leftover fabric and add texture and visual interest to your pouch.
4. Zipper Pulls: You can customize your zipper pouch with unique zipper pulls. Replace the standard zipper pull with a decorative one made from beads, charms, fabric scraps, or even a small tassel. This small detail can add a touch of whimsy or elegance to your pouch.
5. Contrasting Lining: Try choosing a lining fabric that contrasts with the exterior fabric for a fun and unexpected detail. Select a bold color, vibrant pattern, or metallic fabric to add a pop of personality every time you open your pouch.
Summary: Key Takeaways
- Measure and cut accurately to ensure a perfect fit.
- Select the right closure method based on function and design.
- Sew with precision and reinforce edges to prevent fraying.
- Press seams properly for a polished, professional finish.
- Experiment with different fabrics and embellishments for unique designs.
Final Thoughts
Sewing cushion covers is a fun and rewarding project that enhances your home decor while sharpening your sewing skills. Whether you’re making covers for your living room, bedroom, or outdoor space, this easy sewing project is perfect for beginners and experienced sewists alike. For more step-by-step tutorials and sewing inspiration, check out Winslet’s Patterns Blog and follow us on Instagram and Pinterest for the latest DIY sewing ideas!

If you are a sewist, have a look at our recommended sewing machines: beginner sewing machines, sewing tools and notions, coverstitch sergers and overlock machines, embroidery machines and quilting sewing machines, sewing practice sheets and sewing project planner.
If you are looking for sewing patterns, here are some great options: Activewear Sewing Patterns, Plus Size Sewing Patterns, Outerwear Sewing Patterns, Jumpsuit Sewing Patterns, Coord Set Sewing Patterns, Pants Sewing Patterns, Shorts Sewing Patterns, Skirts Sewing Patterns, Dress Sewing Patterns, Top Sewing Patterns, Bodycon Sewing Patterns, Evening Dresses Sewing Patterns, Loungewear Sewing Patterns, Cottagecore Sewing Patterns, Free Sewing Pattern.
Happy Stitching.


