How to Sew a Pullover?
Have you wondered how to sew a pullover? Pullovers are awesome—they’re comfy, sporty, easy to layer, and you can customize them. Making your own pullover is way simpler than knitting a cozy sweater. If you like staying warm in the cold, try making a pullover yourself.
I used the Winslet’s LEXI Pullover Pattern to make mine. ‘Lexi’ is a round-neck, long-sleeved pullover available in seven sizes (XS to 3XL) and super easy to work with. So, let’s start making your own pullover right now!
What sewing supplies do you need to sew a pullover?
The basic supplies you need to sew a pullover are Sewing Pattern (I used Winslet’s LEXI Pullover Pattern for my project), Sewing Machine, Tape Measure, Chalk, Shears, Pins, Iron, Needles, Thread (preferably 3-ply polyester), and a Thread Cutter.
Fabric Recommendation
Choose light to medium weight knitted fabrics like cotton, fleece, jersey, polyester, poly-cotton blends, rayon, terry, and wool as your primary materials for this project.
Opt for a 1×1 rib fabric to create a polished finish for the neck, cuffs, and bottom edges.
Additionally, you can use any decorative lace for sleeve mid panel or can go with the same main body fabric.

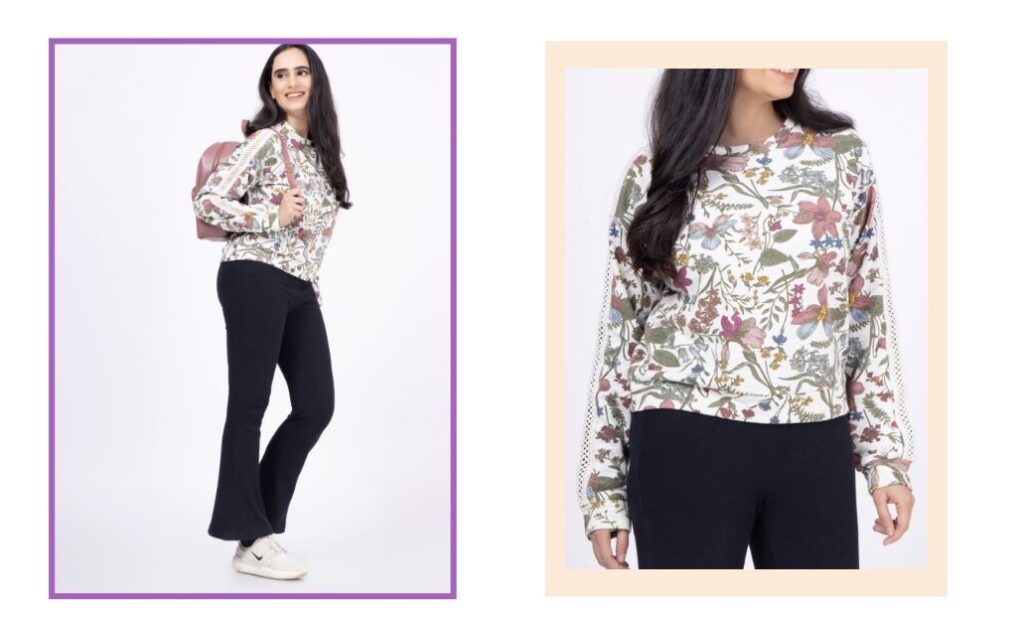
The model above features a pullover made with the Winslet’s LEXI Pullover Pattern. The fabric used is a breathable, durable fleece with moisture-wicking properties, deep pile texture, no fraying, warmth when wet, and is lighter than wool, with minimal shrinkage.
Size Charts
The pullover sewing pattern measurements for sizes (XS, S, M, L, XL, 2XL, or 3XL) are detailed below. Choose a size that corresponds most closely to your body measurements. It’s worth noting that if your exact measurements are not listed in the table, you may want to consider ordering a size larger.
The size chart includes measurements in both inches and centimeters for your reference.
Body Measurements
| XS (inches) | XS (cm) | S (inches) | S (cm) | M (inches) | M (cm) | L (inches) | L (cm) | XL (inches) | XL (cm) | 2XL (inches) | 2XL (cm) | 3XL (inches) | 3XL (cm) | |
| Bust | 32 | 81.3 | 34 | 86.4 | 36 | 91.4 | 38 | 96.5 | 40 | 101.6 | 42 | 106.7 | 44 | 111.8 |
| Waist | 26 | 66.0 | 28 | 71.1 | 30 | 76.2 | 32 | 81.3 | 34 | 86.4 | 36 | 91.4 | 38 | 96.5 |
Final Garment Measurements
| XS (inches) | XS (cm) | S (inches) | S (cm) | M (inches) | M (cm) | L (inches) | L (cm) | XL (inches) | XL (cm) | 2XL (inches) | 2XL (cm) | 3XL (inches) | 3XL (cm) | |
| Chest | 38 | 96.52 | 40 | 101.6 | 42 | 106.68 | 44 | 111.76 | 46 | 116.84 | 48 | 121.92 | 50 | 127 |
| Full Length (with rib) | 21.25 | 53.97 | 21.75 | 55.24 | 22.25 | 56.51 | 22.75 | 57.78 | 23.25 | 59.05 | 23.5 | 59.69 | 23.75 | 60.32 |
| Sleeve Length (with rib) | 22.5 | 57.15 | 22.75 | 57.78 | 23 | 58.42 | 23.25 | 59.05 | 23.5 | 59.69 | 23.75 | 60.32 | 24 | 60.96 |
Fabric Yield
| Width of the Fabric | XS (yards) | XS (meters) | S (yards) | S (meters) | M (yards) | M (meters) | L (yards) | L (meters) | XL (yards) | XL (meters) | 2XL (yards) | 2XL (meters) | 3XL (yards) | 3XL (meters) |
| 45” | 1.02 | 0.93 | 1.19 | 1.09 | 1.41 | 1.29 | 1.62 | 1.48 | 1.86 | 1.70 | 2.14 | 1.95 | 2.46 | 2.25 |
| 60” | 0.81 | 0.74 | 0.95 | 0.87 | 1.12 | 1.03 | 1.29 | 1.18 | 1.48 | 1.36 | 1.70 | 1.56 | 1.96 | 1.79 |
Steps To Follow For Sewing a Pullover
Let’s start making your own unique pullover:
Pattern Marking and Inventory
The fabric needs to be cut into following pieces:
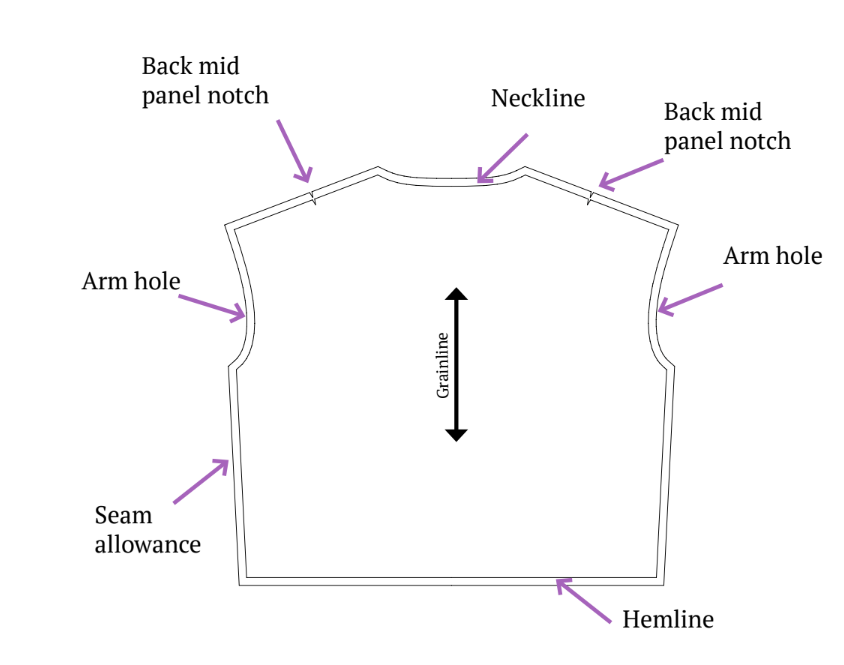
A. Front Bodice – cut x1 fabric


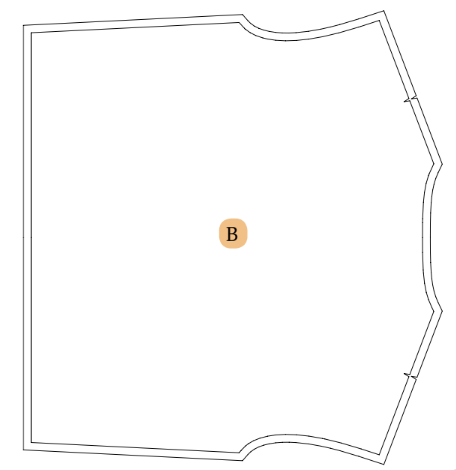
B. Back Bodice – cut x1 fabric
C. Sleeve Front – cut x2 fabric

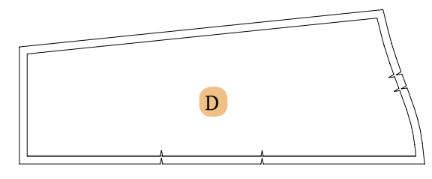
D. Sleeve Back – cut x2 fabric
E. Sleeve Mid Panel – cut x2 fabric

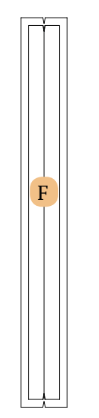
F. Neck Rib – cut x1 fabric
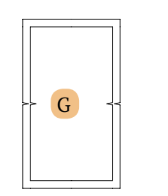
G. Cuff Rib – cut x2 fabric
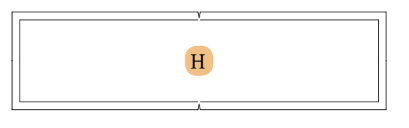
H. Bottom Rib – cut x2 fabric

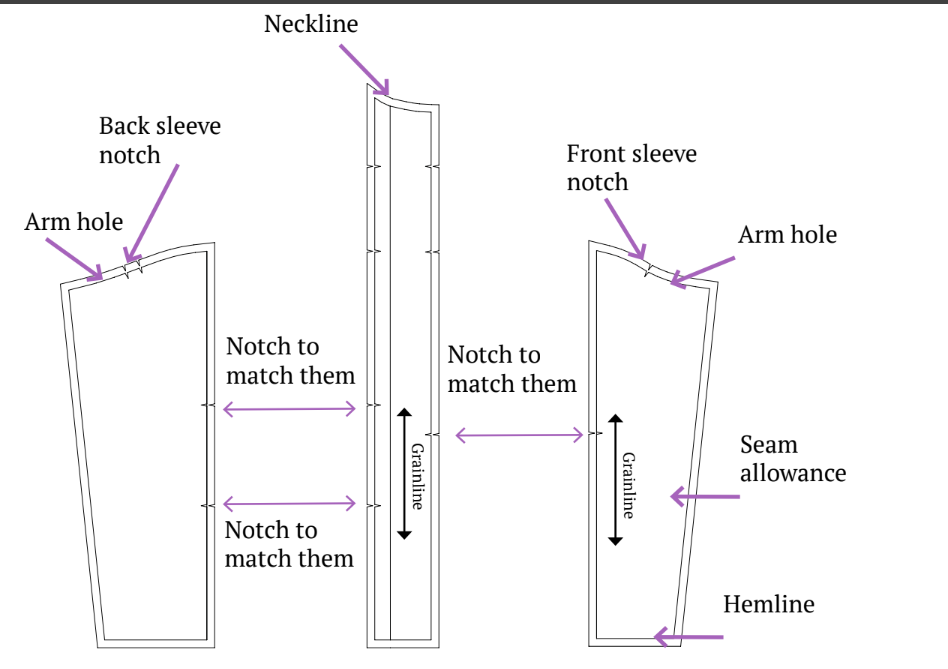
Be sure to indicate all notches and design elements like darts and pleats on your fabric using the pattern pieces. When stitching the garment, carefully align the notches to ensure a proper match.
Cutting Layout

- Ensure the pattern layout is on-grain for fabric alignment.
- Use pins to secure fabric, aiding accurate cutting.
- If using fabric with nap or prints, purchase additional length.
- You can choose to use the same fabric as the body or opt for a decorative fabric for the sleeve mid-panel.
Sewing Steps
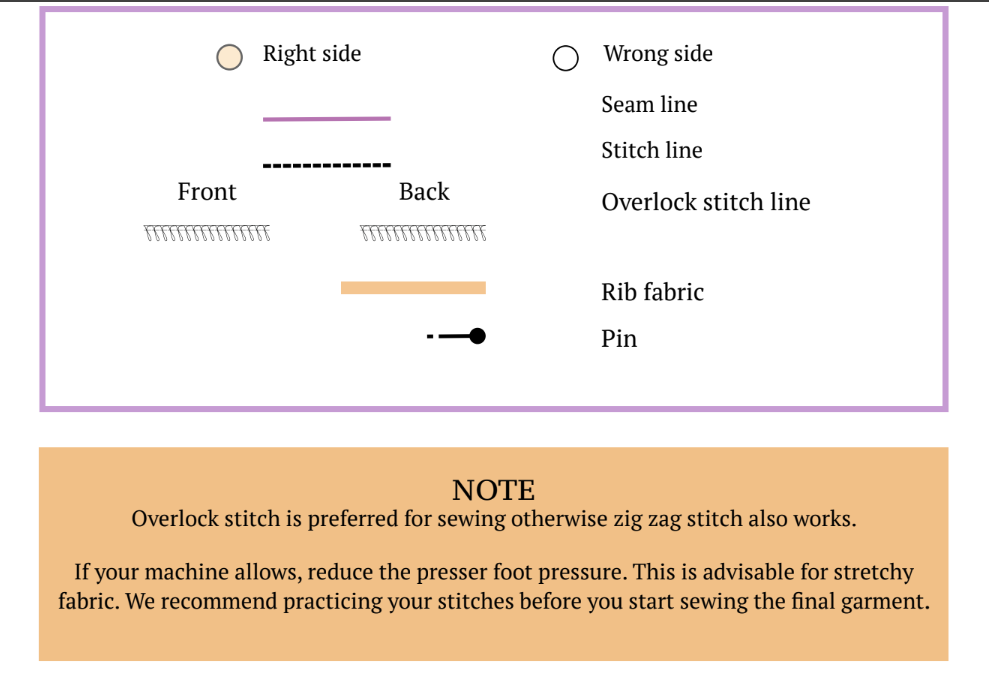
Step 1: Assembling Front and Sleeve Panels
Join the front and sleeve mid-panels by putting their right sides together. Make sure to align the provided notches, and sew them using an overlock stitch.

Step 2: Completing Shoulder Assembly
Repeat the first step on the opposite side of the shoulder. Once both shoulders are sewn and spread open, the result will resemble the illustrated figure.

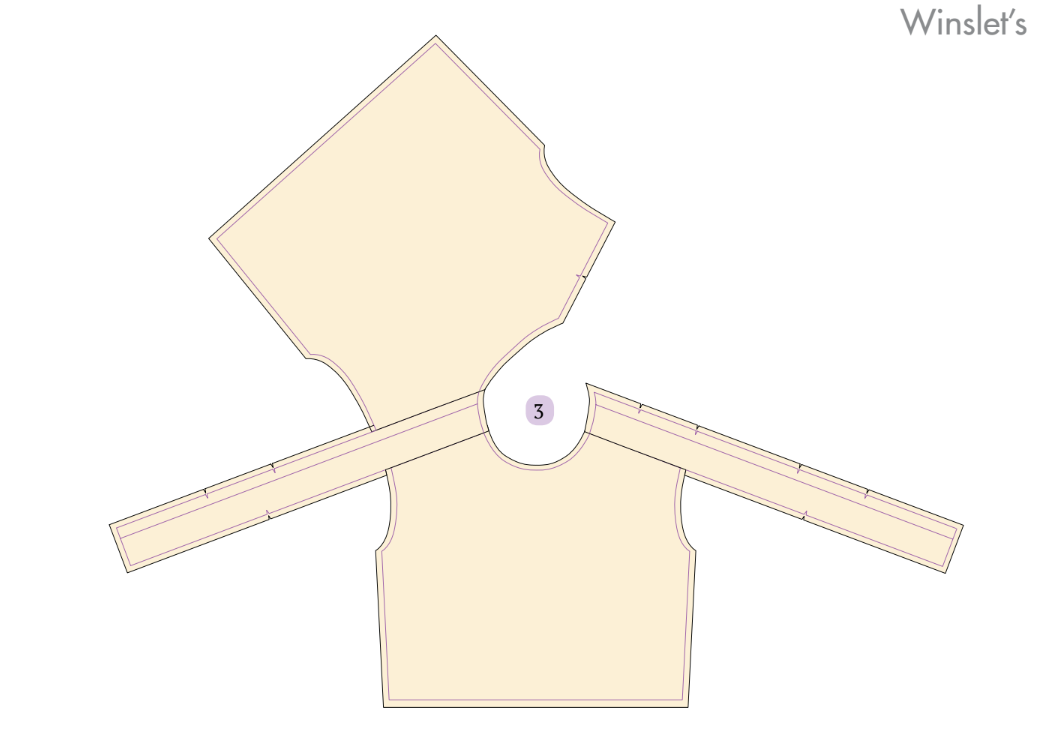
Step 3: Assembling Back and Sleeve Panels
Align the right sides of the back and sleeve mid-panels. Match the provided notches and sew along one side of the shoulder seamline, leaving the other side open.

Figure 3 shows the top view of the bodice when spread open.
Step 4: Preparing Neck Rib
Fold the neck rib piece with the sides that are not supposed to be visible facing each other.

Step 5: Attaching Neck Piece to Bodice
Position the neck piece onto the bodice’s neck seam allowance and securely pin them in place. Sew them together, emphasizing the importance of pinning, especially given the curved seam.

Step 6: Closing the Sleeve Mid-Panel
Complete the closure of the previously left-open sleeve mid-panel by sewing with the right sides together. Start from the shoulder and continue the seam to the end of the neck rib panel.

Step 7: Attaching Front and Back Sleeves
Align the front sleeve with the sleeve mid-panel, placing the right sides together.

Pin them from the sleeve line to the armhole end. Sew them together.

Repeat the same process for the back sleeve.
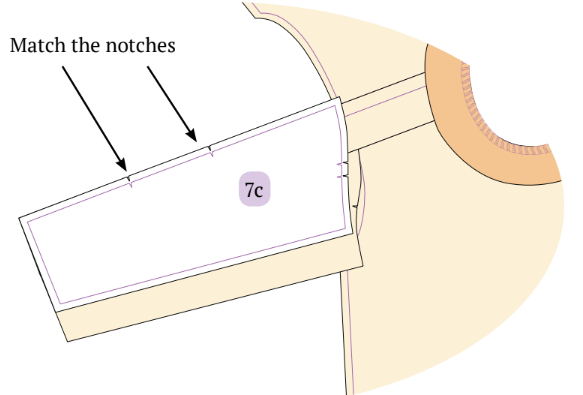
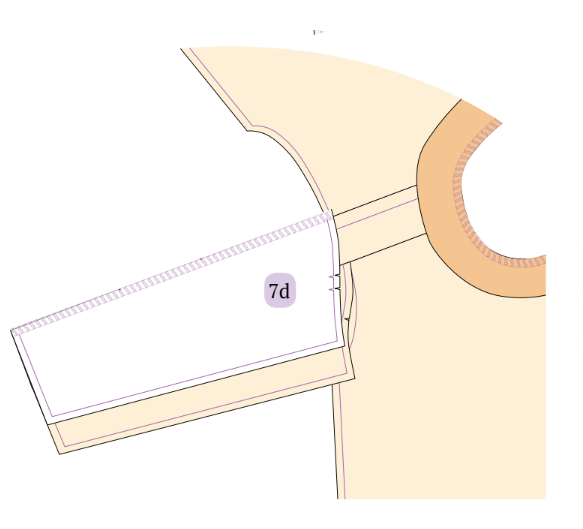
Also, repeat the same sewing process for the front and back sleeves on the other side.
Figure 7 illustrates the top view of the sleeve panels being attached.

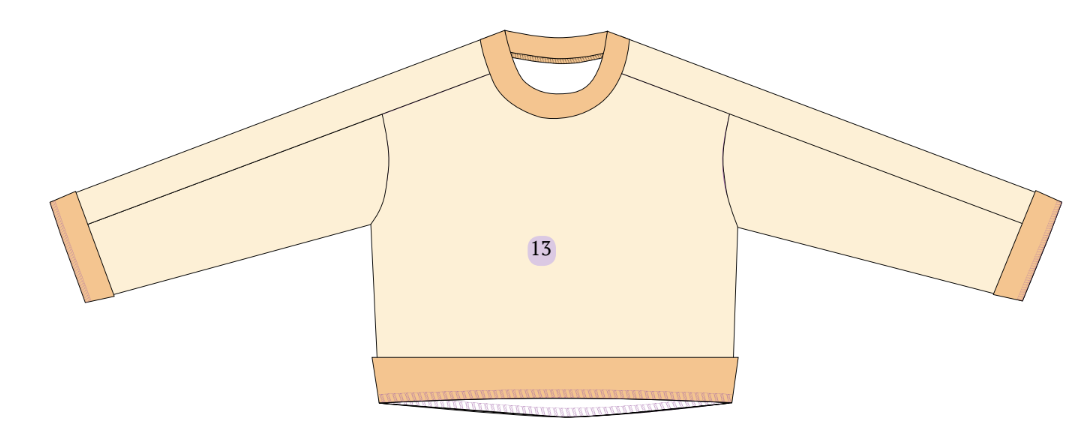
Step 8: Attaching Sleeves to Armholes
Pin the sleeve’s armhole to the bodice’s armhole.

Sew the armholes together.

Figure 8b depicts the front view of the sweatshirt after successfully attaching the sleeves.

Step 9: Closing Side Seams
Turn the bodice so that the right sides are facing each other.

Proceed to sew both of the side seams.

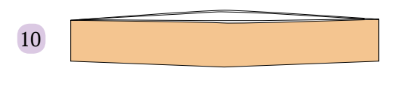
Step 10: Assembling Bottom Rib
Align both bottom rib pieces with their right sides facing each other.
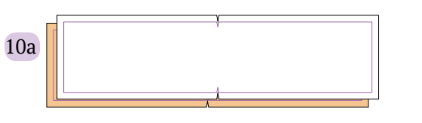
Sew along both side edges.
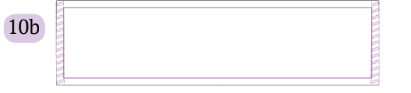
Open the sewn bottom rib piece into a tubular shape. Fold it in half from the top edge, ensuring the right sides are facing outside.
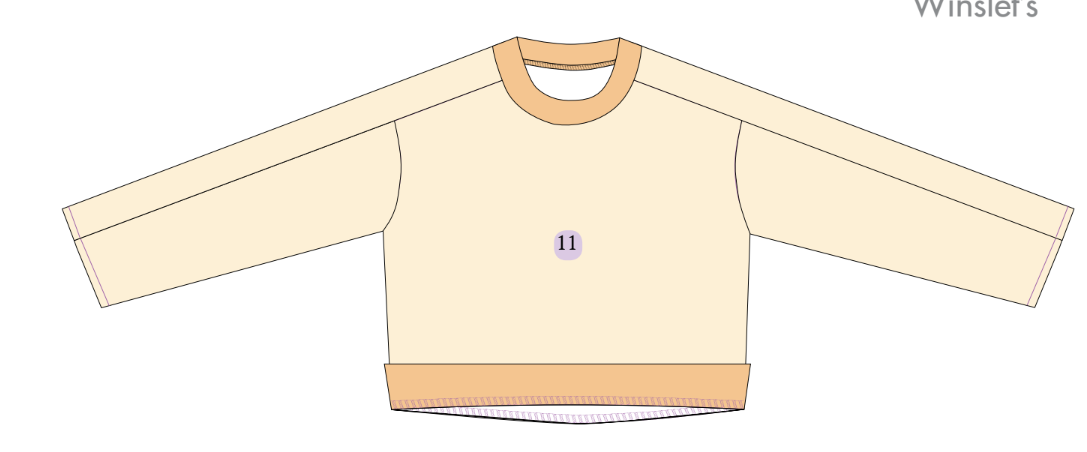
Step 11: Attaching Waistband
Create four notches evenly along the waistband. Match the notches at the side seams and the midpoint of the front and back bodice. Pin the waistband to the right side of the bodice. Begin sewing from one side seam and continue until you reach the starting point.
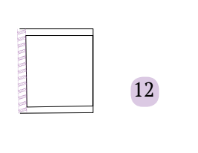
Step 12: Closing the Cuff
Fold the cuff in half with the right sides together.
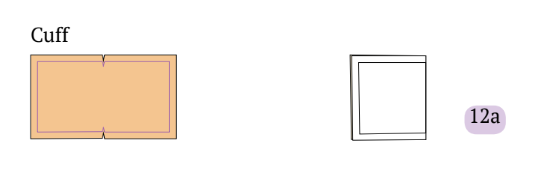
Sew to close the band.
Step 13: Attaching Cuffs to Sleeves
Open the sewn cuff piece into a tubular shape and fold it in half from the top edge with the right sides facing outside.

Pin the cuff on the sleeve cuff seam allowance with the right sides together. Sew them together.
Repeat the same process for the other cuff.
Step 14: Securing Edges with Lock Stitch
Utilize a lock stitch to firmly sew along the edges of the neckband, cuffs, and bottom ribs. Ensure that the seam allowances are tucked underneath for a secure finish.
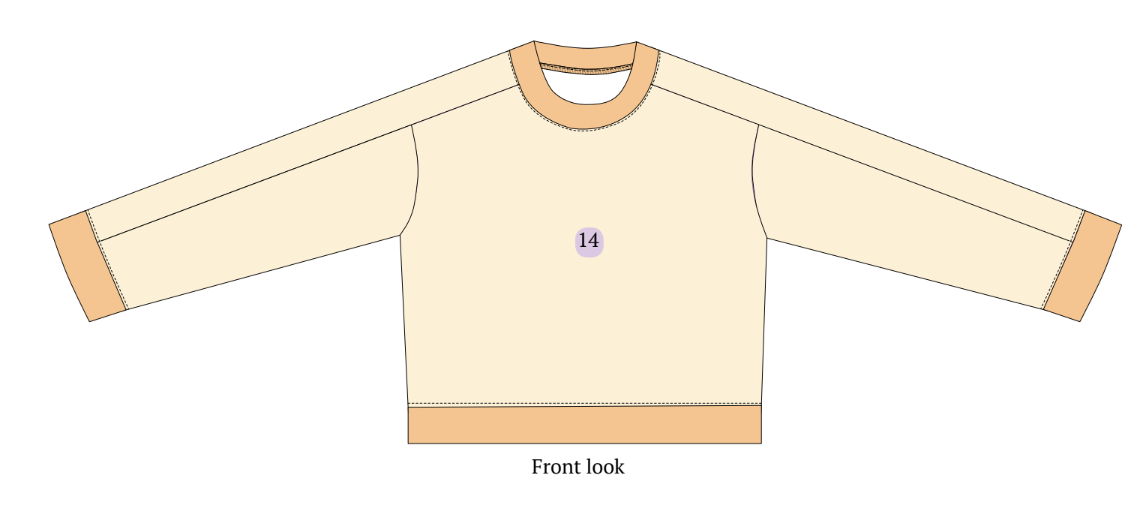
And that’s it! Your sweatshirt is done and ready to be worn!
Summary
The cozy warmth and relaxed comfort of pullovers make them an irresistible choice for any casual occasion. Their versatile style effortlessly combines comfort with a laid-back coolness, making pullovers a timeless wardrobe essential. I hope your newly sewn pullover brings you both satisfaction and coziness.
Check out some final images of this adorable pullover created with the Winslet’s LEXI Pullover Pattern:

If this is your first time making pullovers, I hope you’ve enjoyed it. I’d love to see how your pullover turned out, so share photos or tag us on social media. If you have any questions while working on my projects, just drop a comment—I’m here to help!
Join the Winslet’s sewing community by sharing your masterpiece with the hashtag #madewithwinslets!


