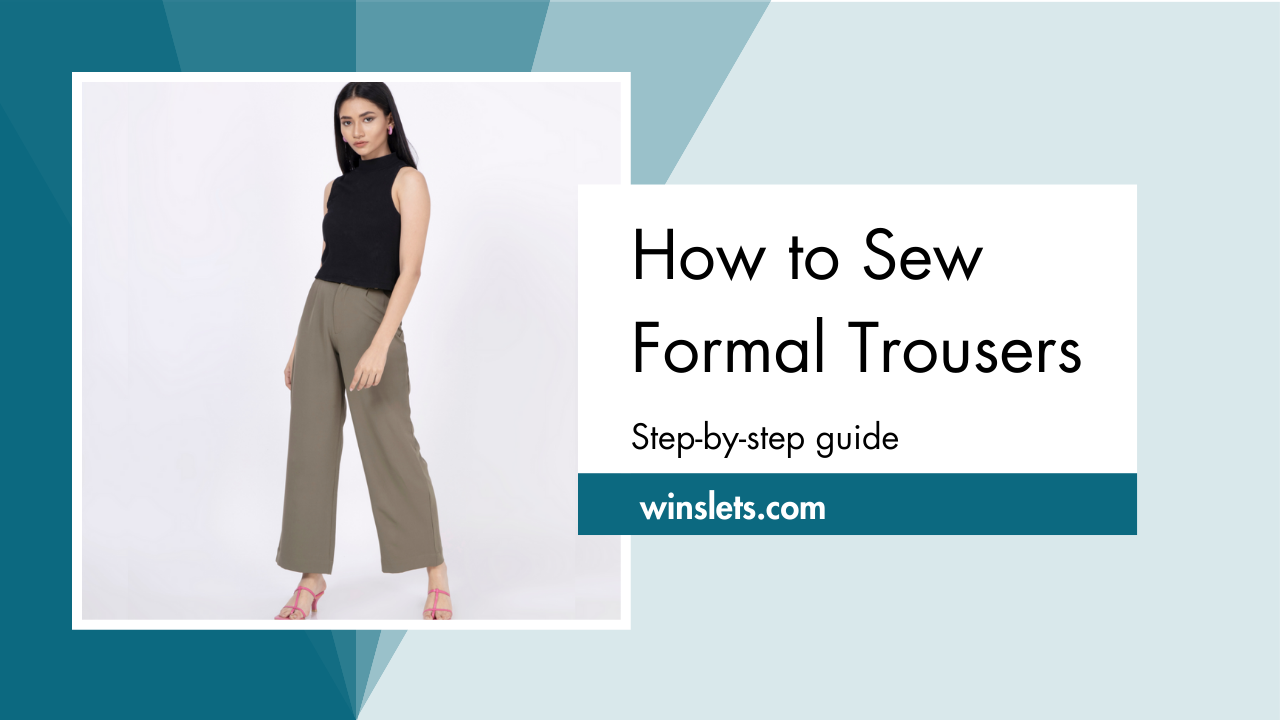
How to Sew Formal Trousers?
Have you wondered how to sew formal trousers?
Everyone adores trousers because they can totally change how you look. Making trousers is a quick way to step up your sewing game, especially if you’re a beginner. So, let’s dive into it as soon as possible!
I used Winslet’s AMELIA Formal Trousers Pattern to make my own pants. These high-waisted wide leg trousers with pleats will be a must-have for any outing! They come in seven sizes (XS to 3XL), so you can pick the perfect fit. Make sure to check your size using the SIZE GUIDE before you start.
What sewing supplies do you need to sew formal trousers?
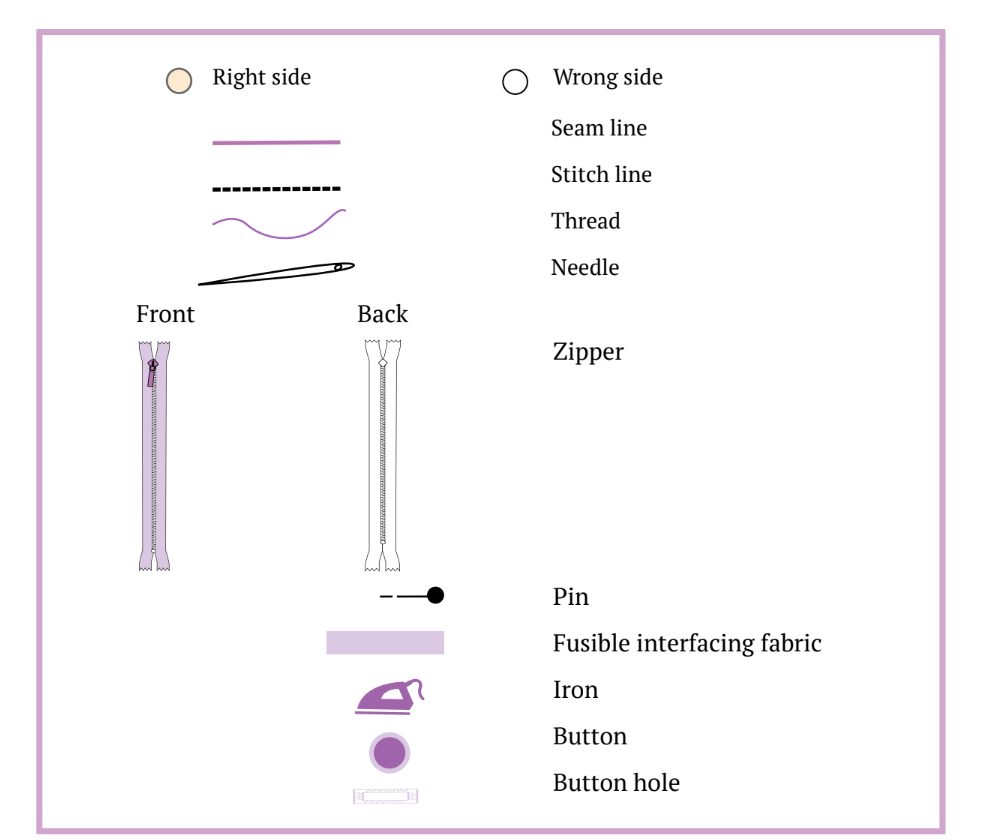
The basic supplies you need to sew formal trousers are Sewing Pattern (I used Winslet’s AMELIA Formal Trousers Pattern in this example), Sewing Machine, Tape Measure, Chalk, Shears, Pins, Iron, Needles, Thread (preferably 3-ply polyester), a Thread Cutter, a Zipper, Fusible Interfacing, Buttons, and a Buttonhole Presser Foot.
Fabric Recommendation
Trousers are best sewn with lightweight fabrics, such as cotton, hemp, linen and bamboo. Sewing them with breathable materials ensures comfort in various weather conditions.
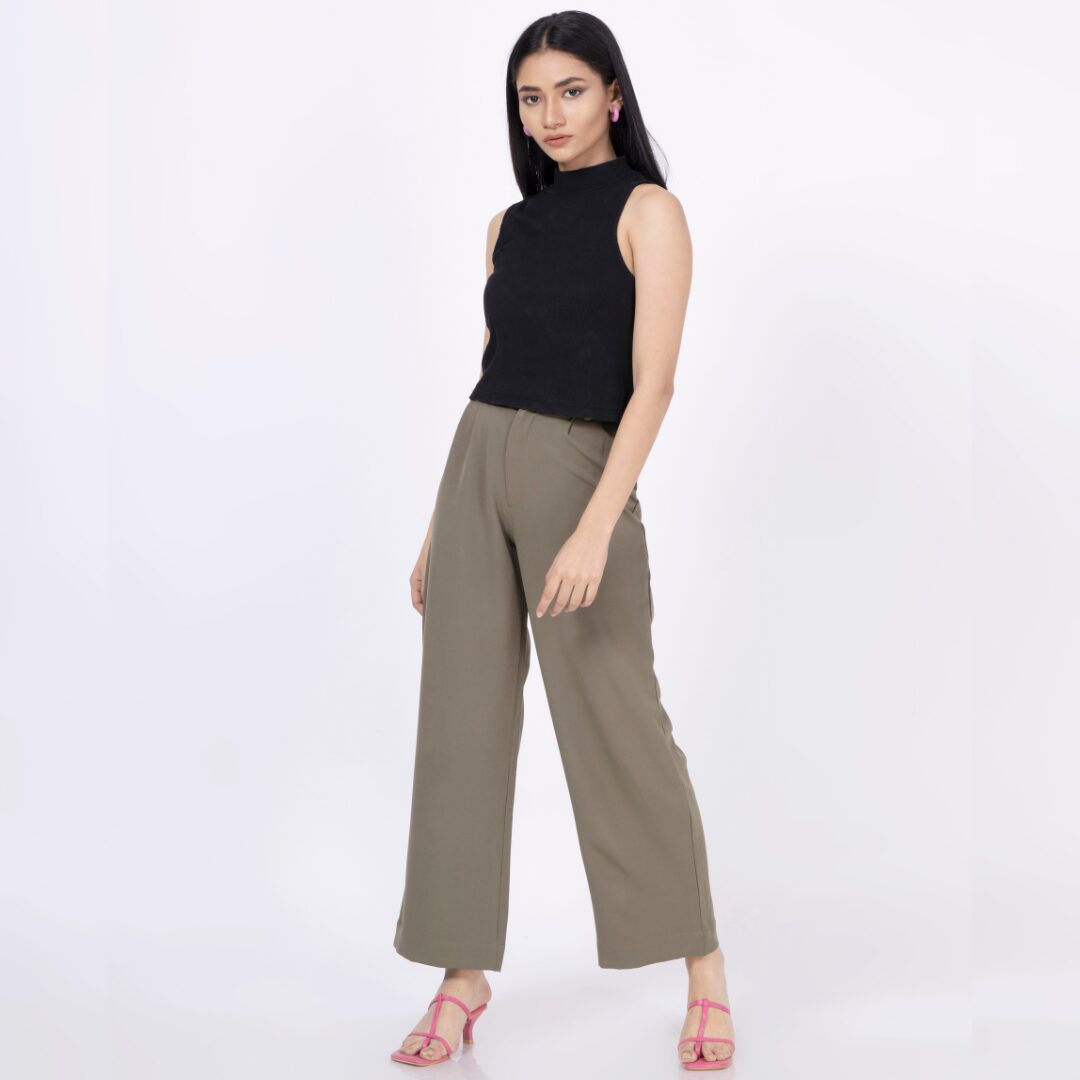
The model above features a trouser made with the Winslet’s AMELIA Formal Trousers Pattern. The trousers feature banana crepe fabric, known for being versatile, lightweight, breathable, soft, color-retaining, absorbent, smooth, strong, robust, heat-free, and static-free, all at an affordable price.
Size Charts
The formal trousers sewing pattern measurements for sizes (XS, S, M, L, XL, 2XL, or 3XL) are detailed below. Choose a size that corresponds most closely to your body measurements.
It’s worth noting that if your exact measurements are not listed in the table, you may want to consider ordering a size larger.
The size chart includes measurements in both inches and centimeters for your reference.
Body Measurements
| XS (inches) | XS (cm) | S (inches) | S (cm) | M (inches) | M (cm) | L (inches) | L (cm) | XL (inches) | XL (cm) | 2XL (inches) | 2XL (cm) | 3XL (inches) | 3XL (cm) | |
| Bust | 32 | 81.3 | 34 | 86.4 | 36 | 91.4 | 38 | 96.5 | 40 | 101.6 | 42 | 106.7 | 44 | 111.8 |
| Waist | 26 | 66.0 | 28 | 71.1 | 30 | 76.2 | 32 | 81.3 | 34 | 86.4 | 36 | 91.4 | 38 | 96.5 |
Final Garment Measurements
| XS (inches) | XS (cm) | S (inches) | S (cm) | M (inches) | M (cm) | L (inches) | L (cm) | XL (inches) | XL (cm) | 2XL (inches) | 2XL (cm) | 3XL (inches) | 3XL (cm) | |
| Waist Round | 26 | 66.04 | 28 | 71.12 | 30 | 76.2 | 32 | 81.28 | 34 | 86.36 | 36 | 91.44 | 38 | 96.52 |
| Hip Round | 39 | 99.06 | 41 | 104.14 | 43 | 109.22 | 45 | 114.3 | 47 | 119.38 | 49 | 124.46 | 51 | 129.54 |
| Full Length (Without Belt) | 40.25 | 102.235 | 40.5 | 102.87 | 40.75 | 103.505 | 41 | 104.14 | 41.25 | 104.775 | 41.5 | 105.41 | 41.75 | 106.045 |
Fabric Yield
| Width of the Fabric | XS (yards) | XS (meters) | S (yards) | S (meters) | M (yards) | M (meters) | L (yards) | L (meters) | XL (yards) | XL (meters) | 2XL (yards) | 2XL (meters) | 3XL (yards) | 3XL (meters) |
| 45” | 2.35 | 2.15 | 2.71 | 2.47 | 3.11 | 2.84 | 3.58 | 3.27 | 4.11 | 3.76 | 4.73 | 4.33 | 5.44 | 4.98 |
| 60” | 1.38 | 1.26 | 1.59 | 1.45 | 1.82 | 1.65 | 2.10 | 1.92 | 2.41 | 2.21 | 2.77 | 2.54 | 3.19 | 2.92 |
Steps To Follow For Sewing Formal Trousers
Let’s dive into the steps for sewing your very own unique formal trousers:
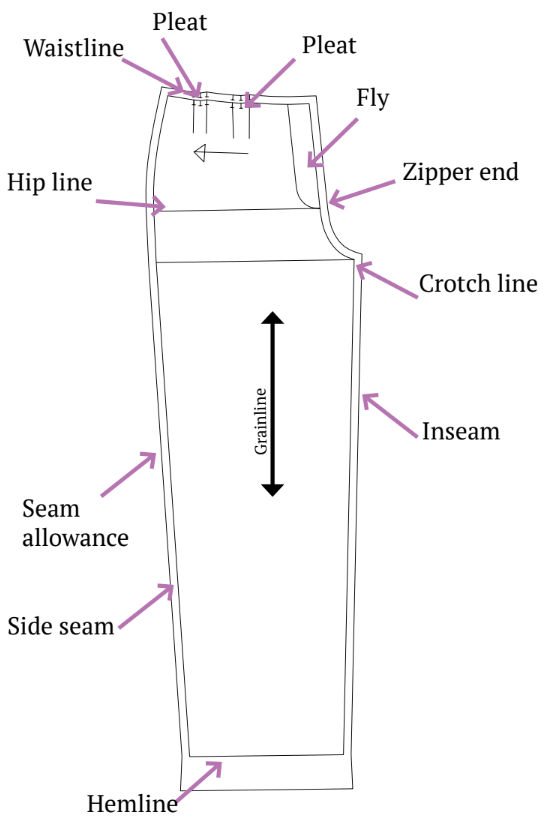
Pattern Marking and Inventory
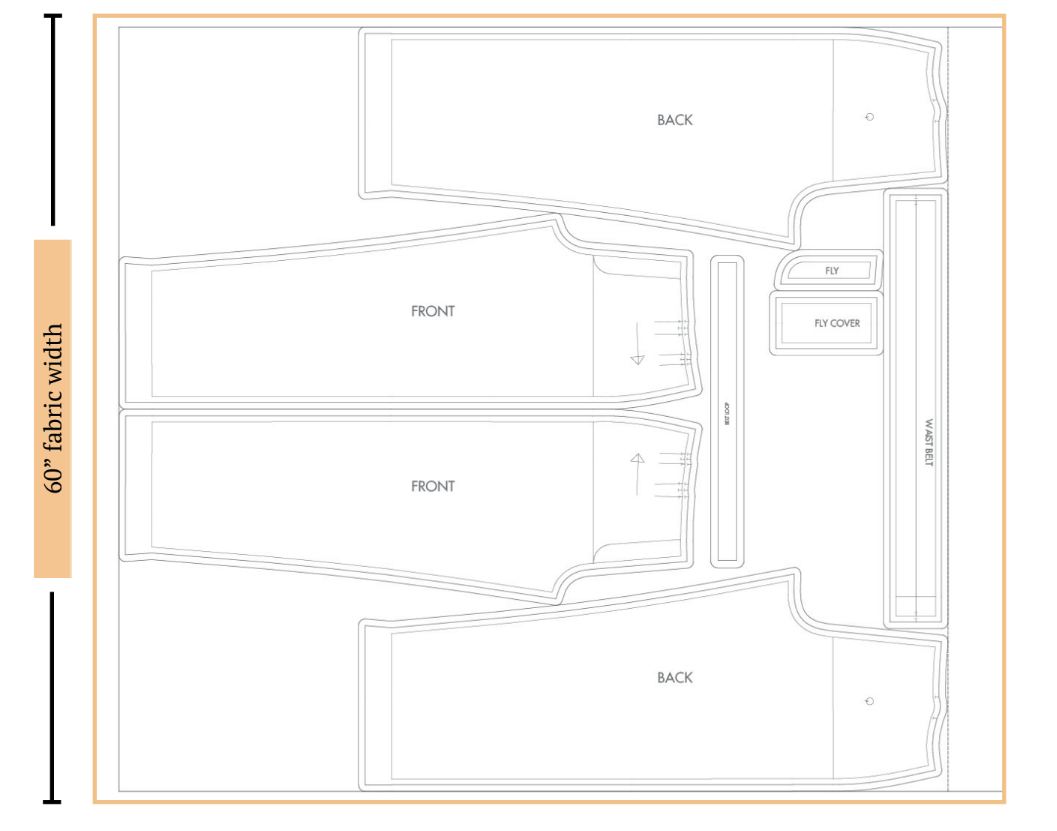
The fabric needs to be cut into following pieces:
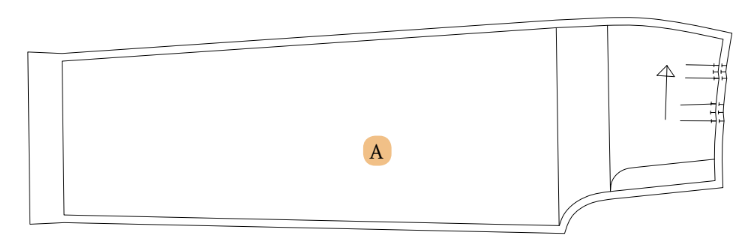
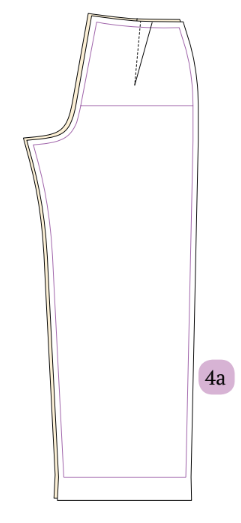
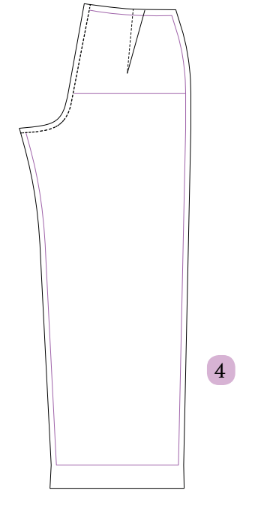
A. Front – cut x2 fabric
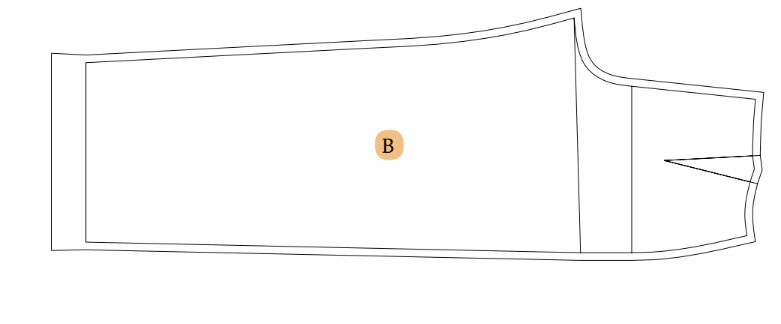
B. Back – cut x2 fabric
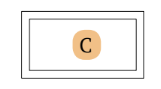
C. Fly Cover – cut x1 fabric
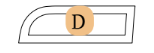
D. Fly – cut x1 fabric
E. Waist Belt – cut x1 fabric
F. Belt Loop – cut x1 fabric

Be sure to indicate all notches and design elements like darts and pleats on your fabric using the pattern pieces. When stitching the garment, carefully align the notches to ensure a proper match.
Cutting Layout
- Ensure the pattern layout is on-grain for fabric alignment.
- Use pins to secure fabric, aiding accurate cutting.
- If using fabric with nap or prints, purchase additional length.
Sewing Steps

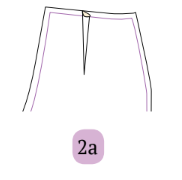
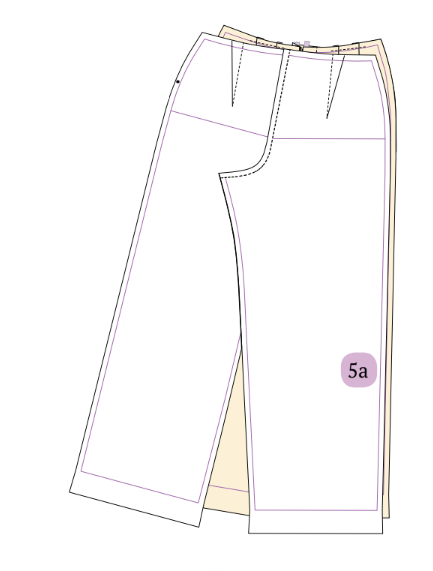
Step 1: Assembling Front Leg Patterns
1. Align the notches on both sides of the pleat and press them together, making sure the right sides are facing each other. Do the same for the adjacent pleat.
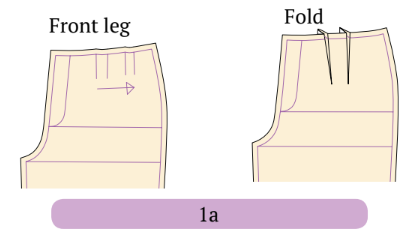
2. Sew along the waistline to secure the dart.

3. Repeat the above steps for the other front leg pattern.
Step 2: Creating Darts
1. Match the dart legs with the right sides together, folding the dart.
2. Stitch along the designated line on the wrong side of the fabric.
3. Press the dart flat to one side.
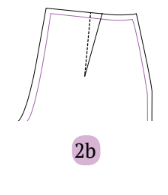
4. Repeat the same steps for the other dart.
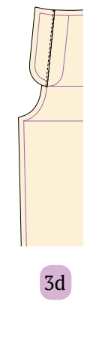
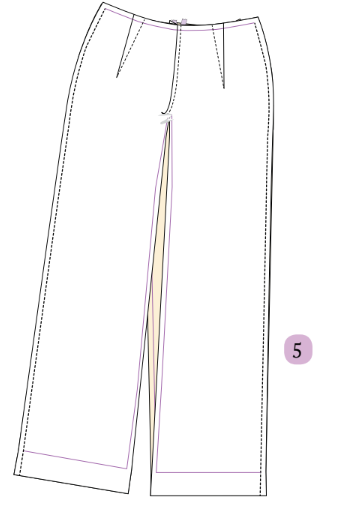
Step 3: Adding Zipper Closure to Fly
1. Fold the fly cover with the right sides together and sew the fly shape on one side.
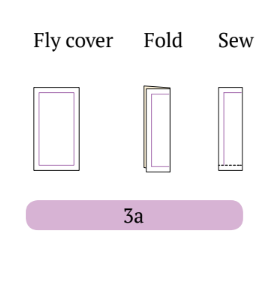
2. Clip the seam allowance to shape the fly cover, then turn the facing to the wrong side using a pointy stick.

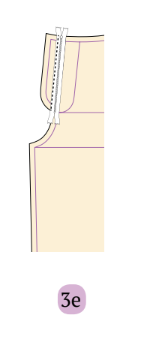
3. Place the fly piece on the left front leg with right sides together and sew them together.
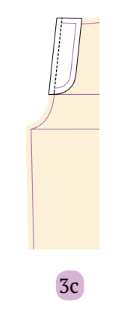
4. Turn them to the wrong side and sew along the edges to secure it.
5. Align the zipper right sides together at the edge seam line and sew on the other side of the zipper tape away from the seamline.
6. Place the opened side of the fly cover on the unstitched zipper tape (wrong side).
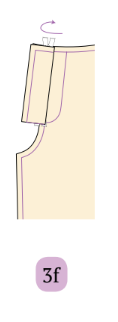
7. Turn them to face the zipper at the front side and sew on the seamline of the fly cover.
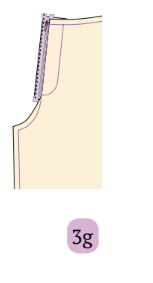
8. Fold the fly seam allowance of the other front leg piece inside. Place it on the zipper and sew them together until the zipper end mark.
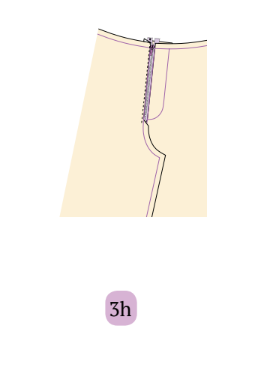
9. Place the front pieces with the right sides together. From the zipper end notch, sew a short line to close the inner seam. Place the back pieces with the right sides together and sew the crotch together.
10. Open the zipper, sew on the fly line from the top, starting from the zipper end. Sew along the fly cover, leaving the fly cover free in the middle.
Step 4: Connecting Back Pieces
1. Align the back pieces with the right sides facing each other.
2. Sew them together along the crotch line.
Step 5: Joining Front and Back Pieces
1. Align the front and back pieces with the right sides facing each other.
2. Sew the side seams together.
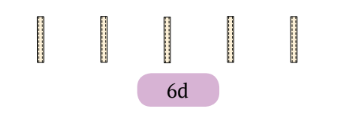
Step 6: Crafting Belt Loops
1. Fold both sides of the belt loops inward, then fold them again.
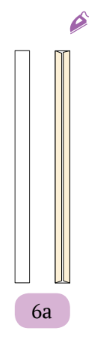
2. Iron the folds to create creases at every fold.
3. Sew along both edges of the folded belt loops.
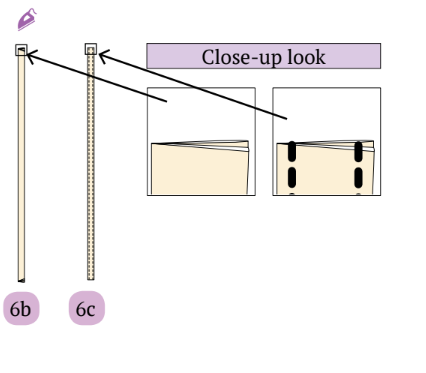
4. Cut five belt loops, each measuring 7.5 cm in length.
Step 7: Applying Fusible Interfacing to Waistband
1. Use fusible interfacing paper cut to the size of the waistband.
2. Attach it by ironing onto the waistband area, leaving the seam allowance untouched.

3. Iron one side of the seam allowance inside.

Step 8: Creating Waistband with Belt Loops
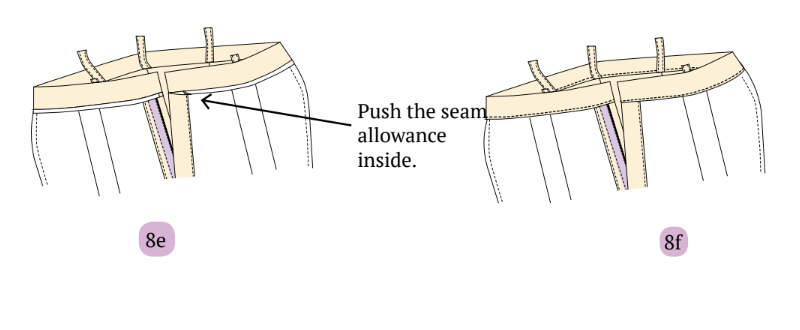
1. Pin the 5 belt loops at the mid-back, both sides, and mid-front legs on the waistline. Place the waistband on the waist of the pants with right sides together and pin them at an equal length.
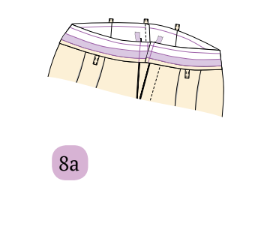
2. Sew along the seamline of the waistline.
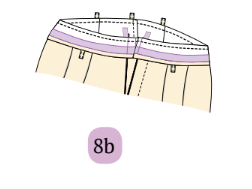
3. Close the waistband by pushing the seam allowance inside.
4. Sew along the edges to close the waistband.
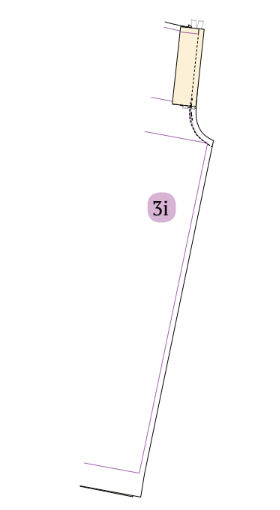
Step 9: Attaching Front and Back Pants
1. Match the crotch end of the front and back pants, placing them together with the right sides facing each other.

2. Begin sewing the inseam from one hem to the crotch, and continue to the other hem end.
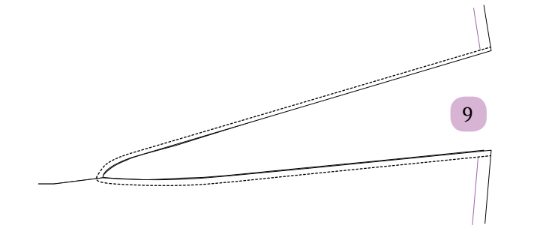
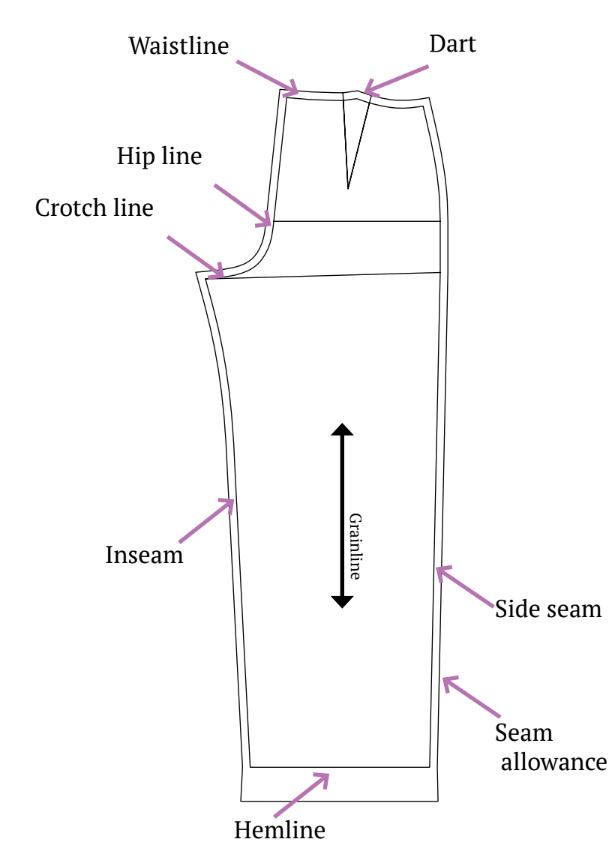
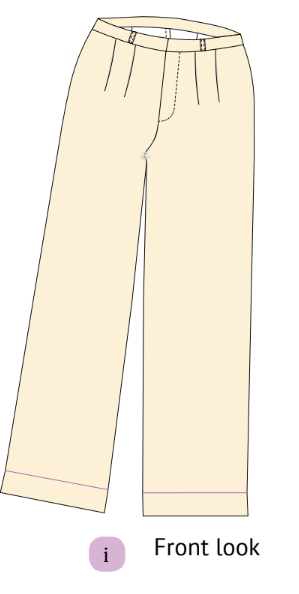
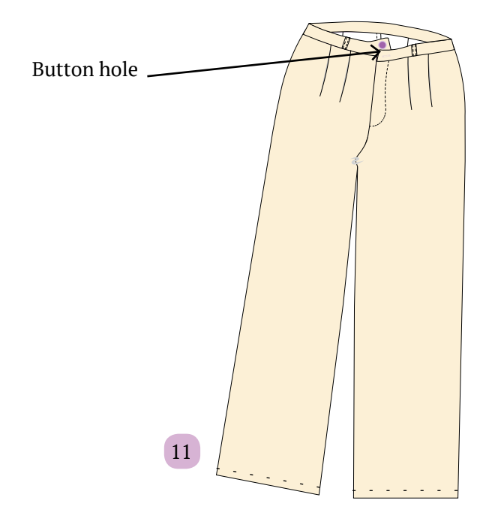
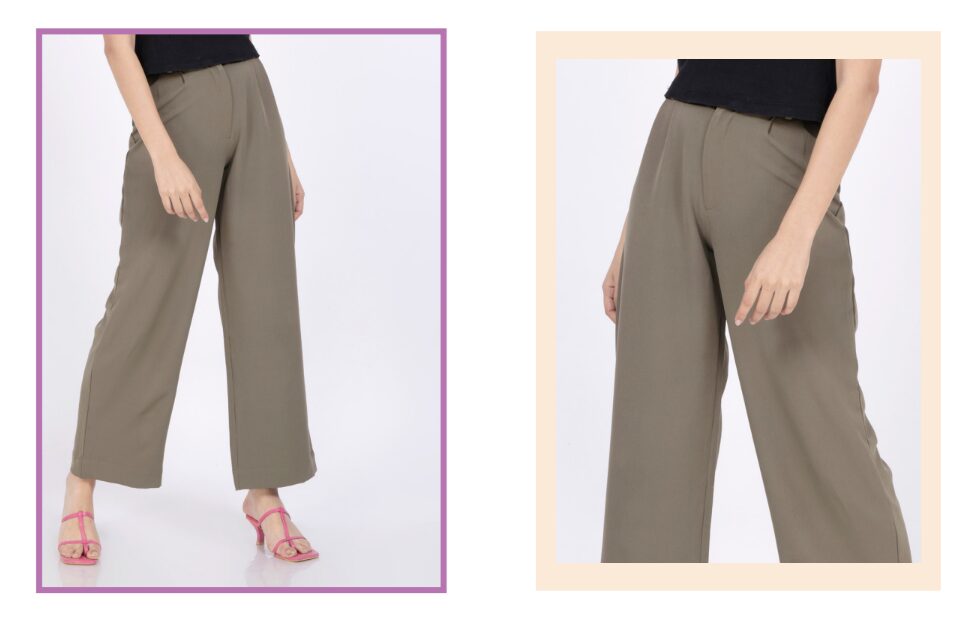
Figure i represents the front look of the trouser.
Step 10: Hemming Options
1. Utilize a hand needle for sewing the hem with a blind hem stitch.
OR
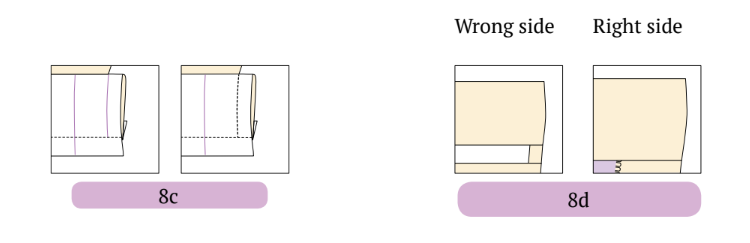
2. Fold the seam allowance twice inside and sew from the front to finish the hem.
Step 11: Adding Button and Buttonhole
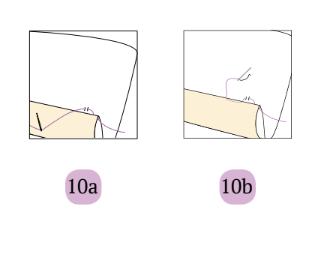
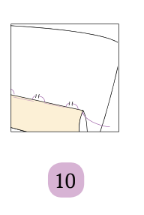
1. Utilize the button presser to create buttonhole stitches approximately 1.5 cm away from the waistband.
2. Sew the button onto the right side of the waistband, aligning it with the buttonhole.
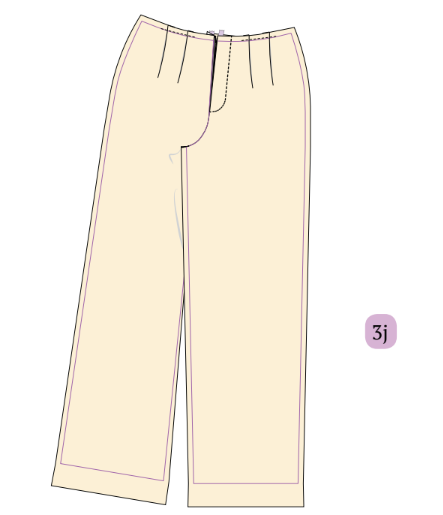
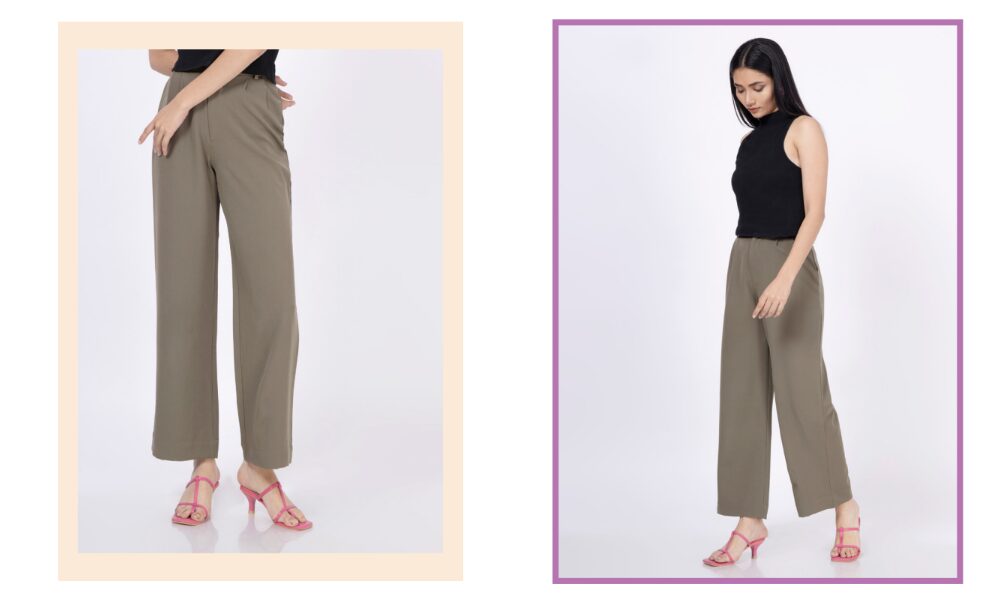
And that’s it! Your formal trousers are done and ready to be worn!
Finished look: How to sew formal trousers
These trousers feel exceptionally comfortable to wear while the fitting is top-notch. The fabric quality also impresses me, and the versatility makes them suitable for various occasions. Additionally, the attention to detail in stitching and design enhances the overall appeal.
Check out some final images of this adorable trousers created with the Winslet’s AMELIA Formal Trousers Pattern:
If this is your first time making trousers, I hope you’ve enjoyed it. I’d love to see how your formal trousers turn out, so share photos or tag us on social media. And if you want more, check these other sewing projects
If you have any questions while working on my projects, just drop a comment—I’m here to help!
Join the Winslet sewing community by sharing your masterpiece with the hashtag #madewithwinslets!


